That sinking feeling when your home's cool air goes stale is the worst. But before you panic and assume a massive repair bill is coming, take a breath. More often than not, the culprit is something surprisingly simple.
A huge number of AC service calls, especially on the hottest days of the year, boil down to basic electrical or settings issues—not a catastrophic system failure. Let's walk through the quick checks that could save you a service call.
Your First Steps When the AC Stops Working
Before you even think about calling for a pricey emergency repair, a few simple checks can solve the problem more often than you'd think.
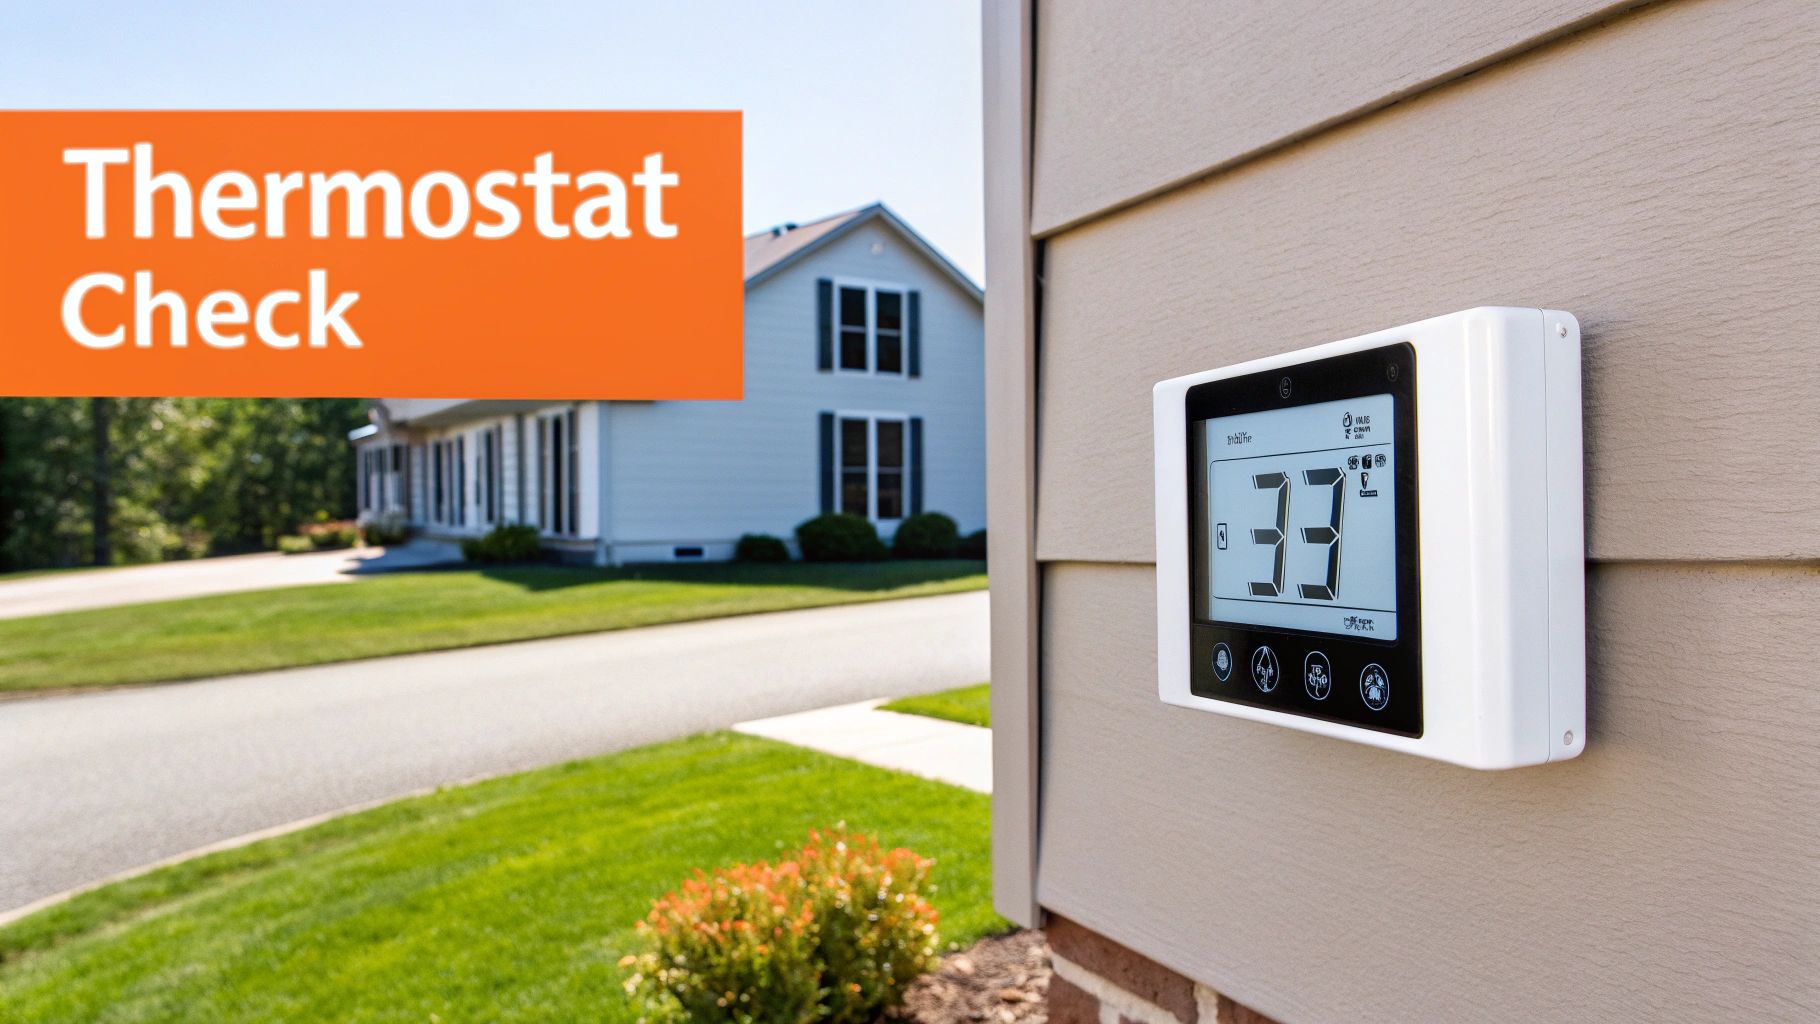
Start With the Thermostat
Your thermostat is the brain of your entire HVAC system. If it's not sending the right signals, your AC won't turn on, even if every other component is in perfect working order. This is always the first place you should look.
Here are the basics to check:
- Confirm the Settings: Make sure the thermostat is actually set to "Cool" and the temperature is set a few degrees below the current room temperature. It's a simple mistake, but it happens all the time.
- Check the Batteries: Is the thermostat screen blank? Many digital models run on batteries. If you see a low-battery warning or nothing at all, a fresh set of batteries could be the instant fix you need.
- Give It a Minute: Some systems have a built-in 5-minute delay to protect the compressor. After you make adjustments, wait a few minutes before deciding it’s not working.
Check Your Breakers and Power Switches
Power issues are the next most common reason an AC unit just quits. A power surge or an overloaded circuit can easily trip a breaker, cutting off electricity to your system as a safety measure.
Go to your main electrical panel and look for a breaker labeled "AC," "HVAC," "Air Handler," or "Condenser." If it’s in the middle or "off" position, flip it all the way off, then firmly back on.
Don't forget, your AC actually has two power sources. Besides the breaker inside, the outdoor condenser has its own power disconnect box. It's usually a metal box on the wall near the unit. Make sure the switch or pull-out fuse inside is properly engaged.
To help you quickly diagnose what's going on, here's a simple checklist to run through.
Quick Diagnostic Checklist For A Non-Working AC
Use this table to match your AC's symptoms with the most likely simple cause and the first action you should take.
| Symptom | Potential Simple Cause | First Action to Take |
|---|---|---|
| AC unit is completely silent; nothing is running. | No power. | Check the circuit breaker and outdoor disconnect switch. |
| Thermostat screen is blank. | Dead batteries. | Replace the thermostat batteries. |
| System blows air, but it's not cold. | Incorrect thermostat setting. | Ensure the thermostat is set to "Cool" and the temperature is set low enough. |
| AC tries to turn on but shuts off quickly. | Protective time delay is active. | Wait 5-10 minutes after adjusting the thermostat before checking again. |
This process helps you methodically rule out the easy fixes before assuming the worst.
This simple diagnostic process helps you quickly rule out the most common causes of a non-working AC. The infographic below illustrates the logical next steps for identifying airflow, noise, and leak issues.
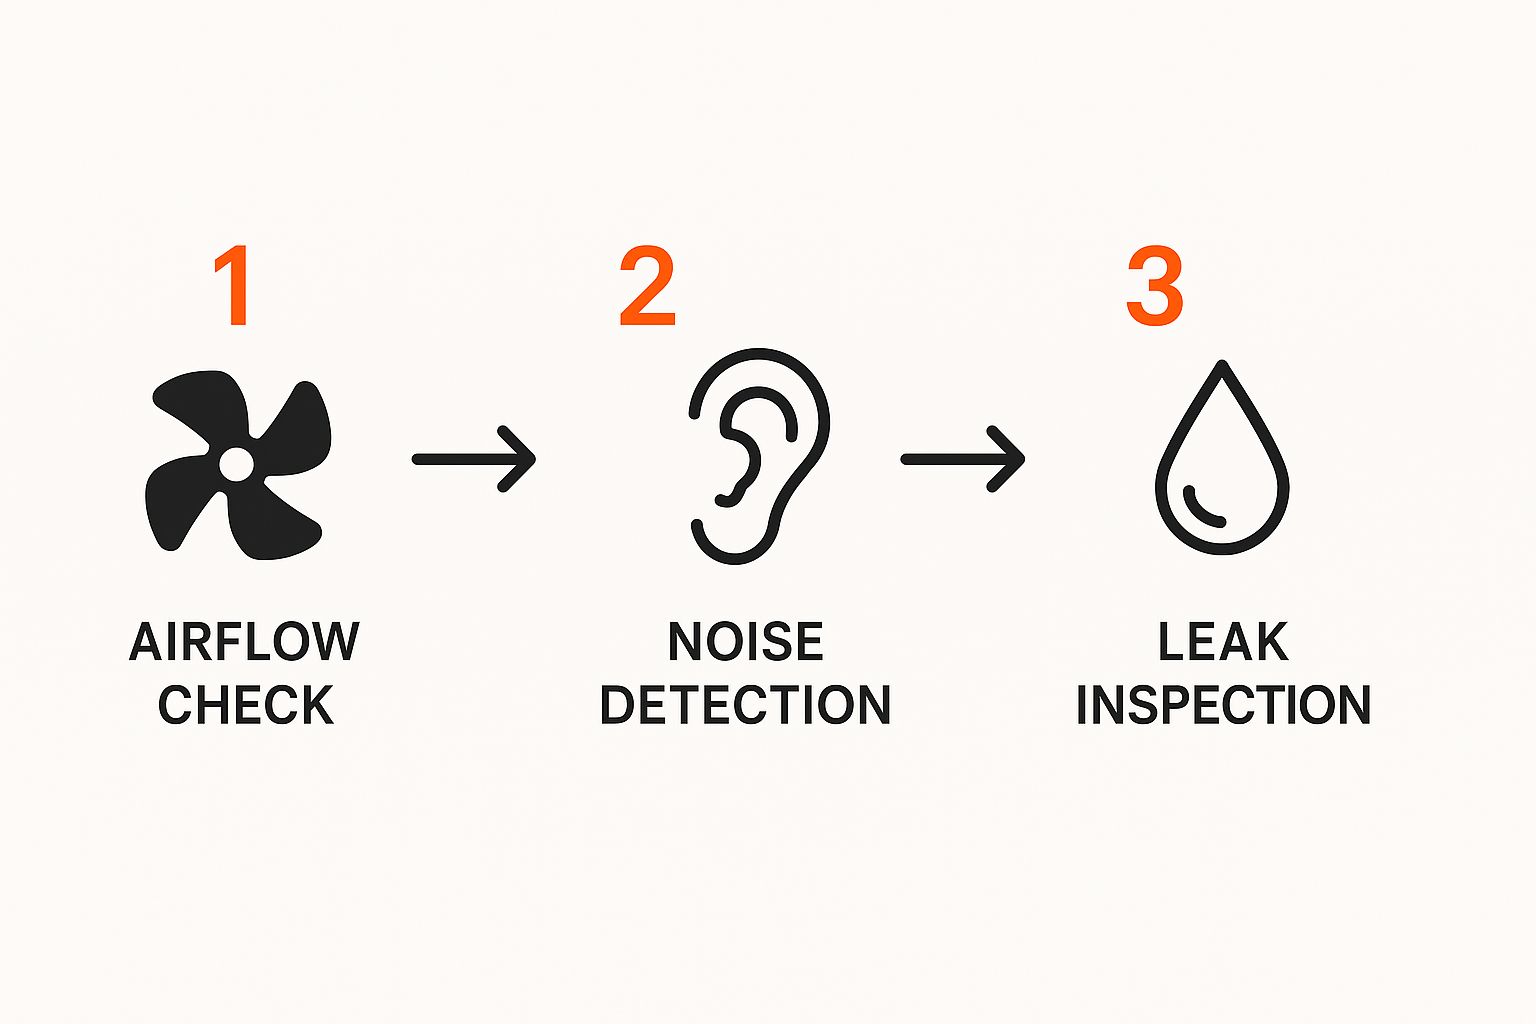
Following this flow helps isolate the problem methodically. If these initial electrical checks don't get your air conditioning running again, you might be dealing with more complex common air conditioner electrical issues.
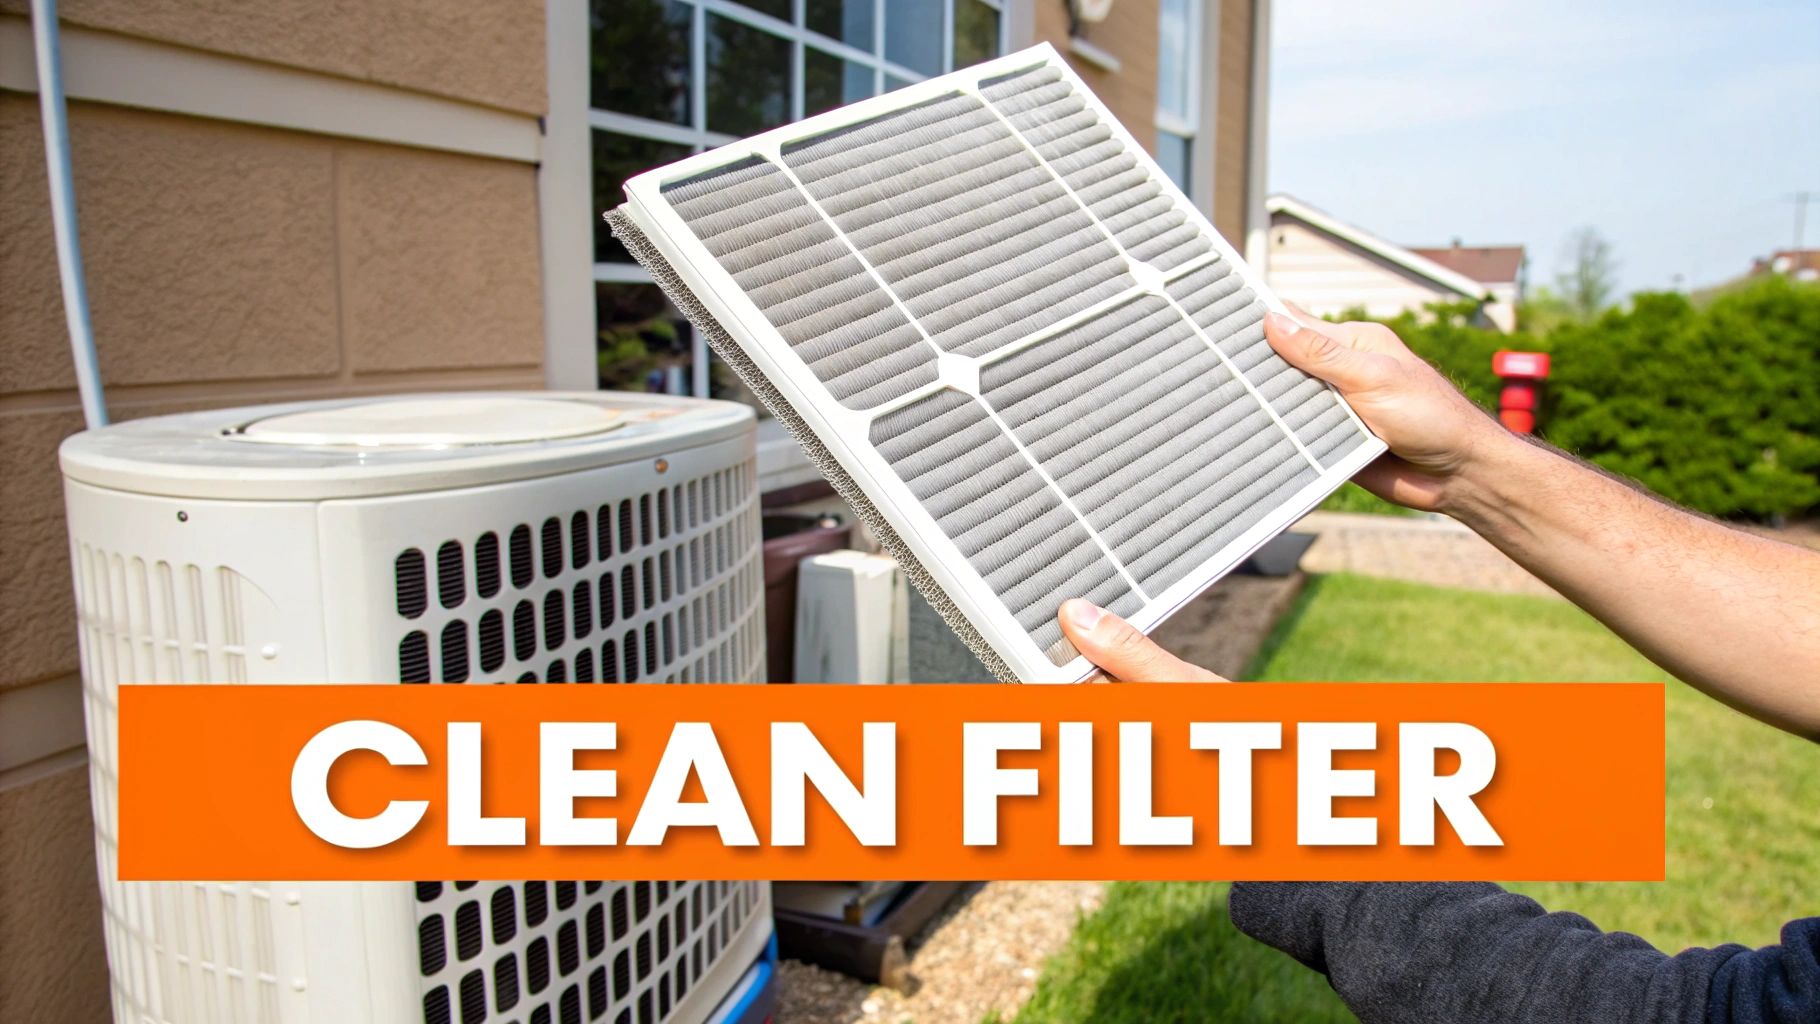
Poor Airflow? It’s Almost Always the Filter
If your air conditioner can't "breathe," it can't cool your home. It’s a simple concept, but nine times out of ten, restricted airflow is the real reason your AC is struggling, and it almost always starts with a dirty air filter. A clogged filter basically suffocates your system.
This forces it to work much harder just to pull in air, leading to a whole cascade of problems. You might notice weak cooling at first, but it can quickly escalate to your coils freezing over and the entire unit shutting down. The good news? Checking and changing your air filter is a five-minute job that can save you a world of hurt and a hefty repair bill.
Finding and Checking Your Air Filter
Your AC's air filter usually lives in one of two places: either inside the indoor air handler unit itself or tucked behind a large return air grille in a wall or ceiling. Once you’ve found it, just slide the old filter out.
Hold it up to a light. Can't see the light through it? It's time for a new one. A really bad one will be caked in a gross layer of dust, pet hair, and whatever else is floating around your house. Before you toss it, make sure to jot down the dimensions printed on the filter’s cardboard frame.
Forgetting this simple task is one of the top reasons air conditioners fail. In fact, improper or infrequent maintenance contributes to more than 50% of all HVAC breakdowns. A clogged filter makes the compressor overheat, which is a leading cause of a complete system shutdown.
Look Beyond the Filter for Other Blockages
While the filter is the usual suspect, other blockages can also mess with your system's performance. It’s all about maintaining a healthy airflow balance throughout your home.
Keep an eye out for these common culprits:
- Blocked Vents and Registers: Is a new rug, a piece of furniture, or even a curtain draped over a supply or return vent? That can choke off airflow to an entire room.
- Closed Dampers: It might seem smart to close the vents in rooms you don't use, but closing too many throws the whole system out of whack. It creates pressure imbalances that seriously strain your blower motor.
Think of your HVAC system like your body's circulatory system. Closing off too many vents is like blocking major arteries. It forces the heart—your blower motor—to work way harder to pump air through the paths that are still open.
Making sure your system can breathe freely is one of the most effective ways to head off major problems. For more easy wins, check out our guide on the top 5 AC maintenance tips to keep your unit humming along all summer.
Inspecting Your Outdoor Condenser Unit
Your outdoor condenser unit is the unsung hero of your AC system. It’s the part that takes all the heat your system pulls from inside your house and releases it into the outside air. Because it lives outdoors, it's exposed to everything from grass clippings to torrential Florida downpours, making it a prime suspect when your cooling suddenly stops.
Before you even think about touching it, though, we need to talk about safety. Safety is always the top priority.
Shutting Down All Power
Seriously, you have to cut the electricity to the unit completely before doing any kind of inspection. Your AC system actually has two separate power shut-offs, and you need to deal with both.
- The Indoor Circuit Breaker: Head over to your home's main electrical panel. You're looking for a breaker labeled "AC," "HVAC," or "Condenser." Once you find it, flip it firmly to the OFF position.
- The Outdoor Disconnect Box: Near your condenser unit, you'll see a metal box mounted on the side of your house. Open it up. Inside, you'll either find a disconnect plug you can pull straight out or a switch to flip to OFF.
Only after you've shut off the power in both places is it safe to move forward. This step is absolutely non-negotiable.
Clear Away Debris And Obstructions
Your condenser unit has to breathe. It works by pulling air through the metal fins on its sides and pushing hot air out through the top. If that airflow gets blocked, the unit can't cool itself down, causing it to overheat and shut off.
Take a walk around your unit. Do you see a buildup of leaves, grass clippings, dirt, or weeds? Clear everything out so there's at least two feet of open space all the way around the condenser. This also means trimming back any overgrown shrubs or tree branches that are crowding the unit.
Think of it like trying to run a race while wearing a heavy winter coat—it just can't perform properly. Keeping the unit clear is a simple way to prevent major issues, which we cover in our article explaining why air conditioners overheat.
Cleaning the Condenser Fins
With the big stuff out of the way, get a closer look at the delicate metal fins that wrap around the unit. Over the seasons, these can get caked with a nasty layer of grime, dust, and cottonwood fluff that acts like an insulating blanket, trapping heat.
The best way to clean them is to gently spray them down with a regular garden hose. Start from the top and work your way down, directing the water at a slight downward angle. Never, ever use a high-pressure nozzle. That concentrated blast of water can easily bend the fragile aluminum fins, and damaged fins are just as bad as dirty ones for blocking airflow.
Pro Tip: If the fins are especially grimy, pop over to a home improvement store and grab a can of condenser coil cleaning foam. You spray it on, it expands to push all the gunk out from between the fins, and then you can just rinse it all away gently.
Checking the Condenser Fan
With the power still safely off, peer down through the top grate of the unit at the fan blades. Look for any obvious blockages, like a fallen stick or a clump of leaves that might be stopping the fan from turning.
Next, take a long screwdriver or a stick and give the fan blades a gentle push—never use your hands. The fan should spin freely and smoothly for a few rotations. If it feels stiff, makes a grinding noise, or won't move at all, you're likely dealing with a seized fan motor. That's a clear sign it's time to call in a professional technician.
Diagnosing Water and Refrigerant Leaks
It’s always a little jarring to find a puddle of liquid near your indoor air handler. But before you panic, you need to figure out what you're looking at. When your AC starts leaking, it’s almost always one of two things: water from a simple drainage problem or a much more serious refrigerant leak.
Knowing how to tell them apart is the key to deciding what to do next.
More often than not, that puddle is just plain old water. Your AC’s job is to pull humidity out of the air, and that moisture condenses on the evaporator coils inside the unit. This water is supposed to flow neatly outside through a condensate drain line. The problem is, that line can get clogged up with algae, dust, and other gunk over time.
When that happens, the water has nowhere to go but back into your home. Thankfully, most modern AC systems have a safety float switch that senses the rising water and shuts the entire system down to prevent a catastrophic flood. This is an incredibly common reason for an air conditioner to suddenly stop working.
How to Clear a Clogged Condensate Line
If you think a clog is the culprit, you can often clear it yourself and save a service call. The first thing you need to do is shut off all power to the AC at your circuit breaker. Safety first.
Next, find the PVC drain line coming from your indoor unit and look for the access tee. You can use a wet/dry shop vacuum to suck the clog out from the drain termination point outside. This simple fix can get your AC running again in just a few minutes.
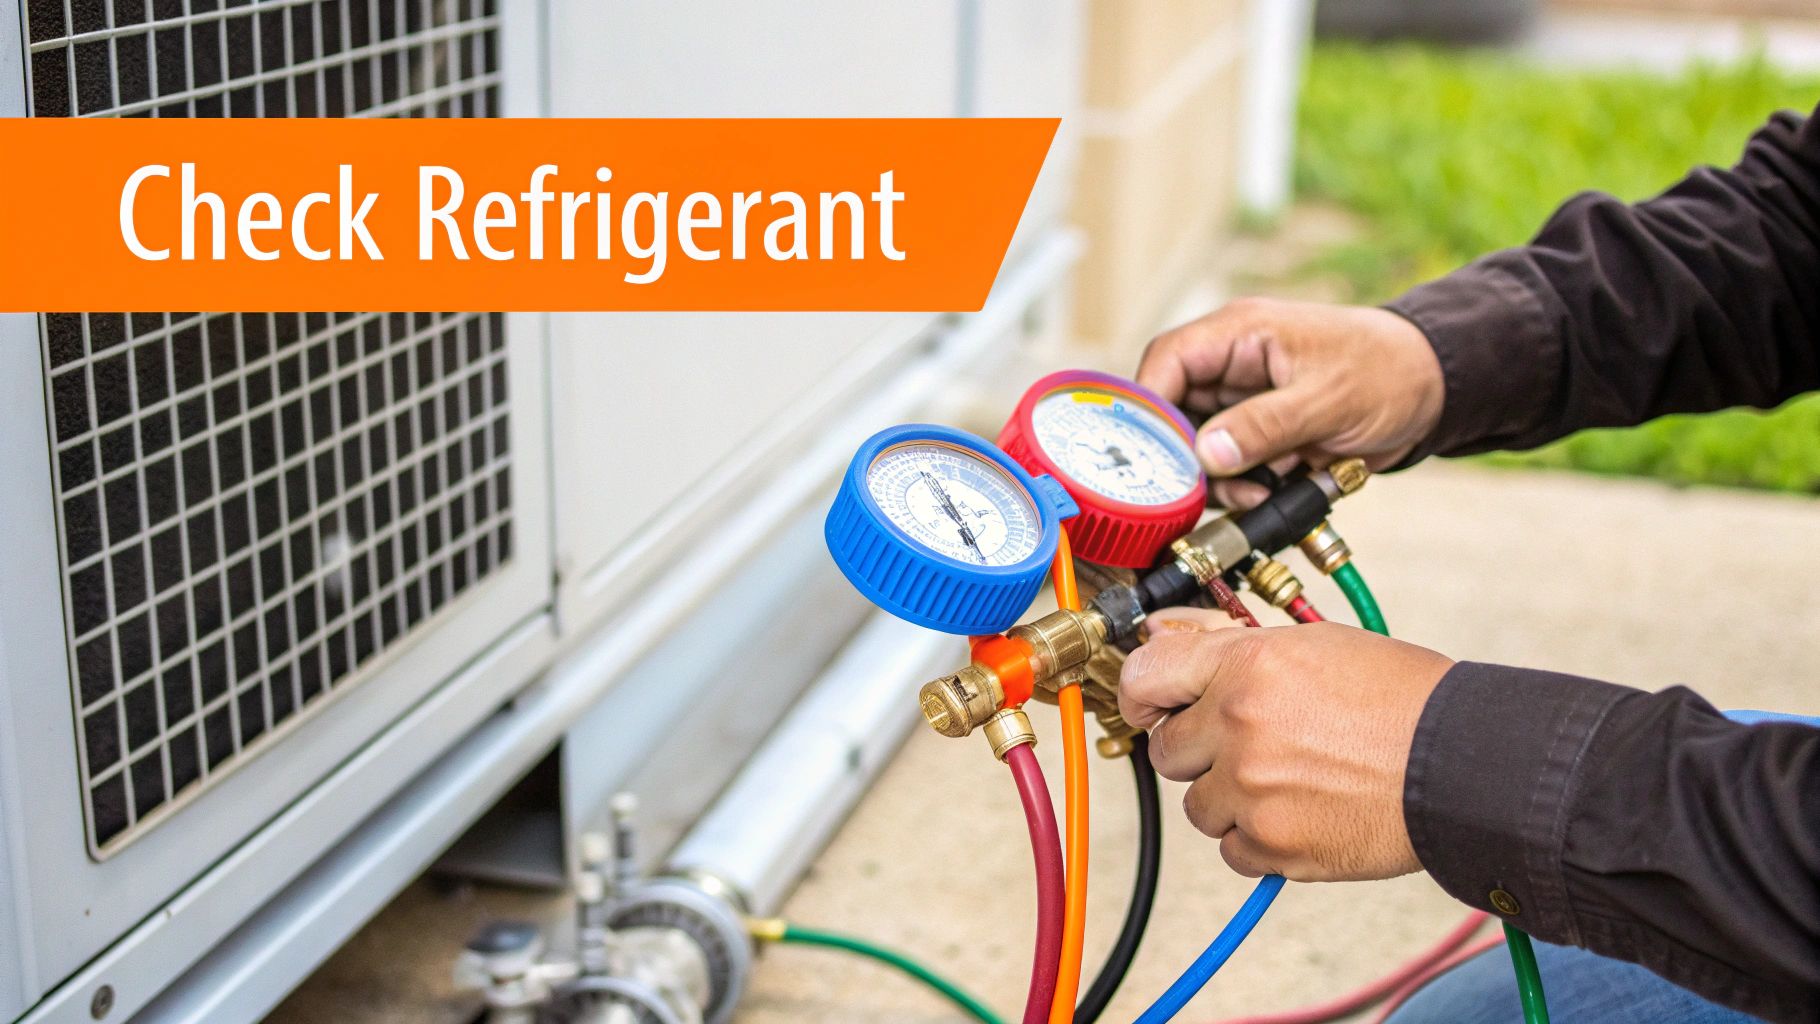
Spotting a Refrigerant Leak
A refrigerant leak, on the other hand, is a much bigger deal. Refrigerant is the lifeblood of your cooling system, and it runs in a closed-loop system. If your unit is low on refrigerant, there is a leak somewhere. Period.
You won't see a puddle of refrigerant, but you’ll notice other tell-tale signs:
- A distinct hissing or bubbling sound coming from the refrigerant lines.
- Ice or frost building up on the copper lines that connect to your outdoor unit.
- Air coming from your vents that isn't cold, or is only mildly cool at best.
Refrigerant leaks aren't just bad for your AC—they're tough on your wallet. Ignoring a leak forces the system to run constantly without actually cooling your home. This leads to sky-high energy bills and can cause the compressor to fail, which is the most expensive part of your entire system to replace.
Understanding Common AC Failures
Issues like refrigerant leaks, electrical faults, and compressor malfunctions are often made worse by aging units and a lack of regular maintenance. Given how complex modern air conditioners have become, these system failures are a primary reason an AC stops working. You can find more insights into the air conditioning market and common failures on cognitivemarketresearch.com.
Unlike a simple water clog, a refrigerant issue is absolutely not a DIY job. Handling refrigerant requires specialized tools and an EPA certification. If you suspect a leak, turn your system off immediately to prevent further damage and call a professional HVAC technician. They have the equipment to find the leak, repair it, and safely recharge your system to the correct level.
Knowing When It Is Time to Call an HVAC Pro
While there are plenty of AC issues you can tackle yourself, some problems are clear signs to put down the tools and get a certified professional on the phone. Knowing your limits is crucial—it can be the difference between a simple fix and a dangerous situation or a full system replacement.
The idea is to be an empowered homeowner, not an amateur technician. Certain red flags should never be ignored, as they often point to complex or hazardous failures that require specialized knowledge and equipment to resolve safely.
Serious Electrical Issues
If you’ve reset a tripped breaker only for it to immediately trip again, stop right there. This isn’t a fluke; it points to a more serious electrical problem, like a short circuit in the motor or internal wiring. Trying to force it is a serious fire hazard.
Any buzzing or humming sounds coming from your electrical panel or the AC unit itself are also urgent warnings, especially if they’re paired with a burning smell. These symptoms often signal failing electrical components like capacitors or contactors, which can hold a dangerous electrical charge even with the power off.
Strange and Loud Noises
Your air conditioner should produce a gentle, consistent hum—not a symphony of alarming sounds. Loud, persistent noises are your system’s way of crying for help, and each distinct sound usually points to a specific type of failure.
- Grinding or Screeching: This almost always signals a problem with the motor's bearings, either in the indoor blower or the outdoor condenser fan. If you let it go, you're looking at a complete motor burnout.
- Banging or Clanking: A loud banging sound could mean a part has come loose inside the compressor, or worse, that the compressor itself is failing. This is one of the most serious and expensive components in the entire system.
- Hissing Sounds: As we covered earlier, hissing is a tell-tale sign of a refrigerant leak. This requires professional attention to locate the leak and repair it safely.
Ignoring these noises is a huge gamble. Turning the system off and calling a technician can be the difference between replacing a minor part and needing a whole new unit.
Modern smart HVAC systems, while efficient, introduce new failure points. Issues with software, sensors, or network connectivity are becoming more common reasons why an AC is not working, requiring a technician with up-to-date diagnostic tools. You can learn more about how innovations are changing the air conditioning market on startus-insights.com.
When You Suspect a Major Component Failure
Some components are simply beyond the scope of a DIY repair. If you think the problem is with the compressor—the heart of your AC system—or you have a confirmed refrigerant leak, it’s time to call for backup.
Attempting to handle refrigerant is not only illegal without EPA certification, but it's also dangerous. Likewise, replacing a compressor is a complex job that involves specialized brazing and electrical work. One wrong move could cause extensive damage to the entire system.
This is where preventative maintenance really pays off. Understanding why you should get an AC tune-up can help you see how regular professional service is the best way to prevent these major, stressful breakdowns in the first place.
A Few Common Questions When Your AC Quits
Even after trying the basics, it's totally normal to still be stumped. An AC system has a lot of moving parts, and pinpointing the exact problem can be tricky. Let's walk through some of the most common scenarios we see and figure out what your next move should be.
Why Is My AC Running But Not Cooling the House?
This is easily the most frustrating AC problem out there. You can hear it humming away, but the air coming out of the vents is lukewarm at best. It’s a classic sign that something in the cooling cycle has broken down.
The first thing you should always do is check the air filter. Seriously. A filter that’s completely caked with dust and debris can choke off the airflow, preventing that nice, cold air from ever reaching your rooms.
If the filter is clean, head outside and take a look at the big condenser unit. Is it covered in a blanket of dirt, grass clippings, or leaves? That unit’s job is to push the heat from inside your house out into the atmosphere. If it can't breathe, it can't cool.
The third, and most likely, culprit is a refrigerant leak. If both your filter and outdoor unit look good, you're probably low on refrigerant. This isn't a DIY fix—it means there's a leak somewhere that needs a professional technician to find and repair.
Key Takeaway: When your AC runs but doesn't cool, a critical part of the system is failing. You can handle checking the filter and cleaning the condenser, but a refrigerant issue is always a job for a pro who can handle the chemicals safely and legally.
How Often Should I Service My AC to Prevent Breakdowns?
Most HVAC experts, myself included, will tell you that an annual professional tune-up is the best defense against a sudden breakdown. The ideal time to get this done is in the spring, before the summer heat arrives and puts your system under serious strain.
This isn't just a quick glance-over. A real preventative maintenance visit involves critical tasks like:
- Cleaning the indoor evaporator and outdoor condenser coils.
- Checking refrigerant levels and pressures to spot leaks before they become major problems.
- Testing electrical components like capacitors and contactors for signs of wear.
- Clearing the condensate drain line to prevent clogs and water backups.
Think of it like an insurance policy for your comfort. Catching small issues early is the single best way to keep your system running efficiently and help it last as long as possible. A lot of people have misconceptions about AC maintenance; you can check out some of the most common ones in this article about the popular myths about air conditioners in Central Florida.
Could a Bad Thermostat Stop My AC From Working?
Absolutely. Your thermostat is the brain of the entire operation. If it's on the fritz, it can't tell your AC unit to kick on, leaving you in the heat. The good news is that thermostat problems are often the simplest to diagnose and fix.
Before you assume it's broken, do a quick check. Is it set to "Cool"? Is the target temperature set lower than the current room temperature? It sounds obvious, but you’d be surprised how often this is the issue.
If it's a digital model, pop in some fresh batteries. Dead batteries are a surprisingly common culprit. If you’ve done all that and the screen is still blank or totally unresponsive, the thermostat itself has likely failed and needs to be replaced. And if you’re thinking about your next system, this Heat Pump Vs AC: Which Is Best Central Air Guide is a great resource for weighing your options.
When DIY troubleshooting isn't enough, you need a team you can trust. For reliable, expert service on your HVAC, plumbing, or electrical systems, contact Heatwave Air Conditioning, Plumbing, & Electric at https://www.heatwavehvac.com.