
High water bills can be the first hint that water’s slipping away unseen—behind drywall, under concrete, or through corroded fittings. A quick look at your meter and a handful of basic tools can save you a mountain of headaches (and dollars) down the road.
Quick Guide To Finding Water Leak In House
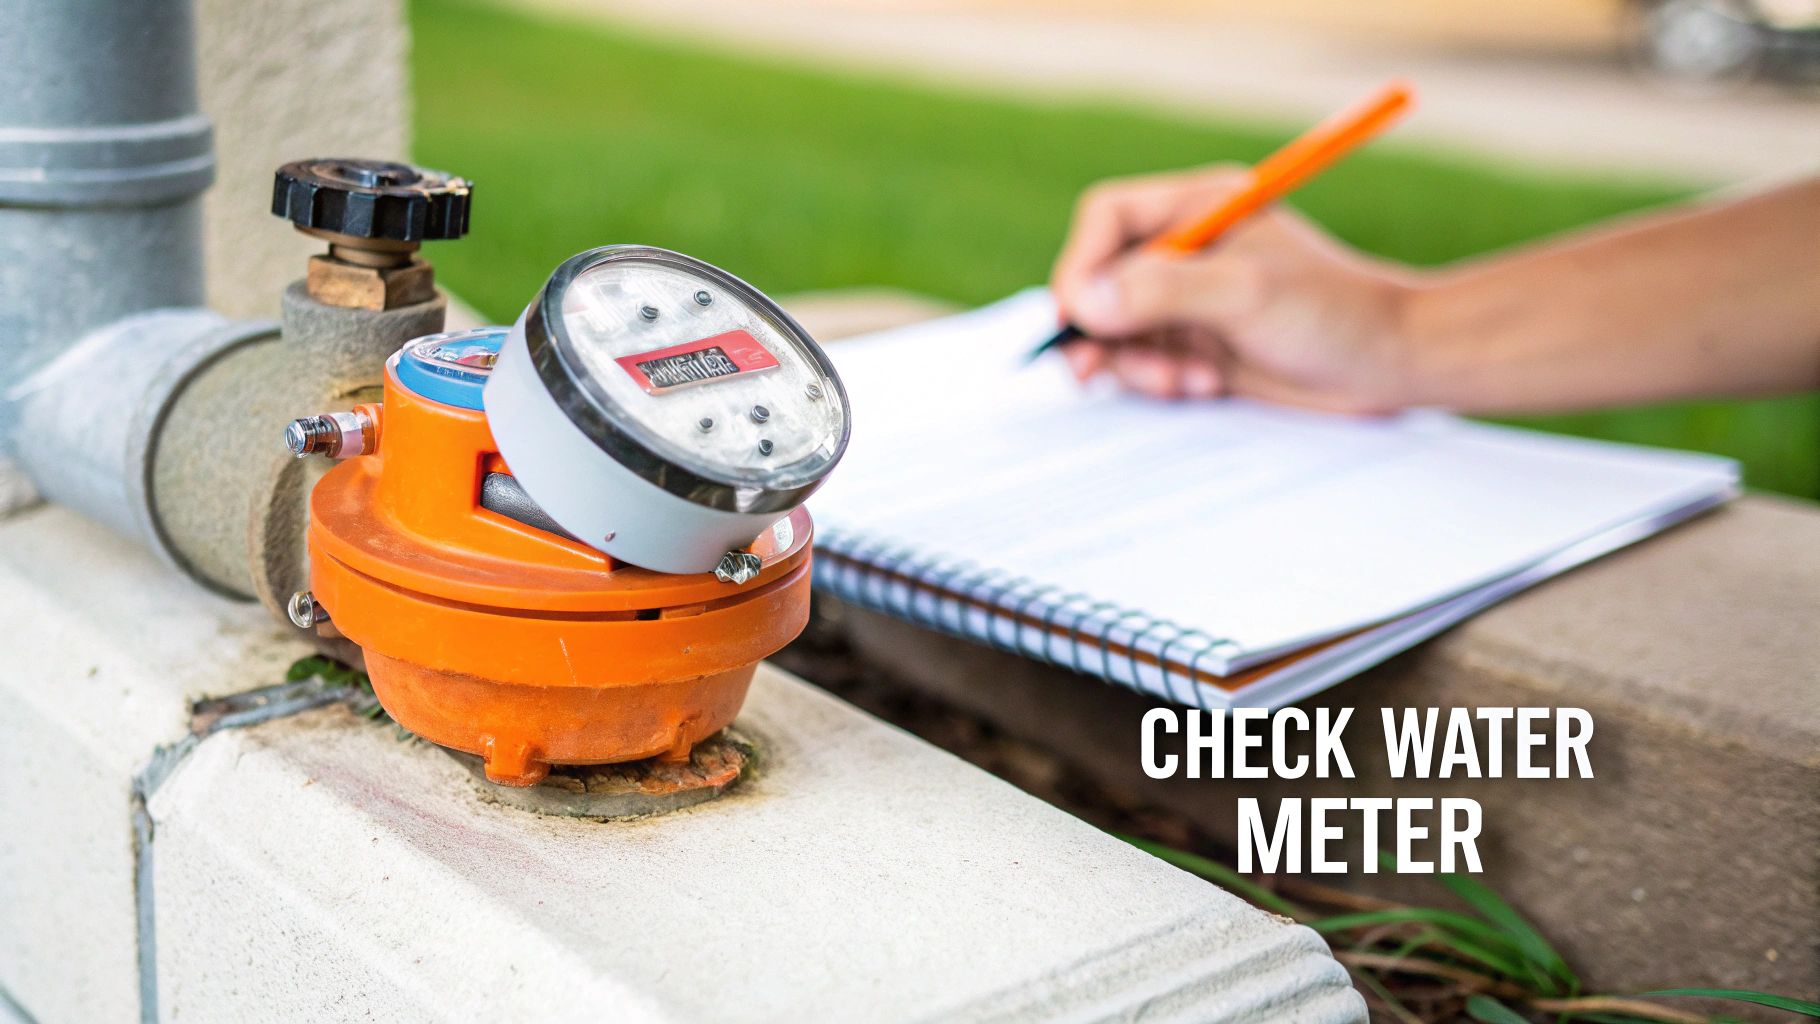
Take a moment to turn off every faucet and fixture inside your home, then head straight to the water meter. Jot down the reading and watch closely: if the dial keeps moving, there’s water flowing somewhere you can’t see.
Next, get down on your hands and knees in the utility areas. Under sinks, around water heaters, and behind washing machines—feel every joint and seal for dampness. A bright flashlight will highlight drips and corroded spots you’d otherwise miss.
When you’re ready to dig deeper, try these practical tactics:
- Silent Meter Test: Shut off your main valve, then check the meter. Movement means an exterior leak; a still meter points indoors.
- Visual Pipe Scan: Follow supply lines with a flashlight, feeling along couplings and packing nuts for moisture.
- Listening for Drips: An acoustic sensor can amplify even the quietest leaks behind walls or beneath slabs.
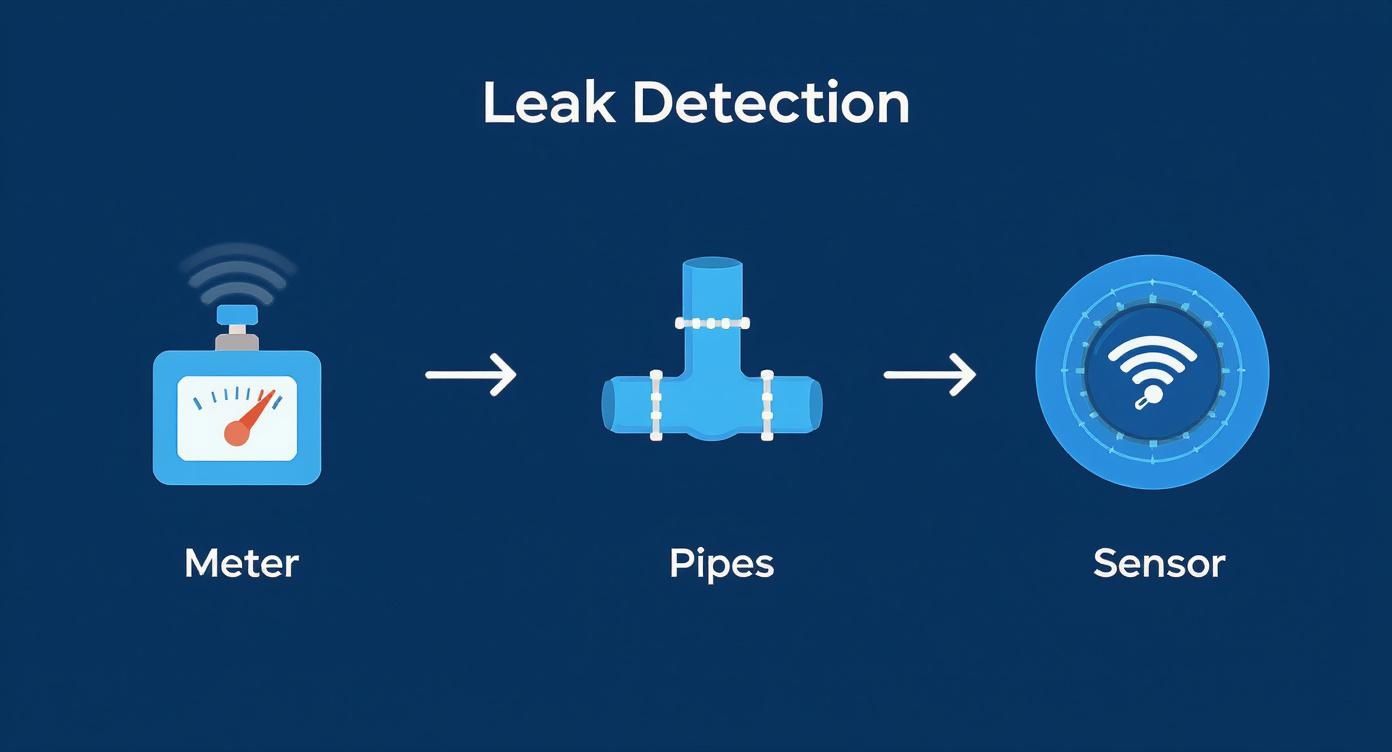
This visual breaks down how meter checks, pipe inspections, and moisture detectors work together—helping you catch leaks before they turn into costly repairs.
In 2023, the global market for residential leak detection systems hit USD 1.5 billion and is on track to reach USD 3.8 billion by 2032. Clearly, homeowners everywhere are waking up to the value of early detection.
Leak Detection Methods At A Glance
Below is a quick comparison of the most popular techniques, what you need to get started, and when each method shines.
| Method | Tools Needed | Cost Range | Use Case |
|---|---|---|---|
| Meter Check | Screwdriver, notepad | Free–$5 | Isolating interior vs. exterior leaks |
| Pipe Scan | Flashlight, moisture meter | $20–$40 | Examining visible supply lines and joints |
| Acoustic Listening | Acoustic sensor | $50–$200 | Detecting hidden drips behind walls or slabs |
| Infrared Imaging | Thermal camera | $80/day | Mapping moisture under slabs and behind walls |
Each approach has its sweet spot. A simple meter check costs next to nothing but can point you in the right direction. Pipe scans and listening devices demand a bit more investment, while infrared cameras give a clear “picture” of moisture—but at rental rates.
Real Tampa Bay Leak Examples
Living in Tampa Bay’s steamy humidity is a recipe for corroded copper joints and hidden slab leaks. I’ve seen tile flooring bubble up only after ceiling drywall sagged underneath.
Common local scenarios include:
- Behind kitchen cabinets, a slow drip wasted 200 gallons before anyone noticed.
- Bathroom slabs quietly soaked the subfloor, leading to mold spots on grout lines.
- Sprinkler system cracks that dump thousands of gallons under lush lawns without any visible puddles.
Check out our guide on common plumbing problems and solutions for tips on stopping these leaks before they start.
Early detection can save thousands in repairs by keeping a tiny drip from turning into a full-blown structural nightmare.
Armed with these steps and inexpensive tools, you’ll catch most leaks yourself. But when that slab leak stays stubbornly out of reach, it’s time to call in the pros.
Knowing When To Call Pros
DIY methods cover small drips and exposed piping. If you’re battling a pressurized service line break, a persistent meter spin, or suspect a slab leak deep in the foundation, don’t hesitate. Heatwave offers professional slab and hidden leak detection throughout Tampa Bay—with free estimates and rapid response—so you can protect your home without the guesswork.
Monitor Your Water Meter For Hidden Leaks
Your water meter is more than a dial—it’s a built-in leak detector. Even when every tap is off, those ticks or digital pulses signal movement in your pipes.
First, shut off every faucet, appliance and irrigation valve. Snap a photo of the meter display or record the numbers with date and time. Keep a notepad by the meter box so you don’t lose track of each reading.
A Tampa Bay homeowner spotted her usage soaring from 8,000 to 12,000 gallons in just a few days. By logging hourly snapshots, she discovered a failing toilet flapper was bleeding off over 2,500 gallons before she fixed it.
- Turn Off All Indoor And Outdoor Fixtures
- Record The Initial Meter Reading With Date And Time
- Wait Two Hours Without Using Any Water
- Recheck The Meter For Any Change
Interpret Small Increments
Some meters tick in 0.01-gallon steps. Tracking these tiny movements can catch a barely noticeable drip.
Logging readings over 72 hours often uncovers a slow, steady loss—your first clue to a slab or hidden wall leak.
Hidden drips can leak up to 100 gallons overnight before any visible signs appear.
Plot the data in a free spreadsheet or leak-tracking app to see consumption patterns at a glance.
Reset And Compare
Most digital meters let you hit a reset button or switch to a leak-indicator screen for fresh data. Analog dials mean zeroing out your notepad and starting from scratch. Both approaches reward a bit of patience.
| Meter Type | Reset Method | Visibility |
|---|---|---|
| Analog Dial | Note Base Reading | Low |
| Digital Screen | Press Reset Button | High |
In the U.S., aging pipes and fixtures account for more than 2.1 trillion gallons of water lost annually. For a deeper look, check the full research on the water leakage detector systems market.
Next Steps After Detection
If your meter keeps moving with everything off, start with quick fixes: tighten loose toilet tank nuts, replace worn flapper valves or snug up compression fittings.
When those don’t stop the dial, professional slab-leak detection or pipe tracing is the answer. Calling a specialist pays off when hidden leaks threaten both your foundation and budget.
Check out our guide on residential leak detection in St Petersburg for detailed pricing, timelines and advanced techniques.
Use a camera. Catch leaks early. Save water—and money.
Inspect Visible Pipes And Appliances
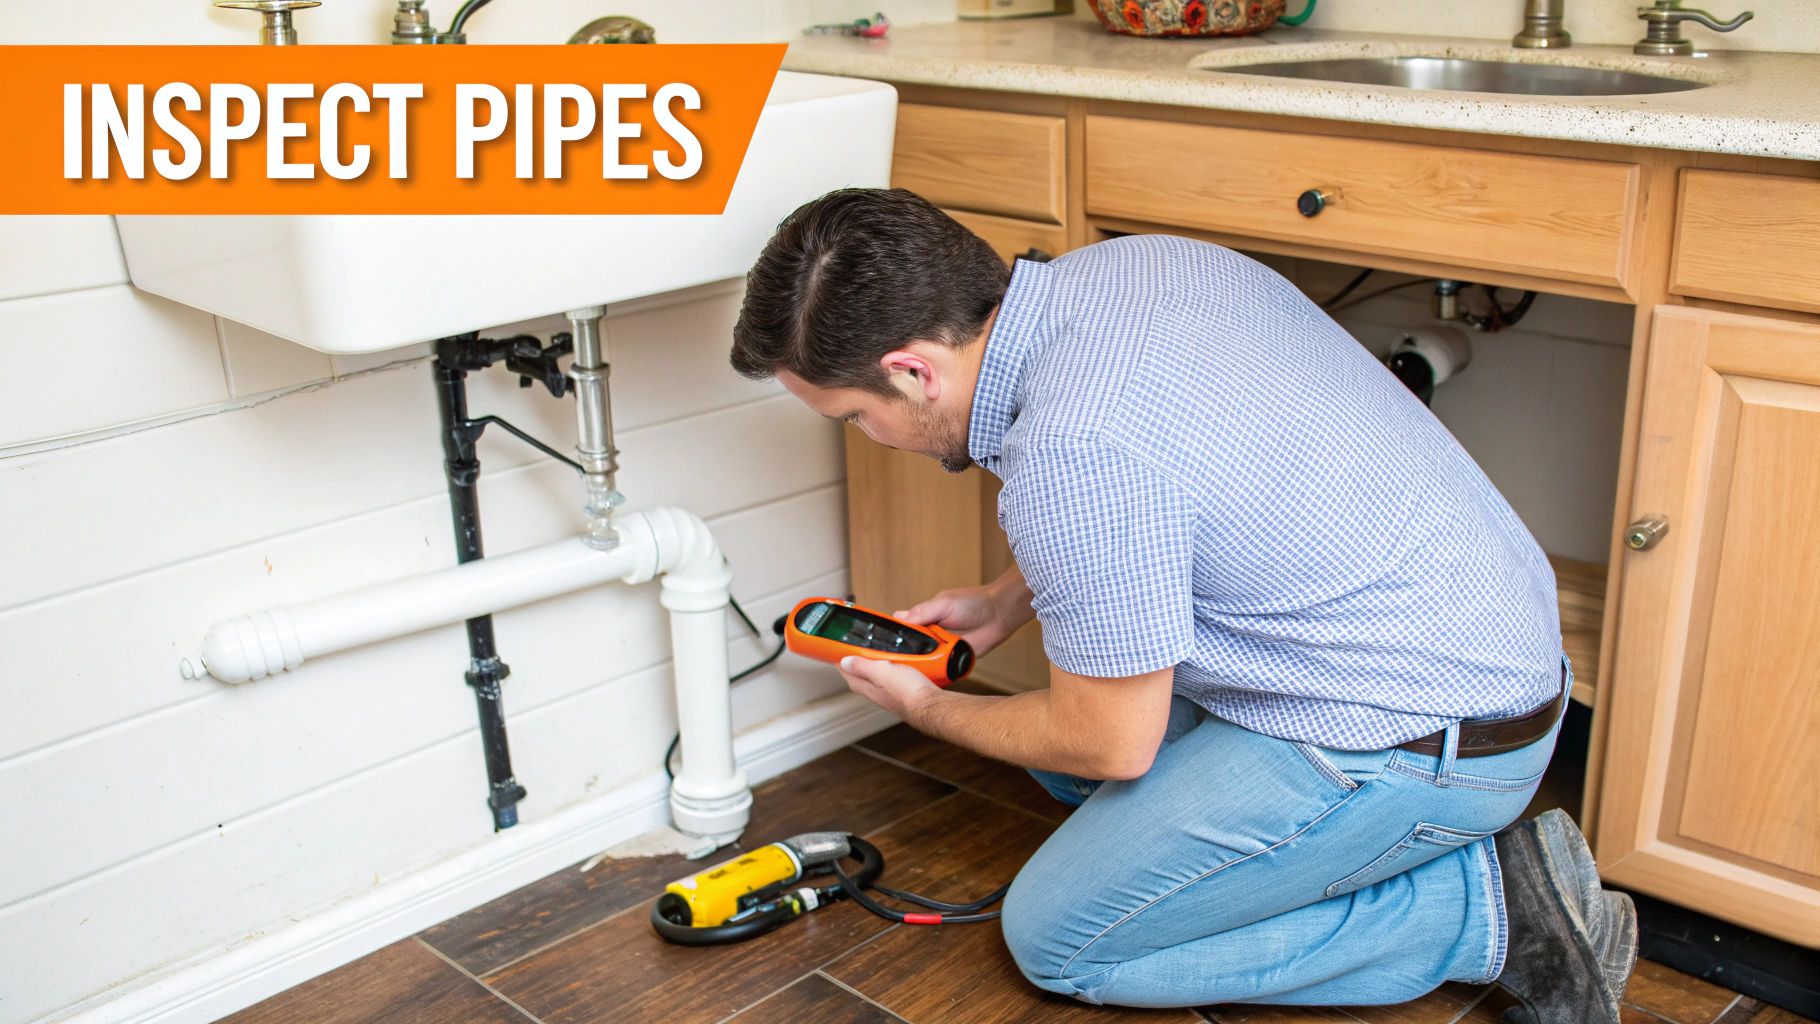
A quick peek under the sink often tells you more than you’d expect. Damp spots around fittings or slight water trails on supply lines are dead giveaways. I always run my fingers along each joint—tiny leaks can hide in plain sight. And if you listen closely for the soft “plink” of a drip behind a cabinet, you’ll catch issues before they grow into big problems.
This image captures an ultrasonic sensor in action, pinpointing moisture behind drywall. Notice how the high-frequency spikes line up perfectly with a hidden AC line leak. Tools like this zero in on trouble zones even before you see a single drip.
Checking Under Kitchen Sinks
When I’m under a sink, a $50 moisture meter is my go-to. You’d be surprised how often your fingertips miss damp spots that a sensor picks up instantly. I also drop a bit of food coloring down the drain. If colored water shows up under the cabinet, you know exactly where it’s escaping.
- Shine a bright flashlight on valves and fittings to spot corrosion or damp insulation.
- Use a dye test to trace leaks in P-traps and compression joints.
- Let your moisture meter display humidity levels—anything above 50% in a dry house is a red flag.
Once you’ve pinpointed the issue, tighten those compression nuts about a quarter turn. If the supply line wiggles, swap out worn gaskets to stop future drips.
Verifying Appliance Connections
Appliances hide a surprising number of leaks. Dishwashers and washing machines often weep at hose connections, so I always:
- Visually inspect hoses for bulges, cracks, or discoloration.
- Feel around couplings while the unit drains to catch barely-there drips.
- Replace old rubber washers and switch to reinforced hoses if anything looks tired.
Even a barely noticeable drip can waste hundreds of gallons each month before pooling shows up.
Most DIY fixes—new hoses and washers—run under $100. That’s a small price to pay compared to warped flooring or a waterlogged subfloor.
Choosing Detection Tools
Before you hit the hardware store, it pays to know what each gadget does best. Here’s a quick overview to match your budget and accuracy needs.
Detection Tool Comparison
| Tool Type | Detection Method | Accuracy Level | Price Range |
|---|---|---|---|
| Moisture Meter | Optical sensor reading | Medium | $30–$60 |
| Ultrasonic Sensor | Sound waves | High | $200–$350 |
| Infrared Camera | Thermal imaging | High | $80/day |
No single tool does it all. Moisture meters are great for general checks, ultrasonic units excel at hidden lines, and infrared cameras reveal temperature shifts behind walls. Choose based on the area you suspect—and how deep you’re willing to dig.
Inspecting Water Heater Connections
Water heaters love to hide leaks where you least expect. I always crouch down and:
- Check the pressure relief valve discharge pipe for a hint of dampness.
- Feel the inlet and outlet threads for early corrosion.
- Run a clean tissue along every joint—micro leaks leave the tiniest wet trails.
For detailed maintenance advice on your heater setup, check out our simple guide on extending your water heater life in Pinellas Park.
Real-World Tampa Bay Case Study
A local homeowner once heard faint dripping above the living room ceiling. Armed with an ultrasonic sensor, they traced the sound through drywall and found an AC line leak. Acting fast prevented ceiling collapse and mold growth. Early detection saved over $1,200 in drywall and paint work.
Make these visual, tactile, and audible checks part of your routine. A little attention today keeps emergencies—and big repair bills—far away.
Detect Slab And Wall Leaks With Specialized Techniques
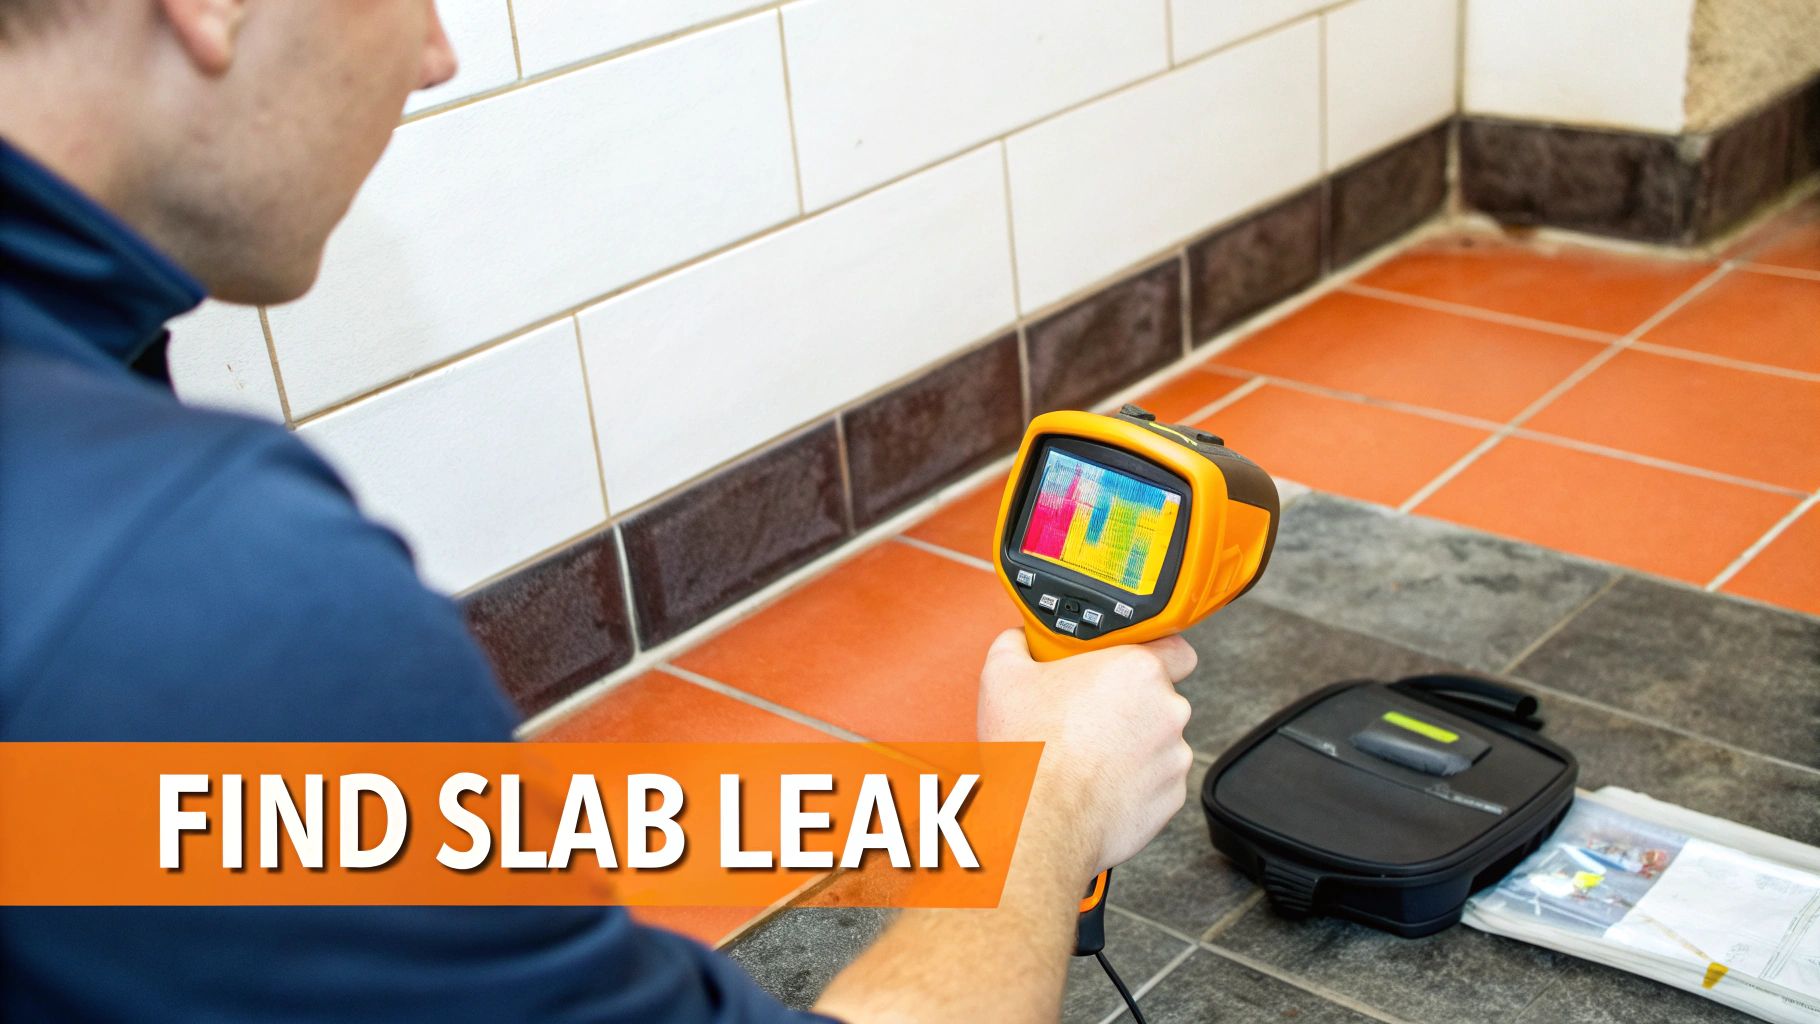
When you’ve swept every visible corner and still see no drip, it’s time to bring out the heavy hitters. Acoustic amplifiers and listening disks can pick up the faint hum of water under concrete. Thermal cameras, on the other hand, expose temperature shifts behind drywall that signal moisture intrusion.
Here’s what I always keep in my leak-detection kit:
- Acoustic Amplifiers trace sound waves through concrete to pinpoint pressure changes.
- Listening Disks act like a stethoscope against floors or walls, isolating leak noise.
- Infrared Cameras reveal dark thermal patches where water cools the surface.
- Moisture Probes slip under tiles with minimal damage to confirm wet spots.
Using Acoustic Amplifiers
Acoustic gear turns those quiet slab leaks into clear audible signals. I start by laying the listening disk beside the water line and slowly pivot until I lock onto a steady drip noise. A friend in St. Pete once caught a whispering leak at a copper elbow and stopped a costly tear-out.
Key moves for reliable results:
- Position the disk next to the suspected pipe run.
- Adjust pressure until the drip registers clearly.
- Walk the slab in a loose grid to map out any leaks.
- Double-check dry areas to eliminate background noise.
Thermal Imaging Inspection
Point a thermal camera at walls or slabs, and moisture shows up as cool, shadowy areas. It’s a fast way to scan large surfaces without drilling. Just remember to compare against known dry sections—sunlight or vents can throw off your readings.
Watch out for these false positives:
- Drafty window frames that mimic damp spots
- Insulation gaps which look cooler on screen
- Electrical cables producing misleading heat signatures
Thermal scans catch up to 90% of hidden moisture issues when done right.
Sampling Behind Tiles
When thermal or acoustic hints converge on a tight zone, drill a tiny access port—no more than a 1/4-inch bit. Slide in a moisture probe or borescope to confirm the breach. Once you’re certain, patch the hole with matching grout and move on.
| Tool Type | Detection Method | Accuracy | Cost Range |
|---|---|---|---|
| Acoustic Amplifier | Sound waves | High | $150–$300 |
| Infrared Camera | Thermal imaging | Medium | $80/day |
| Moisture Probe | Electrical pin | Medium | $20–$50 |
Check out our guide on slab leak repair in St Petersburg for detailed timelines and pricing.
Read also our slab leak repair guide
When To Call A Professional
If your DIY tests still leave you guessing, it’s time to bring in a licensed specialist. Pros use advanced pipe tracers and pressure tests that zero in on leaks in minutes—and often without cutting a single tile. For moisture infiltration in attics, walls or roofs, don’t forget to explore expert roof leak detection.
A fast, accurate diagnosis can save you thousands in foundation repairs. Heatwave’s slab leak team in Tampa Bay is standing by with free estimates. Stop that silent drip before it turns into a full-blown crisis.
Prevent Future Leaks And When To Call A Plumber
Stopping a leak is one thing; making sure it never comes back is another. In Tampa Bay’s humid heat, I’ve learned that routine inspections in spring and fall can save a lot of headaches down the road.
Seasonal Maintenance Checklist
- Inspect outdoor hose bibs for loose fittings and replace any worn gaskets
- Flush the water heater to clear sediment and boost efficiency
- Cycle shutoff valves off and on to confirm they operate smoothly
- Scan exposed pipes for rust spots or degraded insulation
A simple quarter-turn on a loose sink fitting recently halted a persistent drip behind a kitchen cabinet. You’d be surprised how often a worn rubber washer under a faucet leads to warped flooring over time.
Consistent upkeep can cut plumbing repair costs by up to 40% over five years.
Cost Expectations In Tampa Bay
Budgeting for leak repairs is easier when you know the going rates. That way, you avoid sticker shock when you pick up tools or call in a pro.
- DIY hose bib gasket kits: $15–$25
- Moisture sensors and tool add-ons: $50–$100
- On-demand plumber service call: $150–$250
| Repair Type | Cost Range | Notes |
|---|---|---|
| DIY Compression Tightening | $0–$10 | Basic tools required |
| Sensor Installation | $50–$100 | Alerts you to future drips |
| Emergency Plumber | $150–$250 service | Rapid response in urgent situations |
Setting aside a small tool fund and planning a professional visit every couple of years keeps you proactive. Sensors installed now pay off when they catch a pinhole before water meets wood.
When To Call A Professional
Many drips can be tamed with your wrench, but don’t push your limits. Bring in a pro if you notice:
- Cracks in concrete around slab edges
- Persistent moisture pooling under flooring
- A spinning water meter when no fixtures are running
- Mold or mildew appearing behind drywall
If water sneaks below your slab or into hidden cavities, it’s time for professional slab leak detection. Slab leaks can quietly erode foundations, so don’t wait.
For larger home repair needs or just a second set of eyes, reach out to local handyman services that can prevent small issues from becoming big headaches.
Learn more about our comprehensive plumbing services and when to schedule a visit on our plumbing page.
Heatwave’s licensed techs in Tampa Bay offer free estimates and 24/7 support for slab leaks, repiping, and emergency repairs. We’re on call around the clock.
Expert Insight
“Early leak detection and prompt repair protect your home’s structure and keep mold at bay,” says a veteran Tampa plumber.
DIY Quick Fixes To Seal Minor Leaks
Small drips shouldn’t leave you helpless. In many homes, tightening fittings and swapping gaskets work wonders.
- Tighten compression fittings until the drip stops—usually a finger plus a quarter-turn
- Replace sink and toilet gaskets with new rubber seals (under $10 each)
- Patch tiny pinholes in low-pressure lines using epoxy putty; let it cure 24 hours before restoring water
These fixes require minimal tools and skill. If you’re unsure, ease off and call for backup—mainline breaks demand professional attention.
Sensing Humidity And Corrosion Early
A pocket hygrometer next to water lines can flag rising humidity before visible damage appears. It costs under $20 and fits in a shirt pocket.
- Monitor moisture levels near AC condensation lines
- Wrap damaged insulation with silicone tape to block moisture
That simple approach spots trouble points before they turn into active leaks.
FAQ
You might not see a leak until a musty smell hits or paint starts to peel. In Tampa Bay’s heat and humidity, mold can take hold in just 48 hours. Letting these whispers go ignored can up your repair bill past $2,000 before you know it.
Common early indicators include:
- Hearing a soft drip behind walls right after you run water
- Noticing your water bill jump over 20% without explanation
- Spotting drywall that feels spongy or looks discolored along pipes
Smart Leak Detector Accuracy
Smart sensors boast up to 90% accuracy for tiny drips and pinhole leaks. Yet in real homes, where you place them matters more than the sticker price. Position detectors near sinks and tubs, and you’ll get instant alerts on your phone the moment moisture appears.
| Device Type | Detection Range | Price Range |
|---|---|---|
| Under-sink sensors | 1 inch radius | $20–$50 |
| Floor mat alarms | 3 feet radius | $40–$80 |
| Whole-home hubs | Multi-point | $100–$250 |
For instance, a Clearwater homeowner caught a soft click behind the kitchen wall thanks to a floor mat sensor. They fixed a slab leak for $80, sidestepping nearly $900 in tile repairs.
DIY Vs Professional Boundary
With a simple moisture meter and listening probe (both can run under $100), you can often track down a leak in a wall or slab. That said, anything burrowed deep under your foundation deserves a pro’s acoustic inspection.
When To Call A Pro:
- Your meter needle jumps even after shutting off every valve
- Water keeps pooling under tile or concrete floors
- You suspect a main line or pressure pipe has failed
Immediate Actions For Floor Moisture
Spotted moisture under your floor? First, cut power to nearby outlets and unplug appliances. Then lift a corner of the flooring to let air circulate and pinpoint the leak.
- A quick seal of a loose tile edge can cost under $30
- Full floor removal and repair? You’re looking at $1,500–$3,000
Acting within 24 hours can prevent mold spread and trim repair bills by up to 60%.
For expert help in Tampa Bay, contact Heatwave Air Conditioning, Plumbing, & Electric