Adding an outdoor electrical outlet is one of those projects that pays you back time and time again—perfect for holiday lights, power tools, or just charging your phone while you relax on the patio. But before you get to the fun part, a little bit of careful planning is the most important step. It's the difference between a smooth, safe installation and a weekend full of headaches.
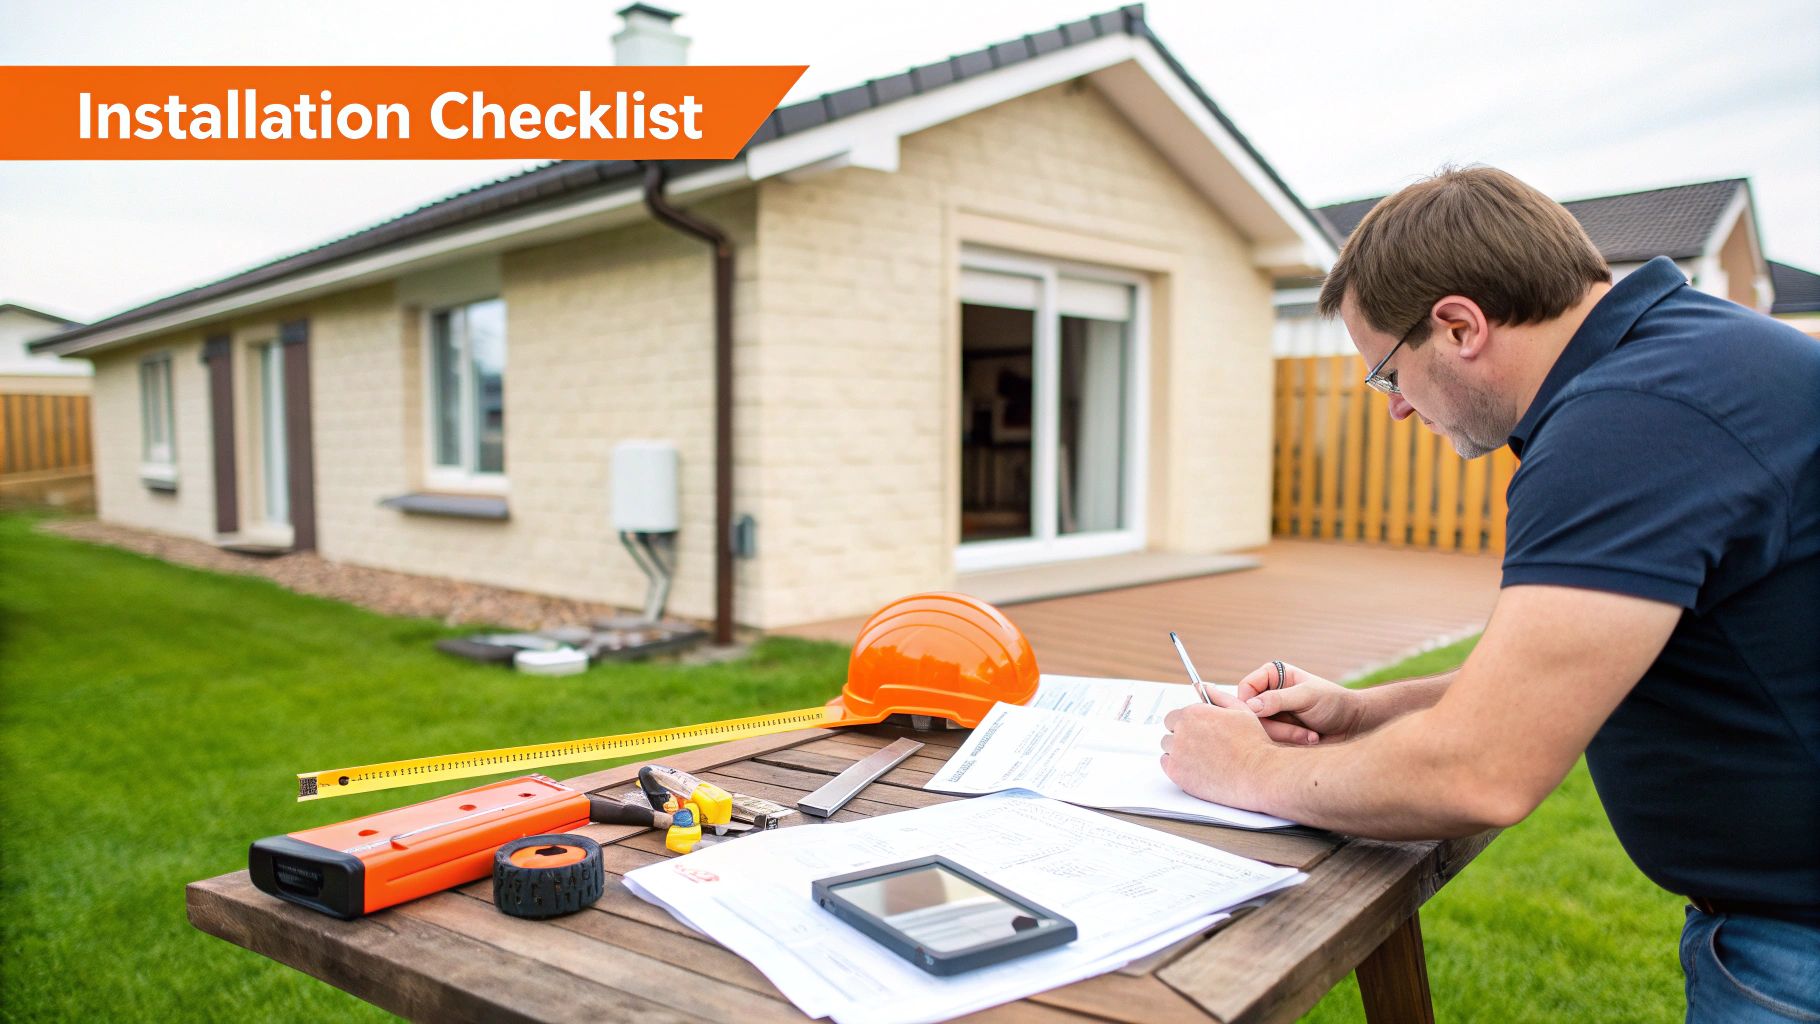
Your Essential Pre-Installation Checklist
Remember the old carpenter’s rule: measure twice, cut once. For electrical work, it’s all about planning meticulously before you even touch a wire. This prep phase is where you map out the entire project, preventing those frustrating trips back to the hardware store and, more importantly, avoiding dangerous mistakes.
Good planning turns a complex job into a straightforward, step-by-step process. Let's walk through what you need to figure out first.
Understanding Local Codes and Permits
First things first: you have to play by the rules. Electrical work is heavily regulated for a good reason—safety. Outdoor wiring faces even stricter codes because of its exposure to the elements.
Before you buy a single part, you need to check in with your local building department. For those of us here in Tampa Bay or Southwest Florida, that means your specific city or county office.
You’ll want to ask two key questions:
- Do I need a permit? Often, just tapping into an existing circuit for one outlet might not require one. But if you're running a whole new circuit from your breaker panel, you almost certainly will.
- Will it need an inspection? If a permit is required, a licensed inspector will need to sign off on your work. Skipping this can lead to fines and cause major problems if you ever decide to sell your home.
This step is non-negotiable. It ensures your work meets the National Electrical Code (NEC) and any local rules, keeping your family safe. It's also a good idea to keep your system in top shape with routine check-ups. You can learn more about the importance of regular electrical inspections to stay proactive.
Selecting the Best Outlet Location
Where you put the outlet is a strategic decision, balancing convenience with safety and code requirements. As you map out your plan, think about how different outdoor living space ideas might influence where you need power most.
Here are a few things to consider when picking the perfect spot:
- Convenience: Where will it actually get used? Think about your string lights, landscape tools, or maybe a small water feature.
- Height: The NEC generally requires outdoor outlets to be installed at least 12-18 inches above the ground. This helps protect them from splashing rain and puddles.
- Power Source Proximity: The simplest DIY route is to tap into an existing indoor outlet on the other side of the wall. The closer the better, as it means less cable to run.
- Underground Utilities: Before you dig any trench, even a shallow one, call 811. It’s a free service that marks your underground utility lines (gas, water, etc.) so you don't accidentally hit something dangerous.
Identifying Your Power Source
Your new outlet needs to get its juice from somewhere, and you've got two main options. For most DIYers, the easiest path is tapping into an existing indoor circuit. This involves running a new cable from an interior outlet box out to your new exterior box.
But if you’re planning to run power-hungry equipment—like a big pressure washer or heavy-duty tools—you might need to run a new, dedicated 20-amp circuit straight from your breaker panel. This is a much bigger job and is often where homeowners decide to call in a professional.
Cost can be a big factor here, too. According to Angi, the cost to install an outdoor outlet can be 400-500% higher when you have to dig a trench compared to a simple installation right on the side of the house.
Getting Serious About Electrical Safety
Working with electricity is a different ballgame than most other DIY projects. This isn't like painting a room or fixing a leaky faucet—it demands your full attention and a healthy dose of respect. Before you even touch a single wire, adopting a safety-first mindset is the single most important part of this job. Getting this right is what protects you, your family, and your home.
It all starts at your home's command center: the breaker panel. Your first, non-negotiable step is to kill power to the correct circuit. Don't just assume flipping a switch did the trick. Once the breaker is off, you have to prove the circuit is dead.
Pro Tip: Grab a non-contact voltage tester and touch the tip to the hot wire terminal on the indoor outlet you're tapping into. No light, no beep? You're good to go. This two-second check is your best defense against a nasty shock.
Your Personal Protective Gear
With the power confirmed off, it's time to gear up. Personal Protective Equipment (PPE) isn't for show; it's essential for any electrical work, no matter how small.
- Insulated Gloves: These are specifically designed to stop a current in its tracks if a wire is hot when you thought it was dead.
- Safety Glasses: A must-have to protect your eyes from debris when you're drilling through walls or from an unexpected spark.
- Rubber-Soled Shoes: They add another layer of insulation between you and the ground, making it harder for electricity to find a path through your body.
Think of PPE as your backup plan. Turning off the breaker is your primary line of defense, but this gear is what saves you from the unexpected. For a deeper dive, our guide on essential electrical safety tips has even more great info.
Why GFCI Protection Is Non-Negotiable Outdoors
Outdoor spaces are full of moisture—rain, humidity, sprinklers—which is a huge problem for electricity. That's exactly why the National Electrical Code (NEC) is so strict about one thing: all outdoor outlets must have Ground Fault Circuit Interrupter (GFCI) protection.
A GFCI outlet is a smart device that constantly watches the electrical current. If it senses even a minuscule imbalance—like electricity finding a path through a person instead of the wire—it instantly cuts the power. That split-second reaction is what turns a potentially fatal shock into a minor jolt.
The impact of this technology is huge. Since the NEC made GFCI mandatory in 1962, tripping in just 1/40th of a second, outdoor electrocutions in the US have dropped by 70%. While bad wiring still contributes to thousands of home fires, a properly installed GFCI can slash your risk of serious electrical shock by up to 98%. The Electrical Safety Foundation International has some fantastic information on these life-saving advancements.
The Unique Dangers of Outdoor Electrical Work
Beyond the usual risks, taking electrical work outside introduces a few unique challenges. You have to account for these to build a safe, long-lasting installation.
Key Outdoor Electrical Hazards
| Hazard | Description & Solution |
|---|---|
| Moisture Ingress | Rain and humidity are your enemies. Always use a weatherproof electrical box and an in-use cover (the "bubble cover" kind) that shields plugs even when something is plugged in. |
| Physical Damage | Outlets can get bumped by lawnmowers or weed whackers. Try to place the outlet in a protected spot and use rigid conduit to shield any exposed wiring. |
| Improper Grounding | The ground wire is your failsafe. Make sure the bare copper or green wire is tightly screwed to the green terminal on the GFCI receptacle. |
Ignoring these outdoor-specific details is where many DIYers go wrong. An installation that would be perfectly fine indoors can become a serious hazard when exposed to the elements. By taking these precautions seriously, you’re not just installing an outlet—you’re building a safe and reliable power source for your outdoor space.
Installing the Outlet Box and Running the Cable
Alright, you’ve got your power source picked out and you've double-checked your safety plan. Now it’s time to get hands-on. This is the part where we turn that indoor circuit into a super-convenient outdoor plug. We’ll walk through mounting the box, pulling the cable, and making those first critical connections.
Patience is your best friend here. If you take your time to drill a clean hole, get the box mounted securely, and strip the wires just right, you'll end up with a pro-level installation that's safe and built to last against Florida's weather.
Before you touch a single tool, run through this simple safety loop. It should become second nature for any electrical project.
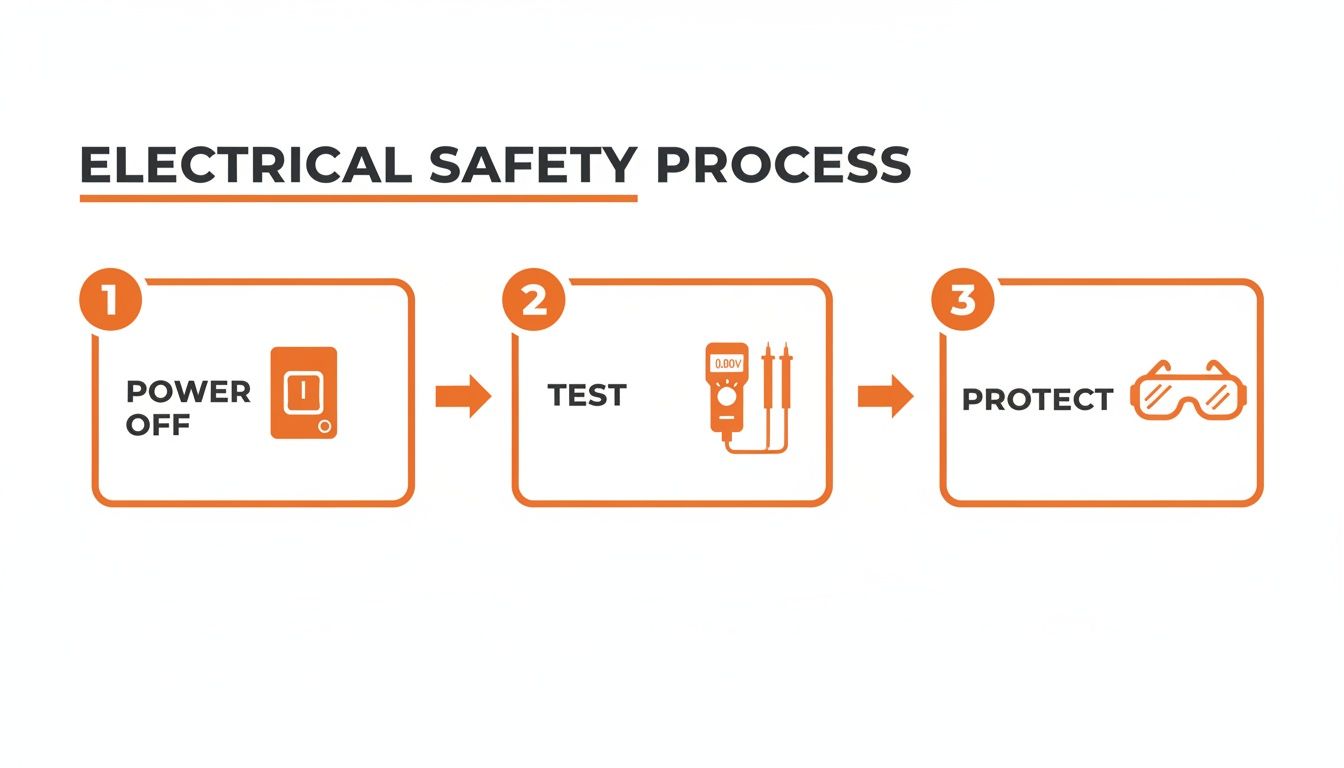
Seriously, memorize it: Power Off, Test, and Protect. It's the foundation of working with electricity safely.
Creating the Opening and Mounting the Box
First things first, we need to make a clean opening on your exterior wall for the new weatherproof box. The easiest and most accurate way to do this, assuming you're tapping an indoor outlet, is to drill from the inside out.
Find one of the small, pre-stamped circles (called knockouts) on the back of the indoor electrical box and pop it out. Grab a long, skinny drill bit—something around 1/4-inch—and drill straight through to the outside. This little pilot hole is your perfect marker.
Now, head outside and find your pilot hole. Hold the new weatherproof box up against the wall, using the hole as your center point, and trace around it with a pencil. You've just made your cutting template. Depending on your home's siding, you might use a jigsaw or an oscillating multi-tool to carefully cut out the shape you traced.
With the hole cut, it's time to get that box mounted.
- Feed about a foot of UF-B (Underground Feeder) cable into the indoor box through the knockout you opened earlier.
- Push the other end of that cable through the wall to the outside.
- From the outside, guide the cable through the back of your new weatherproof box.
- Use the mounting screws that came with the box to secure it to the wall. Make sure it’s level and sitting tight against the siding. For an extra layer of protection, run a bead of exterior-grade caulk along the top and sides of the box.
Running and Preparing the Electrical Cable
Now that the box is mounted, let's get the cable situated. Inside, leave just enough slack to work comfortably, then secure the UF-B cable to a nearby stud with a cable staple. It should be within 8 inches of the box.
Outside, trim the cable so you have about 6 to 8 inches sticking out from the front of the box. This gives you plenty of wire to work with without making it a pain to stuff the outlet back in later.
Next up is a delicate but crucial step: stripping the cable. That tough gray outer jacket on UF-B cable is designed to handle moisture and abuse, but it can be a real pain to remove without nicking the wires inside.
Pro Tip: The best way to strip UF-B is to carefully slice down the center of the sheathing between the wires using a sharp utility knife. Stop about an inch from where the cable enters the box. Then, you can peel the sheathing back like a banana and snip it off. Once that's done, use your wire strippers to remove about 3/4 of an inch of insulation from the black (hot) and white (neutral) wires.
Connecting Wires to the GFCI Receptacle
This is the moment of truth—connecting the wires that bring the power. Look at the back of your GFCI receptacle. You'll see two sets of terminals, one labeled "LINE" and the other "LOAD."
- LINE Terminals: This is for the incoming power from your breaker panel. It’s where you'll connect your new cable.
- LOAD Terminals: These are used to send GFCI protection to other outlets down the line. For a single outdoor outlet, you’ll just leave the sticker or tape over these terminals.
Connect the wires from the UF-B cable to the "LINE" terminals:
- The black (hot) wire goes to the brass-colored screw.
- The white (neutral) wire connects to the silver-colored screw.
- The bare copper (ground) wire wraps around the green ground screw.
Give each wire a gentle tug to make sure the connection is solid. Loose connections are a major cause of electrical problems and can be a serious fire hazard. These same principles of running cable and making durable, weatherproof connections are used in all sorts of outdoor electrical work, including professional landscape lighting installations. And if you ever feel like you're in over your head, remember that expert wiring and rewiring services are always available to ensure the job gets done safely and up to code.
Finally, gently fold the wires into the box (an accordion fold works best) and push the GFCI receptacle into place. Screw it in, add the weatherproof gasket, and finish it off by attaching your in-use cover.
Choosing Your Wiring Method: Conduit vs. Buried Cable
Getting power from your house to that new spot in the yard is a bigger decision than most people realize. The path your wire takes will dictate how durable the setup is, how tough the project will be, and what it all looks like when you're done. For a safe, professional job, you have two main options: running wires through a protective conduit or burying a specially designed cable directly in the ground.
Each method has its own playbook of rules and real-world advantages. Your final choice will probably come down to your specific landscape, your budget, and just how much abuse you think the wiring will take from shovels, lawnmowers, or Florida's ever-shifting soil. Let's dig into both of these pro-grade options so you can pick the right one for your outlet project.
The Conduit Approach: Maximum Protection
Think of conduit as a suit of armor for your electrical wires. It’s a system of pipes—usually PVC for underground work—that you can run along the side of the house or bury just under the grass. Instead of a single sheathed cable, you'll pull individual insulated THWN (Thermoplastic Heat and Water-resistant Nylon-coated) wires through this protected raceway.
This is, hands down, the best physical protection you can give your wiring. If you know you'll be digging in that area later on or the wire has to cross a high-traffic path, conduit is the smarter, safer choice.
- PVC Conduit: This is the standard for residential underground projects. It's cheap, easy to work with, and won't rust. You just cut it to length and glue the pieces together with a special PVC cement.
- EMT (Electrical Metallic Tubing): You'll see this metal tubing used for exposed runs on the side of a house, but it's a no-go for direct burial. It will eventually corrode underground, so stick with PVC for any trench work.
The real game-changer with a conduit system is future flexibility. If a wire ever gets damaged or you decide you need more power for a new project, you can just pull new wires through the existing pipe. No more digging up the whole yard.
The Direct Burial Method: A Simpler Install
The alternative is to use what’s called UF-B (Underground Feeder) cable. This stuff is tough. It's an all-in-one cable where the hot, neutral, and ground wires are completely encased in a solid, gray plastic sheathing made to handle moisture and direct contact with dirt. The process is pretty simple: you dig a trench, lay the cable in, and fill it back up.
For a lot of homeowners, this seems like the more direct route because you skip the whole step of assembling and gluing conduit sections. But that simplicity comes with a trade-off: the wire is more vulnerable. To compensate, the National Electrical Code (NEC) requires you to bury UF-B cable much deeper.
No matter the method, ensuring a solid connection back to your home's main electrical panel is critical. This is the heart of your home's electrical safety. To learn more about how this critical connection works, you can find great information on professional grounding system services that keep your system safe and stable.
Wiring Methods at a Glance
Choosing between these two isn't always cut and dry. A lot depends on your yard, your budget, and how much work you're willing to put in. Here’s a quick comparison to help you decide.
Conduit vs Direct Burial Cable Comparison
| Factor | Rigid Conduit | Direct Burial (UF-B Cable) |
|---|---|---|
| Durability | Excellent. Offers superior protection from shovels, rocks, and soil movement. | Good. The sheathing is tough, but it's still vulnerable to sharp objects. |
| Installation | More complex. Requires cutting, fitting, and gluing PVC pipe sections. | Simpler. Just dig the trench to the required depth and lay the cable. |
| Trench Depth | 18 inches required burial depth for residential circuits. | 24 inches required burial depth. That extra 6 inches is a lot of digging! |
| Cost | Higher initial cost for materials (pipe, fittings, individual wires). | Lower material cost (just the cable), but potentially higher labor if you're not digging yourself. |
| Future Proofing | Excellent. You can pull new or larger wires through the existing pipe without re-digging. | Poor. If the cable is damaged or needs upgrading, you have to dig the whole thing up. |
In short, conduit is more work upfront for long-term durability and flexibility. Direct burial is quicker and easier, but it offers less protection and requires a deeper trench.
Code Requirements and Digging Depth
Local codes are king here, and they exist for your safety. These rules are not suggestions.
- Conduit (PVC): Generally, you'll need to dig your trench to a depth of 18 inches.
- Direct Burial (UF-B Cable): This requires a much deeper trench, usually 24 inches, because the cable itself has less physical protection.
That extra 6 inches of digging might not sound like much, but if you're dealing with the compacted or root-filled soil we often have here in Florida, it's a huge amount of extra work. With more people adding patios, landscape lighting, and pool equipment, these installations are more popular than ever. In fact, the outdoor outlet market is already valued at around $5 billion and is expected to grow, with durable plastic shell models making up about 70% of residential installs. You can explore the full outdoor outlet market research to see more of the trends.
Here's a pro tip, no matter which method you pick: lay a warning ribbon in the trench before you backfill. It's a special plastic tape that says "CAUTION: BURIED ELECTRIC LINE" that you place about a foot above your cable or conduit. This one small step could prevent a very dangerous accident years from now.
Testing and Finalizing Your Installation
You've got the wires connected and the cover on—nice work. You're on the home stretch, but don't pack up your tools just yet. This last part is arguably the most important: testing your work.
This isn't just about plugging something in to see if it turns on. It’s about making absolutely sure every safety feature is working exactly as it should. I’ve seen people rush this step, and it’s a classic mistake that can leave you with a faulty—and potentially dangerous—outlet. Taking a few extra minutes for these checks gives you the ultimate peace of mind.
Safely Restoring Power and Initial Checks
First things first, head back to your breaker panel. Double-check that the area around your new outlet is clear and dry before you touch anything. Make sure you didn't leave any tools lying around. Now, go ahead and firmly switch the circuit breaker back to the "ON" position.
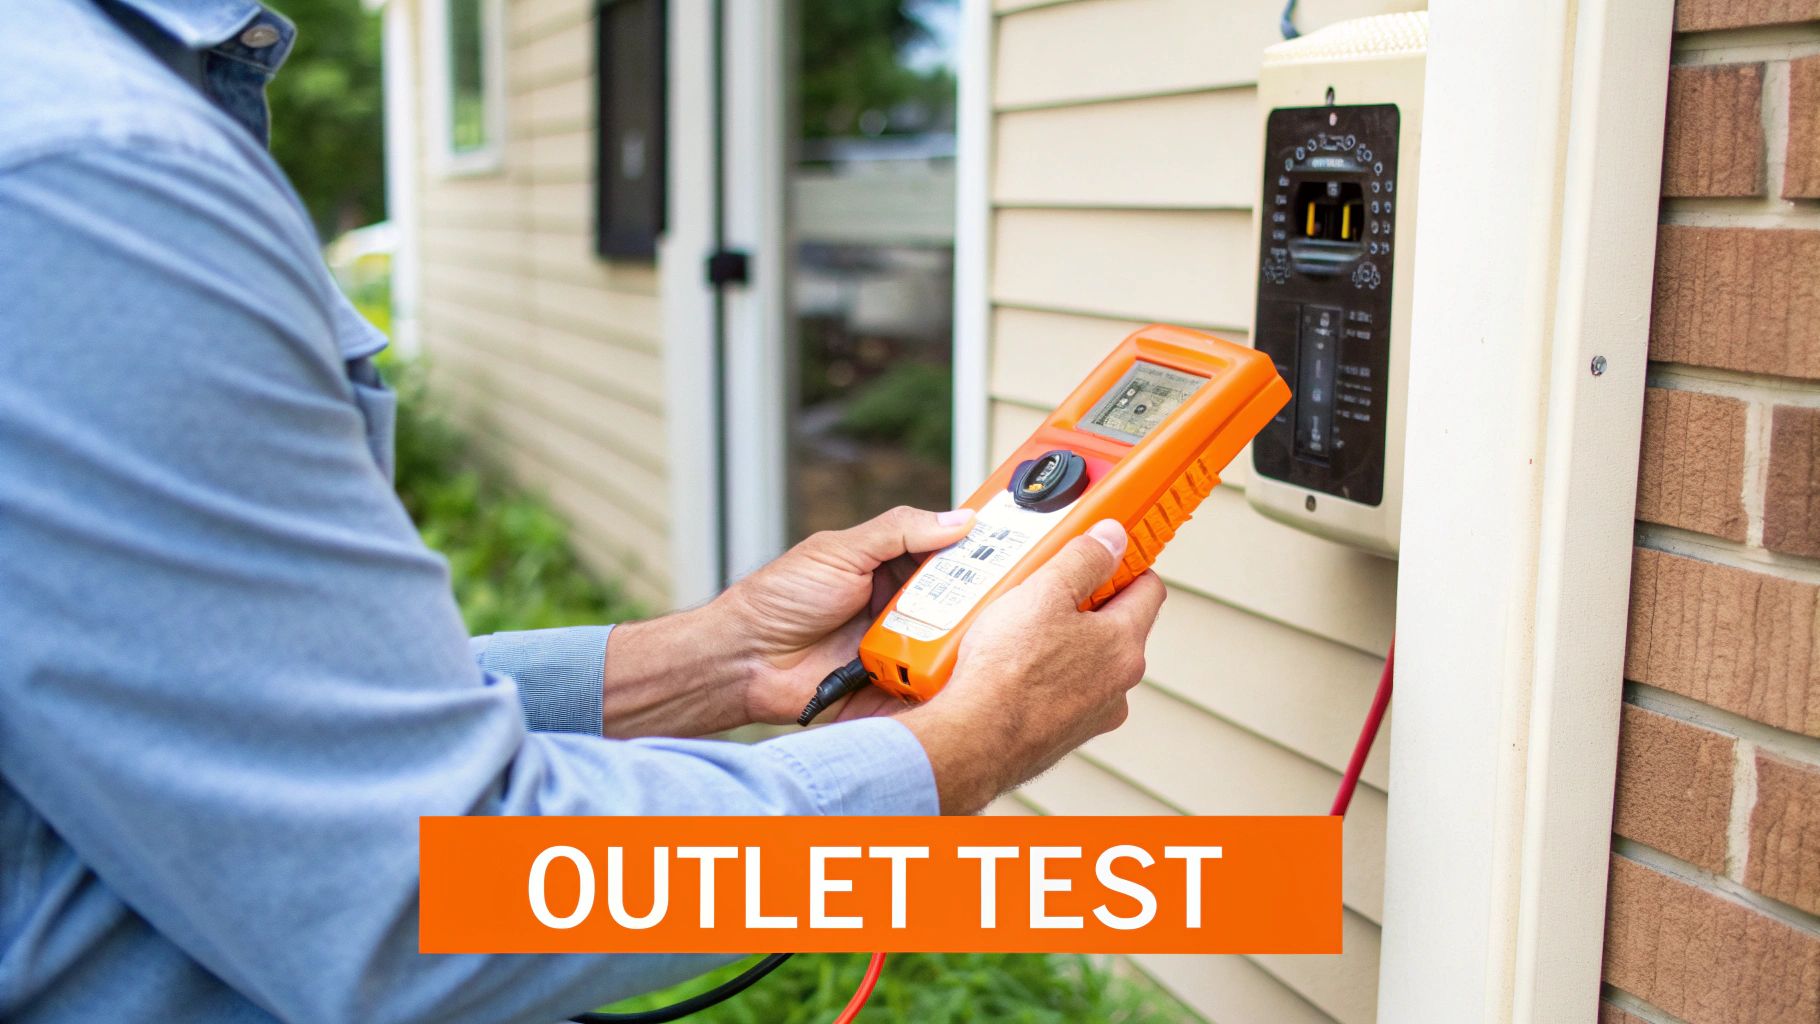
It's time to verify your connections. For this, you’ll need a receptacle tester. This is an inexpensive but invaluable little tool that plugs right into the outlet and uses a series of lights to tell you if the wiring is correct.
Go plug the tester into your new outdoor outlet. The light pattern will give you an instant diagnosis:
- Correct Wiring: Usually, two amber lights mean your hot, neutral, and ground wires are all in the right place. Perfect.
- Open Ground: This is a red flag. It means the ground wire isn't connected, creating a serious safety issue that you need to fix immediately.
- Reversed Polarity: A common mistake where the hot and neutral wires are swapped. The outlet might still power a device, but it’s a shock hazard and must be corrected.
If your tester shows anything other than the "correct" reading, head straight back to the panel, kill the power, and re-check your wire connections at the receptacle.
Testing the GFCI Safety Feature
This is the most important test you'll do. That GFCI function is what makes outdoor power safe, and you need to confirm it works in two different ways.
Start by pressing the "TEST" button right on the face of the GFCI receptacle. You should hear a solid "click" as the power is cut, and the "RESET" button will pop out. This simulates a ground fault and proves the internal mechanism is good to go.
Next, push the "RESET" button. You should hear another click as the outlet comes back to life.
Your receptacle tester also has its own GFCI test button. With the tester still plugged in and the outlet reset, push the button on the tester. This sends a tiny, controlled fault through the circuit. The GFCI should trip instantly, just like it did before. If it passes both of these tests, your protection is active and reliable.
Finalizing the Project
With all tests passed, your installation is officially complete. There's just one last thing to do to make your work look professional and save yourself a headache down the road.
Grab a permanent marker or a label maker and clearly label the new circuit in your breaker panel. Something simple like "Patio Outlet" or "Backyard GFCI" works great. Trust me, this small organizational step is a huge help for any future electrical work or if you ever need to troubleshoot an issue.
By diligently testing and finalizing your work, you've done more than just add an outlet. You've completed a project that meets high safety standards, ensuring your new outdoor convenience is built on a solid foundation of security.
Knowing When to Call a Licensed Electrician
Look, knowing your own limits is probably the most important skill any DIYer can develop. It’s one thing to feel the satisfaction of installing an outdoor outlet yourself, but it’s another thing entirely to know when it’s time to put the tools down and call in a pro.
This isn’t about giving up. It’s about being smart and recognizing that some electrical work is just plain risky without years of training. Getting it wrong doesn’t just mean a failed inspection—it can lead to dangerous wiring, expensive fixes, and a whole lot of headaches.
Red Flags Inside Your Breaker Panel
Your electrical panel is the command center for your entire home. It’s not the place for trial and error. If you pop the cover and see any of the following, that’s your cue to stop and call a professional.
- A Full Panel: If every slot is already filled with a breaker, you can’t just piggyback a new wire onto an existing circuit. An electrician needs to determine if your panel can even accept a slim "tandem" breaker or if the right move is to install a subpanel.
- Outdated Panels: See an old-school fuse box? Or maybe a panel with a brand name known for safety issues, like Federal Pacific or Zinsco? These are major red flags. These relics often lack the safety features we rely on today and need a professional eye before you even think about adding more load to them.
- No Main Breaker: Some older panels were built without a single main shutoff switch. This makes it impossible for you to safely kill power to the whole panel, turning a simple job into a dangerously live one. That’s a non-starter for any DIY project.
Trying to jam a new circuit into a crowded, outdated, or complicated panel is asking for trouble. We're talking arc flashes, electrocution, or even frying your home's entire electrical system.
When the Project Scope Gets Too Complex
Even with a modern, spacious panel, the job itself can quickly spiral beyond a simple outlet installation. Certain situations crank up the difficulty and risk, pushing the project firmly into professional territory.
One of the most common mistakes I see is homeowners underestimating a long-distance wire run. It starts out as a simple outlet install, but suddenly you're facing a massive trenching job, multiple junction boxes, and confusing voltage drop calculations just to get the right amount of power where it needs to go.
It's time to call for backup if your project involves:
- Installing a Subpanel: If you’re planning a backyard workshop, an outdoor kitchen, or multiple new circuits, you’ll probably need a subpanel. This is a mini-breaker box that's fed from your main panel, and installing one has to be done perfectly to meet strict electrical codes.
- Long or Difficult Trenching: Digging a trench 24 inches deep for a hundred feet is back-breaking work. Add in navigating around massive tree roots or trying to get under a concrete patio, and you're talking about a job that often requires specialized equipment.
- Aluminum Wiring: If you open up an outlet box and find dull gray aluminum wires—common in homes built in the 1960s and 70s—stop what you are doing immediately. Mixing copper and aluminum wiring improperly is a huge fire hazard. Only a trained electrician using special, approved connectors should ever touch it.
Projects That Are Always Pro-Level
Finally, some electrical jobs should never, ever be a DIY project. The power levels are too high, the codes are too strict, and the consequences of a mistake are just too severe. If you're planning one of these, budget for an electrician from day one.
This includes any project that needs a 240-volt circuit. We’re talking about the heavy hitters that need a lot of juice, like:
- Hot tubs or spas
- Electric vehicle (EV) chargers
- Saunas or large pool pumps
These installations require their own dedicated, high-amperage circuit run straight from the panel. The risk of fire or electrocution is simply too great to mess around with. For homeowners here in the Tampa Bay area facing a confusing panel or a major upgrade, finding trusted expert electrical repair services is the safest and smartest path forward.
Have More Questions? Let's Clear Them Up
Even after walking through the process, you might have a few lingering questions. It's totally normal. Here are some of the most common things people ask when they're tackling this for the first time.
Can I Really Install an Outdoor Outlet Myself?
For most homeowners with a bit of electrical know-how, the answer is yes. Tapping into an existing indoor circuit to add a single outdoor outlet is a very manageable weekend project.
That said, you absolutely need to check with your local building department first. Some cities or counties require a permit even for a small job like this, while others might want to inspect the work. If your plan involves adding a brand-new circuit at the breaker box, that's a different ballgame—it's always safer to bring in a pro for that.
How High Off the Ground Should the Outlet Be?
While the National Electrical Code (NEC) doesn't have a single, rigid rule for height, the accepted best practice is to mount the outlet at least 12 to 18 inches above the ground.
This isn't just a random number. It's high enough to keep the outlet safe from splashing rainwater and out of the way of potential snow drifts in colder climates. Always double-check your local codes, though, as some areas have their own specific requirements.
What Kind of Outlet Do I Need for an Outdoor Installation?
This is one area where there's no room for compromise. You absolutely must use a GFCI (Ground Fault Circuit Interrupter) receptacle. This is a critical safety feature required for all outdoor outlets.
But it doesn't stop there. The GFCI outlet needs to be installed inside a weatherproof electrical box and protected with what's called an "in-use" cover. This special cover is designed to keep everything dry and safe, even when you have something plugged into it.
Navigating electrical codes and ensuring a perfectly safe installation can feel a bit overwhelming. If you're in the Tampa Bay or Southwest Florida area and would rather have guaranteed peace of mind, the licensed electricians at Heatwave Air Conditioning, Plumbing, & Electric are always here to help.
Let us handle the job for you. You can schedule a professional installation and know it's done right.