
So, you're facing down a stubborn clog or getting ready to break ground on a new yard project. You've heard an auger is the tool for the job, but grabbing one and getting to work isn't always that simple. Using the right auger the right way is what separates a quick weekend win from a call to a professional for a costly repair.
This guide cuts through the noise. We'll cover everything from the drain snakes you need for a backed-up sink to the powerful earth augers required to dig into Florida's unique, sandy soil.
Why Using the Right Auger Matters
An auger is definitely not a one-size-fits-all tool. The small, hand-cranked drain snake you’d use for a simple bathroom clog is a completely different beast from the gas-powered earth auger you need for fence posts. Here in the Tampa Bay area, choosing the right tool for our sandy soil or older plumbing systems is the most critical first step.
Getting it wrong can mean cracked pipes, a project that's dead in the water, or even a serious injury. Think of this as your practical walkthrough, designed to give you the confidence to tackle that project safely, whether you're in Sarasota, Cape Coral, or anywhere in between. We'll get into the key differences to make sure you have the right tool in your hands.

Different Tools for Different Florida Projects
Before you even think about renting or buying, you need to be crystal clear on what you're trying to accomplish. A very common job for an earth auger here in Florida is digging post holes, especially when installing a new privacy fence. That task requires a tool and an approach that's miles away from clearing a simple drain clog.
The demand for these tools is growing, which just shows how important they are for home maintenance. The global market for earth augers was valued at USD 1.68 billion in 2022 and is expected to hit USD 2.18 billion by 2028, largely thanks to residential landscaping and construction.
That growth just proves what we already know: more and more homeowners are tackling projects that need serious, specialized equipment.
Key Takeaway: The single biggest mistake is grabbing the wrong auger. A toilet auger protects porcelain, a drain snake fits into narrow pipes, and an earth auger has the power to cut through soil and roots. Always match the tool to the specific task.
Choosing the Right Auger for Your Florida Project
To make it easier, here's a quick comparison of the most common augers you'll encounter. Think about your project and see which tool lines up best with your needs, especially considering our local conditions.
| Auger Type | Best For | Common Bit Size | Pro Tip for Florida Use |
|---|---|---|---|
| Handheld Drain Auger | Small clogs in sinks, showers, and tubs | 1/4" to 1/2" | Perfect for hair and soap buildup. Use a gentle touch—forcing it can damage older pipes. |
| Toilet Auger | Clearing toilet clogs without scratching porcelain | 3/8" to 1/2" | The rubber boot on the end is essential. Don't use a standard drain snake on a toilet. |
| Earth Auger (1-Person) | Planting shrubs, installing mailboxes, small fence posts | 4" to 8" | Great for sandy soil, but watch out for buried limestone or dense root systems. Let the tool do the work. |
| Earth Auger (2-Person) | Building decks, large fences, deep footings | 8" to 12" | You need the extra power and stability for our tougher ground conditions. Always have a spotter. |
This table should give you a solid starting point. The goal is to work smarter, not harder, and having the right tool is half the battle.
Common Auger Applications for Homeowners
While you can get creative, most home projects that call for an auger fall into a few main buckets. Knowing these will help you figure out what you need.
- Clearing Clogged Drains: This is easily the most frequent indoor use. It's your go-to for blockages in kitchen sinks, showers, and tubs.
- Digging Post Holes: Absolutely essential for building fences and decks or putting in a new mailbox that can withstand a Florida storm.
- Planting Trees and Shrubs: An earth auger is a back-saver, making quick work of digging perfect holes for your landscaping dreams.
- Aerating Soil: A smaller earth auger can be a great tool for breaking up compacted soil in garden beds to improve drainage—a common issue here.
If you hit a nasty blockage you can't clear, or if you're just not comfortable tackling it yourself, don't hesitate to call in the pros. You can learn more about our expert plumbing services and see how we handle the toughest jobs day in and day out.
Essential Safety and Project Preparation
Jumping into a project without getting your gear and workspace ready is a recipe for disaster, especially when you’re dealing with a powerful tool like an auger. Taking a few minutes to prepare is the difference between a job well done and a call to a professional—or worse, a trip to the emergency room. This isn't just about checking boxes; it's a critical part of using an auger correctly and safely.
Let’s start with what you’re wearing. For any auger job, there’s a non-negotiable set of personal protective equipment (PPE). This stuff ensures a minor slip-up doesn’t turn into a major injury.
Your basic kit should always include:
- Impact-Resistant Safety Glasses: You need these to shield your eyes from whatever the auger kicks up, whether that’s dirt and rocks from a post hole or nasty splash-back from a drain.
- Heavy-Duty Gloves: A good pair of gloves protects your hands from the sharp edges of a drain snake’s cable and gives you a much better grip on the tool.
- Closed-Toe Boots: This one is especially important for larger earth augers. If the machine kicks back unexpectedly, you’ll be glad your feet are protected.
Inspect Your Tool and Workspace
Before you even think about starting, give your auger a quick once-over. Check for any obvious signs of damage, like a frayed or kinked cable on a drain snake or a loose bit on an earth auger. A damaged tool is an unsafe tool, period.
Prepping your workspace is just as important. If you're tackling an indoor drain clog, put down some old towels or a bucket to catch the inevitable messy water. This one little step will save you a huge cleanup headache later on. And if you're wrestling with a really stubborn toilet clog, our guide on how to unclog a toilet has some extra tips that might help you out.
For outdoor projects, the prep work gets even more serious. You need to know how to handle your equipment before you start. For example, taking a moment to learn how to safely use a post hole auger can prevent serious accidents.
Crucial Safety Alert: Any time you plan to dig into the ground, you absolutely must call 811 first. It's a free service that alerts local utility companies to come out and mark the approximate location of their underground lines.
Hitting a buried utility line is no joke. It can cause power outages, dangerous gas leaks, or severe personal injury. Here in Florida, calling 811 isn't just a smart move—it’s the law. Make sure to give them at least a few days' notice before you plan to dig. This single phone call is the most important prep you'll do for any outdoor auger project.
Mastering Your Auger, Step by Step
Alright, you've got your safety gear on and the area is clear. Now for the fun part. Whether you're wrestling with a nasty clog indoors or breaking new ground in your yard, the right technique is everything. This is where you learn to handle the tool like you've been doing it for years and avoid the common slip-ups that can turn a simple job into a major headache.
The whole process really boils down to two things: control and patience. Trying to force the auger is the number one reason people end up damaging the tool or whatever they're working on. Let the machine's design do the heavy lifting for you.
Operating a Drain Auger
When you’re using a drain auger, your goal is to feel your way to the blockage, not just jam the cable down the pipe. Start by carefully feeding the cable into the drain opening. You don't want to push too hard or too fast here—a slow, steady pace lets you feel every twist and turn in the pipe.
Once you feel resistance, you've probably found the clog. Don't try to power through it. Instead, start a gentle push-and-pull motion while turning the handle. This little maneuver helps the auger's tip hook into the clog, either breaking it apart or letting you pull it back out.
This short animated guide breaks down the essential safety prep into three simple actions.

Seeing the process this way really drives home the point that a successful job always starts with a good inspection, the right gear, and knowing when to call for help before you even begin.
After you feel the clog break free—you’ll notice the tension suddenly release—retract the cable slowly. If you yank it out too quickly, you’re just going to splash grime and gunk all over the place. For more specific advice on a kitchen backup, our guide on how to unclog a kitchen sink has some extra details.
Handling an Earth Auger
Using an earth auger takes a different kind of finesse, one that’s all about stability and managing the tool's power. First, position the auger bit exactly where you want to dig. Plant your feet firmly in a wide stance. This is your foundation for controlling the machine's torque and keeping it from getting away from you.
The most effective way to use an earth auger is to let the tool's weight do the initial work. Don't force it down. Apply steady, even pressure and let the bit chew through the soil at its own pace.
Engage the throttle slowly, letting the bit gain momentum before it really bites into the ground. As it digs, you’ll need to lift the auger out of the hole every so often to clear away loose soil. This keeps the bit from getting stuck, a really common problem in the compacted sand and clay we see all over the Tampa Bay area.
The auger drilling market is a big deal, expected to grow from USD 2.27 billion in 2023 to USD 4.15 billion by 2030, thanks to infrastructure projects around the world. What’s interesting is that research shows safe operating techniques are just as important as the tool itself.
- A proper stance can reduce strain injuries by 40%.
- 70% of users report big efficiency gains just by using the correct methods.
- Always start slow and never use more than two-thirds throttle in wet conditions to avoid slips, which are responsible for 22% of related incidents.
If you hit something solid, like a big root or a pocket of limestone, release the throttle immediately. Trying to power through a hard obstruction is exactly how augers kick back, and that can cause a serious injury. Reposition the bit or grab a digging bar to break up the obstacle before you continue.
What to Do When Your Auger Gets into Trouble
Even the pros run into hitches. An auger project can go sideways fast, but knowing how to respond calmly is what separates a minor hiccup from a major repair bill. Let’s walk through the most common snags you might hit and how to get things moving again.
The number one moment of panic for any homeowner is when the auger cable gets stuck. Your gut reaction might be to give it a hard yank—don't do it! Forcing the cable is the fastest way to make it knot up inside the pipe, which turns a simple clog into a serious plumbing emergency.
Instead, take a breath. Stop pulling and try gently turning the handle clockwise while applying just a little forward pressure. Often, this is all it takes to help the tip disengage from whatever it's snagged on.
If that doesn’t free it up, switch directions. Try rotating the drum counter-clockwise while pulling back very gently. This can help "unwind" the cable from the obstruction. Patience is your best friend here. A series of small, careful movements will always be more effective than one big, frustrated pull.
Did I Hit the Clog or a Pipe Joint?
This is a huge one. As you feed the cable in, you'll feel different kinds of resistance, and it's critical to know what you're up against. How can you tell if you’ve found the clog or just a normal bend in the pipe?
A clog usually feels "soft" or almost "mushy." You might feel the cable grind into something, and when you pull it back, you'll probably see some gunk on the end.
A pipe joint or a sharp 90-degree bend, on the other hand, feels like hitting a brick wall. The cable will stop dead in its tracks with absolutely no give.
Pro Tip: Never, ever try to force your auger past a hard stop. If you've hit a solid obstruction, you're almost certainly at a pipe fitting. Ramming it can damage the joint or even puncture the pipe itself, leading to a hidden leak and a much bigger mess. Back the cable up a bit and try again, but this time, go slower.
The Drain Is Still Slow
So you felt the auger break through something, you pulled the cable back, but the water is still draining sluggishly. What gives?
This is a classic sign that you only managed to poke a small hole through a much larger blockage. This is especially common with clogs made of soft materials like grease, soap scum, and hair that have coated the inside of the pipe.
You’ll likely need to go at it again. This time, when you reach the clog, work the auger back and forth more aggressively to really scrape the gunk off the pipe walls.
If a few more tries don't clear it up, you might be dealing with a more serious issue deeper in your plumbing. Persistent slow drains that keep coming back are often the first red flag of a developing sewer line blockage, which is a job that definitely requires a professional plumber.
Post-Project Cleanup and Tool Care
Alright, you’ve cleared the drain or dug the hole. Mission accomplished, right? Not quite.
A lot of folks make the mistake of packing up their tools the second the main job is done. But skipping the cleanup and maintenance is a surefire way to ruin your equipment and leave a nasty mess behind. Taking just a few minutes now will make sure your auger is ready to go next time and save you from buying a new one.
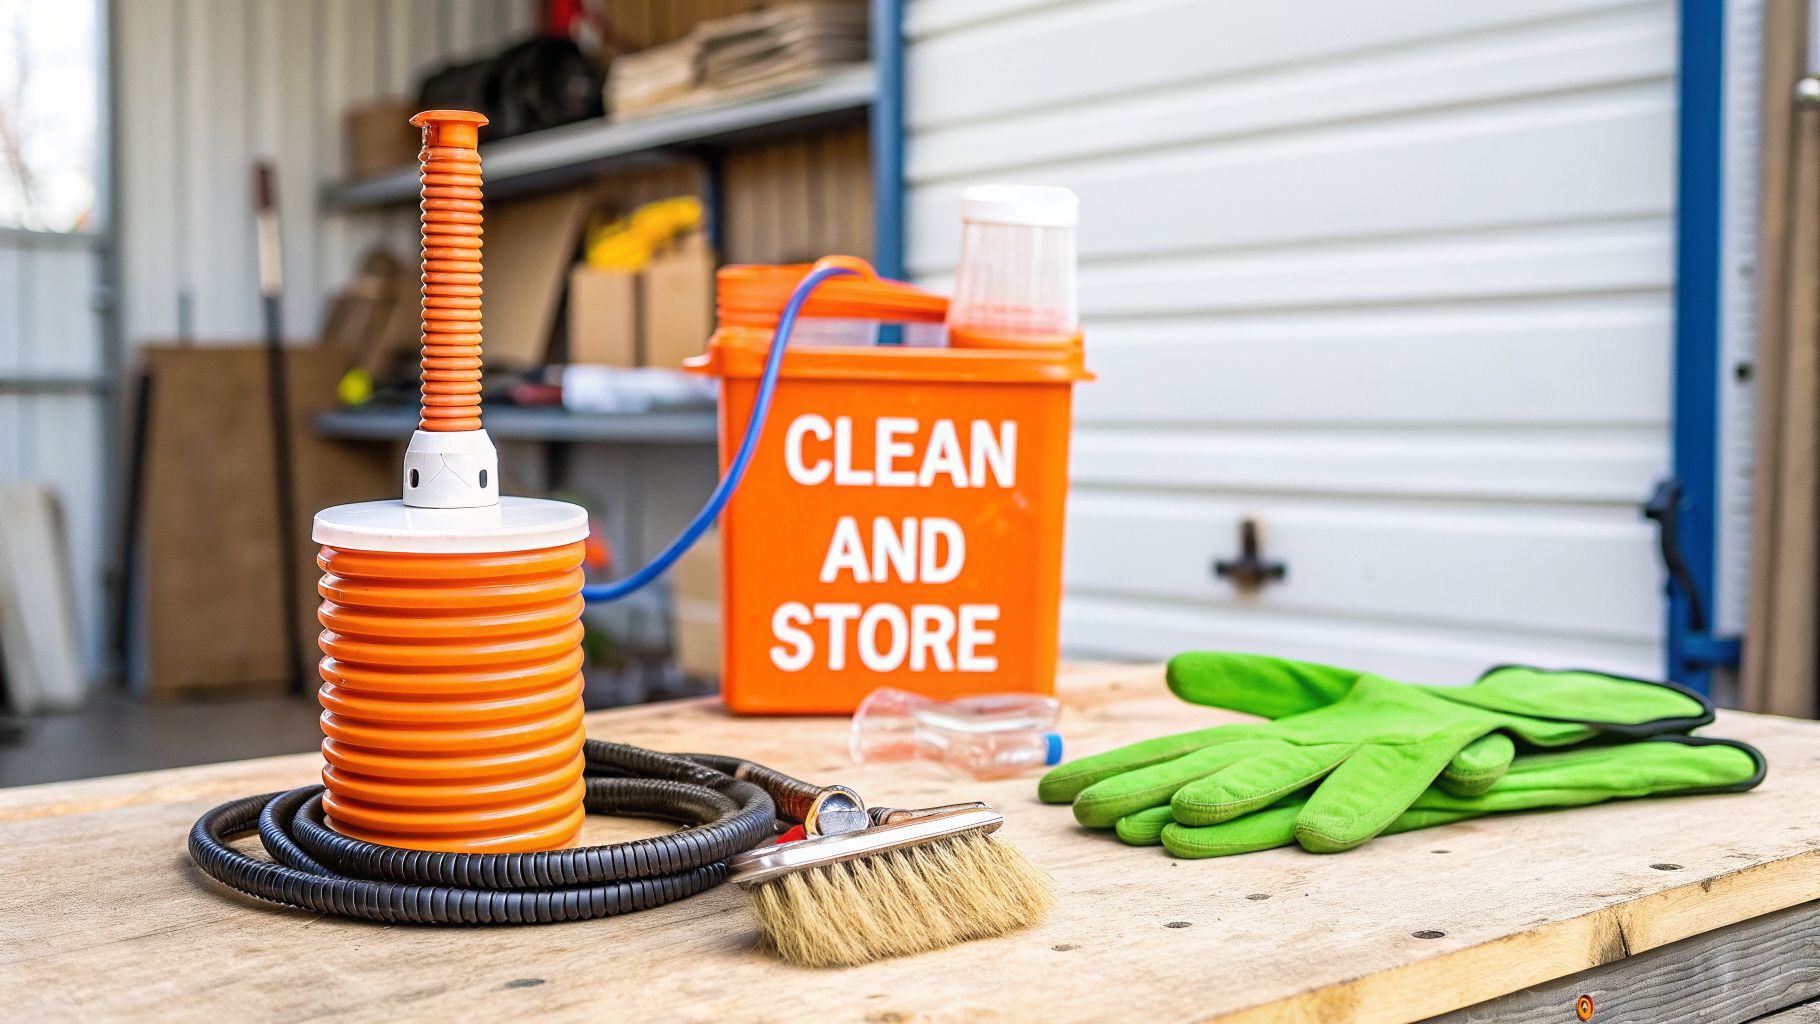
For a drain auger, cleanup is absolutely non-negotiable. That cable just came out of a drain, and it's going to be covered in some seriously unpleasant gunk. With your gloves still on, grab a heavy-duty rag and some disinfectant cleaner. As you retract the cable, wipe it down thoroughly. This single step is critical for preventing rust and stops you from storing a biohazard in your garage.
Properly Storing Your Auger
Once your tool is clean and completely dry, storing it the right way is what keeps it in fighting shape. For drain augers, I always recommend applying a light coat of oil to the cable. This is a game-changer for fending off rust, especially here in the humid Tampa Bay climate. After that, just find a dry spot where it won’t get banged up or crushed.
Earth augers need love, too. Knock off any caked-on mud and debris from the bit and the powerhead. If it's a gas model, give the fuel level a quick check. Then, store it upright in a secure, dry place.
Key Takeaway: Think of tool care as an investment. A well-maintained auger can serve you reliably for years. A neglected one? It might just die on you after one use. Spending five minutes on cleanup now prevents rust and ensures your tool is safe and effective when you need it again.
Safely Disposing of Debris
Last but not least, let's deal with the mess. Whatever sludge and gunk you pulled out of that drain has no business going down another drain.
- Drain Debris: The best way to handle this is to scoop it into a heavy-duty trash bag, tie it up securely, and toss it out with your regular household garbage.
- Soil from Digging: If you were using an earth auger for post holes, you can use the extra soil to backfill around the posts once they're set. Otherwise, just spread it evenly across a garden bed or a low spot in your yard.
Tackling these final steps is what separates a successful DIY project from a job that's only half-done. It protects the money you spent on your tools and leaves your workspace clean, safe, and ready for whatever's next.
Knowing When to Call a Professional
Knowing when to step back and call for help is the mark of a smart homeowner, not a failed one. While a good auger can tackle plenty of common clogs, some situations are a clear signal to put the tool down and get a professional plumber on the phone. Pushing forward when you’re out of your depth can quickly turn a simple fix into an expensive disaster.
One of the most telling signs is a clog that just won’t stay gone. If you snake a drain and feel that satisfying whoosh of success, only to have it back up again in a few days or weeks, the real problem is likely deeper than your auger can reach. This almost always points to a bigger issue in your main sewer line that needs specialized equipment to solve.
Unmovable Obstructions and Fragile Pipes
Sometimes, the auger cable just stops dead in its tracks. No matter how much you gently twist or pull, it won’t budge. Hitting a completely unmovable obstruction is a major red flag. You could be dealing with invasive tree roots that have infiltrated—or even crushed—the pipe, or you might have a collapsed section of the pipe itself. Trying to force the auger through is a surefire way to cause catastrophic damage.
Important: If your home has older plumbing, especially cast iron or galvanized steel pipes, be extra cautious. These materials become brittle over time, and the force from an auger can easily crack or break them, leading to hidden leaks behind your walls or under the foundation.
This is where a professional plumber’s toolset makes all the difference. They have advanced gear like camera scopes that can see exactly what’s happening inside your pipes, eliminating the guesswork. This diagnostic step is crucial for applying the right solution. It's why pros can work so efficiently; for example, the right equipment can slash trenching time from four hours down to just 45 minutes—a huge advantage amid Florida's home improvement boom. You can learn more about how the earth auger market is evolving with these valuable insights.
When the Job Is Just Too Big
For major digging projects, a professional service brings more than just heavy-duty equipment. They also bring liability insurance and deep expertise, especially with our local soil conditions and building codes here in Southwest Florida. If you notice any of these warning signs, it's time to make the call:
- Multiple Drains are Backed Up: This is the classic sign of a main sewer line clog. A standard household auger just isn't built to handle that.
- Foul Odors Persist: If you smell sewage in your home or yard even after clearing a local clog, it could mean you have a cracked or broken sewer line.
- Water Backs Up in Other Fixtures: Does flushing a toilet make water gurgle up in the shower drain? The blockage is deep in your system, and it's time for a pro.
These issues go far beyond a simple clog. Remember, a healthy plumbing system is directly connected to your home's overall air quality, so addressing these problems promptly is key. On that note, you might be interested in our guide on professional duct cleaning services to see how different systems in your home work together to keep it healthy.
Have Questions About Using an Auger? You’re Not Alone.
When homeowners decide to tackle a clog themselves, a few questions always seem to pop up. Getting clear, practical answers from someone who’s been there can make the difference between a quick fix and a costly mistake.
Can I Really Use a Drain Auger on Any Pipe?
This is a big one. While a drain auger is a fantastic tool, it’s not a one-size-fits-all solution for every plumbing system out there.
Generally, you’re safe to use one on modern PVC or solid metal pipes. But if you're in an older home here in the Tampa Bay area, you might have plumbing that's seen better days. Using a powerful auger on old, fragile, or corroded pipes is a recipe for disaster—you risk cracking or completely breaking them.
If you have any doubt about the condition of your pipes, it’s always smarter (and cheaper in the long run) to get a professional opinion first.
What's the Real Difference Between a Drain Snake and a Toilet Auger?
They might look similar, but these are two very different tools for two very different jobs. A toilet auger is purpose-built. It has a protective rubber or plastic coating on the cable to keep it from scratching up your porcelain bowl. You’ll also notice a unique J-shaped curve at the end, which is designed specifically to navigate the toilet’s internal P-trap without getting stuck.
A standard drain snake, on the other hand, is just an exposed metal cable. It has none of those protective features.
Key Takeaway: You should never use a standard drain snake on a toilet. The bare metal cable will almost certainly leave permanent, ugly scratches on the porcelain. It’s a very expensive and avoidable mistake.
How Do I Figure Out the Right Size Auger for My Project?
Matching the auger to the job is critical for success. Using one that’s too small won’t clear the clog, and one that’s too big can damage the pipe.
Here’s a simple breakdown based on what we see in the field:
- Indoor Drains: For common clogs in sinks, showers, and tubs, a 1/4-inch or 5/16-inch cable is usually all you need.
- Outdoor Digging: If you're using a power auger for landscaping, the bit size is all about the project. A 4-6 inch bit is perfect for setting fence posts, but you'll need something much larger for planting trees or digging footings for a new deck.
If you’ve given it your best shot and that clog just won't budge—or if the project feels like it's getting out of hand—don't hesitate to call in the pros. Heatwave Air Conditioning, Plumbing, & Electric is here to help. Our experienced technicians have the right tools and know-how to solve the problem safely and get your home back to normal.
Reach out to us for professional plumbing assistance and let us take care of it for you.