That nagging drip-drip-drip from under the kitchen or bathroom sink often signals one thing. If you’re pretty sure your sink is leaking from the drain gasket, the first move isn't to start unscrewing things—it's to be 100% certain where that water is coming from before you take anything apart.
How to Confirm the Leak Is from Your Drain Gasket
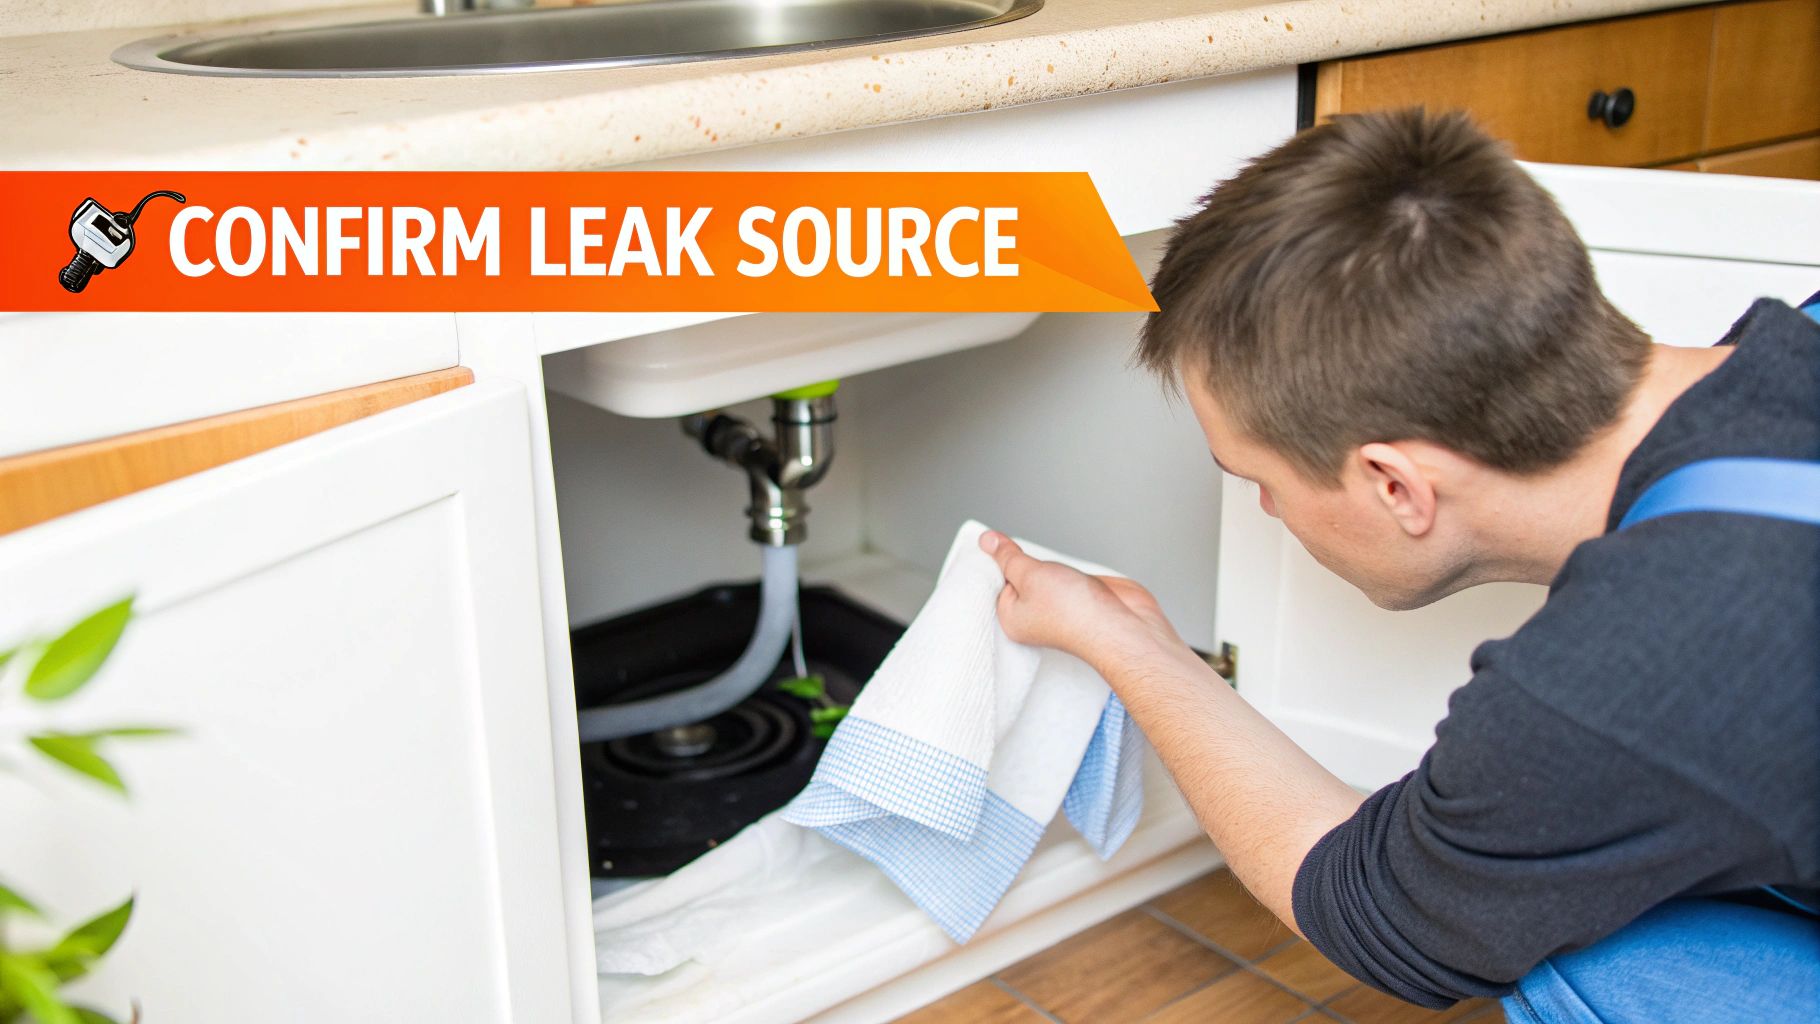
Jumping to the wrong conclusion is a classic, and frankly frustrating, mistake. I’ve seen it countless times. A homeowner is convinced the main drain is shot, but the real problem is a loose P-trap connection, a pinhole leak in a supply line, or even water from the faucet base trickling down the pipes. A quick, accurate diagnosis saves a ton of time and prevents you from fixing something that isn't broken.
The Paper Towel Test
This is the old-school, tried-and-true method for tracking a leak to its source. First, clear everything out from under the sink. Give the basin, all the pipes, and the cabinet floor a thorough wipe-down with a dry cloth. You want the whole area bone dry.
Now, lay a fresh, dry paper towel flat on the cabinet floor, directly under the entire drain assembly.
Next, plug the sink and fill it up with a few inches of water. Let it sit for about 15-20 minutes. This puts just enough pressure on the drain gasket to reveal any weaknesses. After the time is up, pull the plug and let all the water drain out at once. Now for the moment of truth—check the paper towel.
- A wet spot directly under the sink basin? That’s your drain gasket giving up.
- Moisture closer to the P-trap’s curvy connections? You likely just need to tighten a slip nut.
- Drips landing near the braided hoses? That points to a water supply line issue.
This simple test takes all the guesswork out of the equation.
A sink leaking from the drain gasket is incredibly common. Industry data shows that approximately 35% of reported sink leaks are due to degraded gaskets, a figure that climbs to nearly 42% in older homes.
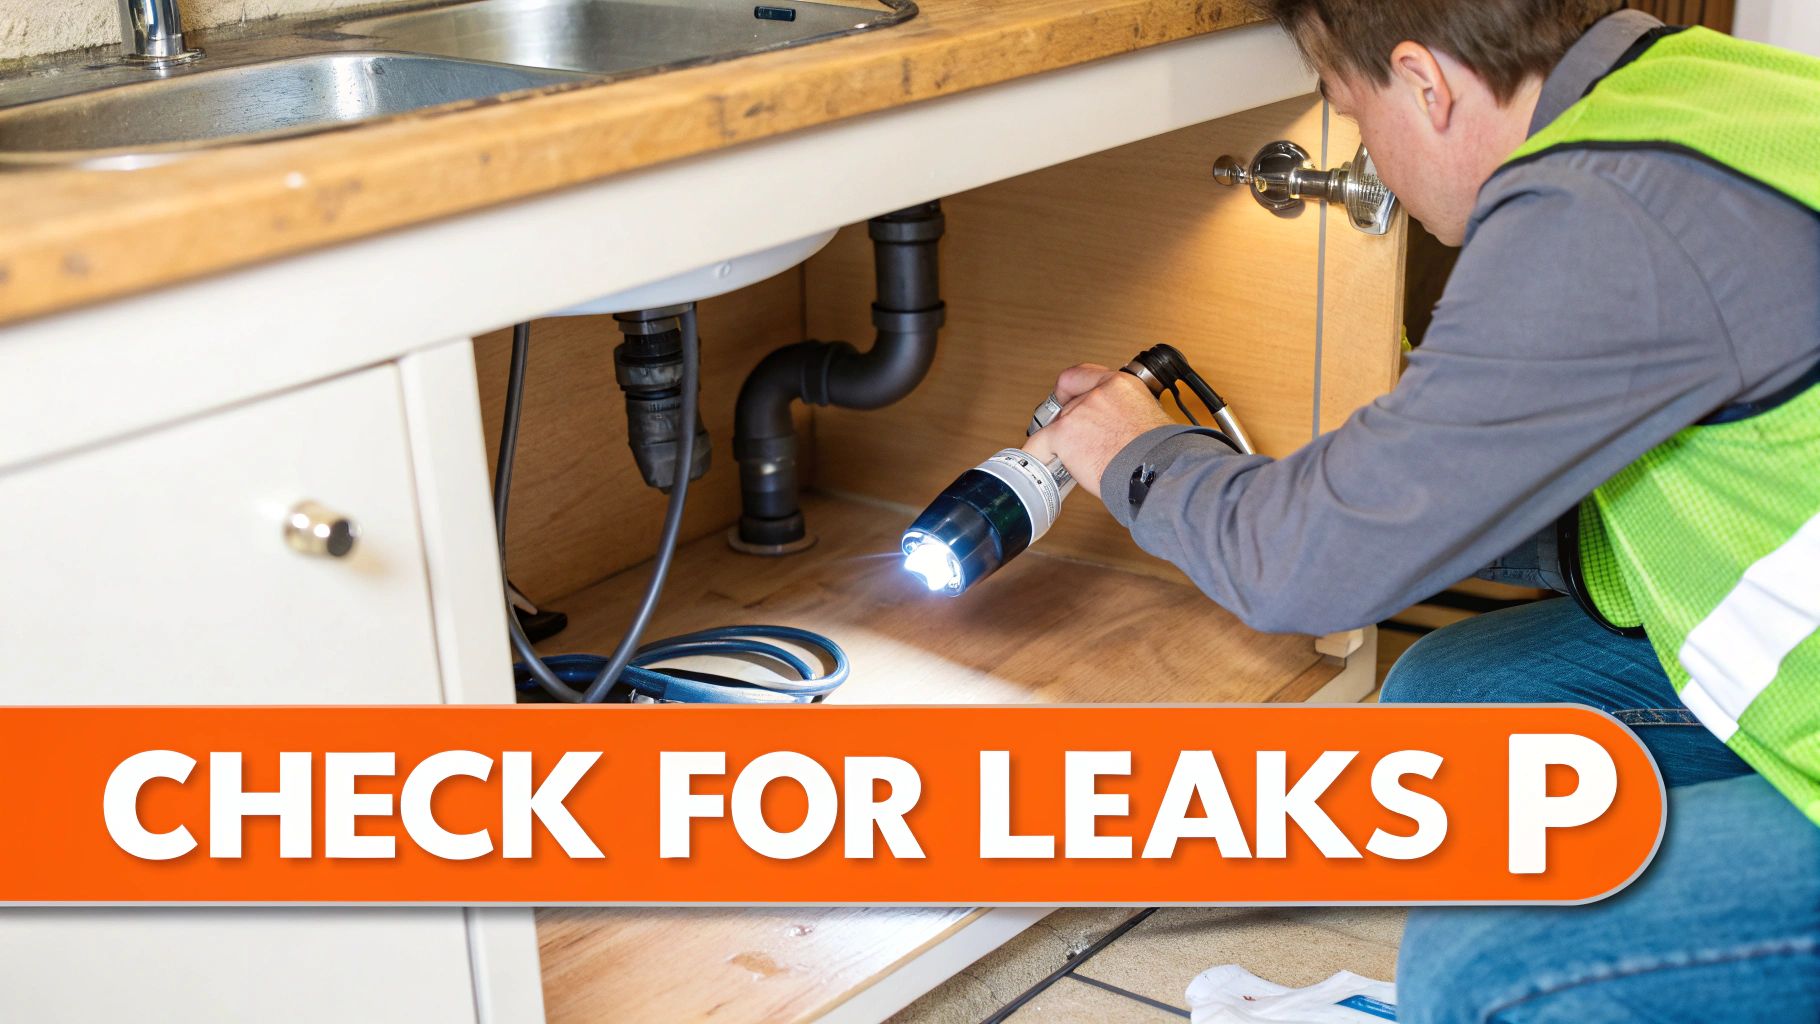
Visual Inspection Cues
While the paper towel test is your best bet, a good visual inspection can give you extra confirmation. Grab a flashlight and get a good look at the gasket where it presses against the underside of the sink. You’re looking for tell-tale signs of failure:
- Visible cracks, splits, or tears in the rubber.
- A brittle, flattened, or squashed-down appearance.
- Chalky discoloration or mineral buildup right at the seal.
Any of these signs are a dead giveaway that the gasket has lived its life and is ready for retirement. Recognizing these issues is a big part of understanding the common plumbing problems and solutions you'll face around the house.
Getting the Right Tools and Gasket for the Job
Nothing’s worse than starting a repair only to realize you’re missing a key part. A quick trip to the hardware store can get overwhelming fast, so heading in with a solid plan is the key to getting this leak fixed quickly and without extra frustration.
You don't need a giant toolbox for this one. A few simple items will see you through:
- Channel-lock pliers are your best friend here. They’re perfect for getting a good grip on those large nuts holding the drain assembly together.
- A small bucket or bowl to slide under the P-trap. It'll catch any leftover water when you start disconnecting things.
- A putty knife or a simple razor scraper will make short work of any old, crusty plumber's putty.
- A few old rags or a sponge for wiping down surfaces and general cleanup.
With these basics, you’ll be set for a smooth disassembly and reassembly.
Picking the Perfect Gasket
Now for the most important part of your shopping list: the new gasket. This isn’t a one-size-fits-all situation. Grabbing the wrong one is a surefire way to end up with another leak. The right choice really depends on your sink’s material.
I’ve seen it a hundred times: someone grabs the first gasket they see and wonders why the leak comes back. The secret to a permanent, bone-dry seal is matching the gasket material to your sink type and knowing when to use plumber’s putty.
While you're there, you'll probably also need some plumber's putty. This is what you'll use to create a seal on the top side of the drain, right under the flange inside the sink basin. Don't skip it!
Choosing the Right Sink Drain Gasket
Selecting the best gasket material for your sink can feel confusing, but it's pretty straightforward once you know the options. Each material has its own strengths and is suited for different types of sinks. This table breaks down the most common choices to help you pick the right one.
| Gasket Material | Best For | Pros | Cons |
|---|---|---|---|
| Rubber | Stainless steel and general-purpose use | Inexpensive, widely available, creates a firm seal | Can dry out and crack over time |
| Silicone | All sink types, especially porcelain/ceramic | Highly flexible, very durable, long-lasting | More expensive than rubber |
| Foam | Uneven or irregular sink surfaces | Compresses easily to fill gaps, good initial seal | Can compress permanently and lose its seal over time |
Ultimately, silicone is often the best all-around choice for its durability and flexibility, but a standard rubber gasket is a reliable and budget-friendly option for most common sinks.
One last thought: sometimes a nagging leak is actually a symptom of a bigger problem. If your drain is clogged, the constant backup of water can put a lot of pressure on the gaskets and seals. Before you button everything back up, it’s a great idea to learn how to unclog a kitchen sink just to make sure your pipes are flowing freely.
Time to Replace That Leaky Sink Drain Gasket
Alright, you've got your tools and replacement parts. Now comes the satisfying part: actually fixing the leak. Don't worry, swapping out a sink drain gasket is a classic DIY job that's totally doable. The trick is just to be patient and work through it step-by-step.
This handy infographic breaks down everything you'll need to have on hand.
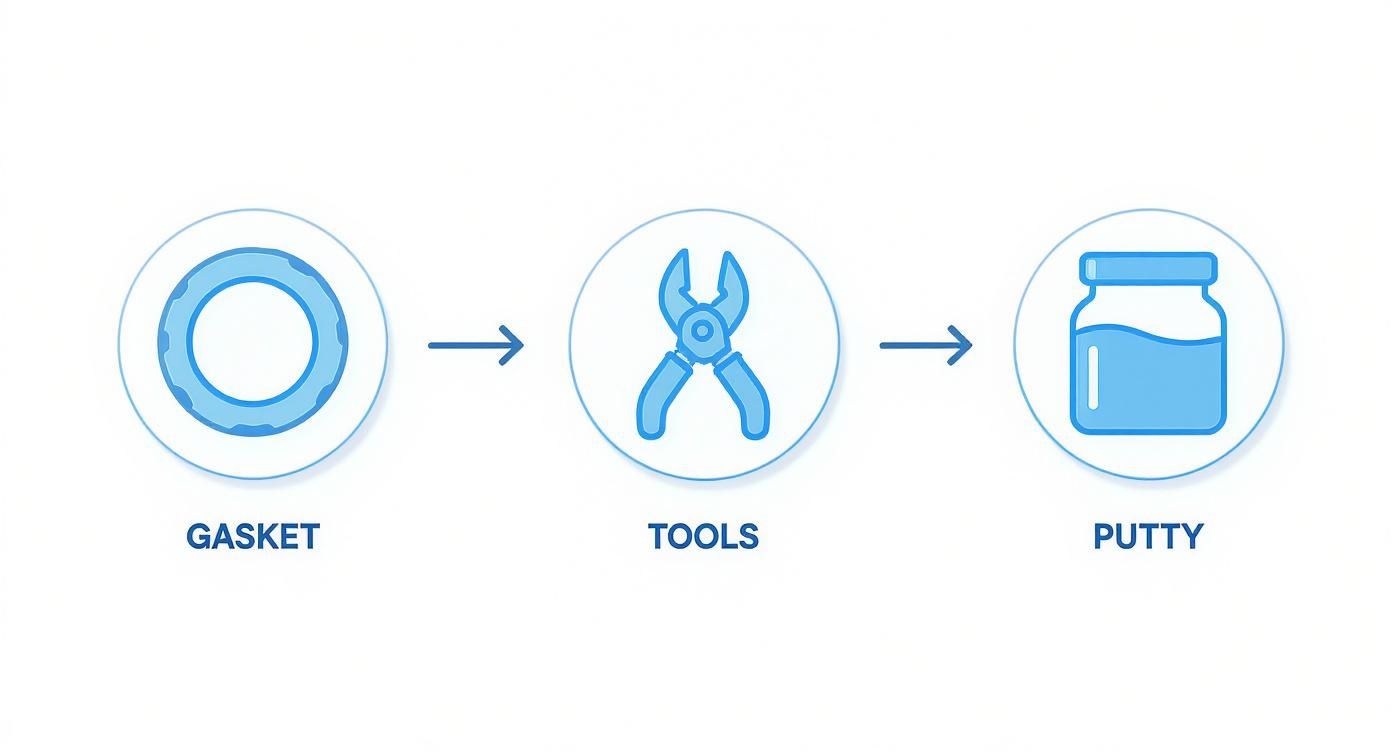
When you have the right gasket, a good pair of channel-lock pliers, and fresh plumber's putty ready to go, the whole job just goes smoother.
Taking the Drain Apart
First things first, slide a bucket right under the P-trap (that's the U-shaped pipe). Trust me, there’s always water lingering in there, and this will save you from a cleanup job later. Grab your channel-lock pliers and loosen the two big slip nuts that hold the P-trap in place. Once they're loose, you can usually just spin them off by hand. Gently lower the trap and dump the water into your bucket.
With the P-trap gone, you’ll have a clear shot at the big locknut holding the whole drain assembly together. This nut is what cinches the drain body and gasket up against the bottom of the sink. Get a firm grip on it with your pliers and turn it counter-clockwise. It might put up a fight, especially if it's old and corroded. As you loosen it, the entire drain body will drop down, letting you pull off that old, worn-out gasket.
Prepping the Surface for a Watertight Seal
This is where the real magic happens, and honestly, it's the most important part of the job. A brand-new gasket is useless if it's sitting on a dirty, grimy surface.
Grab a rag and give the underside of the sink a thorough cleaning right where the old gasket sat. You need to scrape away any old plumber’s putty, mineral gunk, or crusty buildup. For a perfect, leak-free seal, that surface needs to be perfectly clean and dry.
I've seen it a hundred times: someone rushes the cleaning step and ends up with a slow, frustrating drip. Even a tiny speck of old putty can compromise the seal. Take an extra minute here—it's worth it.
Next, pop up to the top side of the sink. Unscrew the drain flange from inside the basin and lift it out. Use a putty knife to carefully scrape away every last bit of the old plumber's putty from around the drain opening.
Installing the New Gasket and Putting It All Back Together
Time for reassembly. Grab a small blob of plumber's putty and roll it between your hands to create a thin rope, like a little snake. Press that rope firmly onto the underside of the new drain flange. Now, set the flange into the drain hole from inside the sink.
Working underneath again, slide the new gasket onto the drain body. Make sure the tapered side is facing up, towards the bottom of the sink basin. Push the drain body up into place—this will press the flange and putty securely into the drain opening—and then thread on the big locknut.
Tighten it by hand at first, then give it another quarter-to-half turn with your pliers. You’re aiming for snug, not overtightened. Cranking down too hard can crack the gasket or, even worse, the porcelain sink itself. All that's left is to reconnect the P-trap, and you're ready to test your work!
Knowing how to handle these small repairs is a great skill, whether you're just fixing a simple leak or thinking about bigger projects. For more ideas, it's always fun to check out the latest trends in sink and faucet upgrades.
Testing Your Work and Preventing Future Leaks
Alright, the new gasket is in and everything’s tightened up. Now for the moment of truth. Don't just turn on the faucet and walk away—that's a rookie mistake that can lead to a slow, hidden leak you won't discover for hours. A proper test is the only way to be 100% sure the job is done right.
Before a single drop of water goes down that drain, slide a dry paper towel directly under the new gasket. It's the oldest trick in the book for a reason. That paper towel will act as your early warning system, showing even the tiniest bit of moisture that your eyes might miss.
Performing a Pressure Test
Let's start slow. Turn on the cold water to a steady, gentle stream. Let it run for a solid minute while you watch the gasket and the pipes below like a hawk. If that paper towel is still bone dry, it's time to up the ante.
Now, close the sink stopper and fill the basin all the way to the top. Let that water sit for a good 10-15 minutes. This puts the maximum amount of pressure on your new seal, mimicking a worst-case scenario. It’s the best way to expose any subtle weakness that a small stream of water wouldn't reveal.
Once the time is up, pull the stopper. Let all that water rush through the drain at once. That sudden surge is the final boss of leak tests. If your paper towel is still dry, you can officially call this job a success.
A quick pro tip: Don't just look for drips. After the test, run your fingers along the bottom of the locknut and the edge of the gasket. Sometimes a tiny seep won't even form a drop, but you'll feel the dampness. If you do, a slight quarter-turn on the locknut is usually all it takes.
How to Keep Your Drains Leak-Free
You’ve fixed the leak, which is great. Now, let’s make sure you aren't doing this all over again in six months. The number one enemy of drain gaskets is harsh chemical drain cleaner. That stuff is caustic and will eat away at rubber and silicone over time, making them brittle and useless.
Instead of reaching for the chemicals, a little proactive care goes a long way.
- Do a Quick Yearly Check: Once a year, grab a flashlight and take a quick look under all your sinks. You're looking for any tell-tale signs of trouble—moisture, corrosion, or gaskets that look discolored or cracked.
- Watch What Goes Down the Drain: Some things just don't belong in your plumbing. To see what kind of damage can be done, it's worth reading up on why you should never pour https://heatwavehvac.com/grease-or-oil-down-the-drain/.
- Clean Drains Gently: If a drain starts running slow, try a simple drain snake or the classic baking soda and vinegar combo first. It’s often just as effective without destroying your plumbing components.
These simple habits are a smart investment. It's one thing to fix a problem, but learning how to prevent costly plumbing repairs with regular maintenance is what really gives you peace of mind as a homeowner.
Knowing When to Call a Professional Plumber
Fixing a leaky sink gasket yourself is a fantastic DIY win, and I'm all for it. But part of being a smart homeowner is knowing when to put the tools down and call for backup. Pushing your luck can turn a simple fix into a much bigger, more expensive disaster.
One of the biggest red flags is finding a crack in the sink basin itself, even a hairline one. No gasket in the world can fix a fundamentally broken sink. Another classic "stop right there" moment is a drain assembly that's completely seized up with corrosion. If you're putting all your weight on the wrench and that locknut isn't budging, you risk cracking the sink or damaging the pipes below.
The most frustrating scenario? You've done everything right—you carefully replaced the gasket, tightened everything perfectly—and it still leaks. That's a clear sign the problem is deeper than the gasket. You could be looking at a warped drain flange or a tiny, hidden crack a professional can spot in minutes.
Complex Setups and Stubborn Leaks
Some sink designs are just plain tricky and are better left to someone with experience.
- Pedestal Sinks: These are notorious for having almost zero room to work. Getting them off and re-seated correctly without causing a new leak is an art form.
- Custom Countertops: Vessel sinks or undermounts set in granite or quartz are beautiful but delicate. One wrong move with a wrench can chip or crack an expensive countertop.
In these situations, the risk just isn't worth the reward of a few dollars saved. If you're hitting a wall or dealing with a high-end setup, getting help from local Port Charlotte plumbing professionals is the smartest move to get the job done right, the first time.
Got Questions About Your Sink Drain?
Even after you've tightened that last nut and wiped everything down, a few questions might still be nagging you. It’s totally normal. Here are a couple of the most common things homeowners ask after fixing a leaky drain gasket.
Can I Just Slap Some Silicone on There Instead of Using a Gasket?
I see this question a lot, and the short answer is no, you really shouldn't. Using silicone sealant instead of a proper gasket is a shortcut that almost always leads to bigger problems down the road.
Gaskets are specifically designed to create a tight, mechanical seal that's also flexible enough to be taken apart later. Silicone, on the other hand, acts more like a permanent glue. It's a real pain to remove later, and it often fails anyway because it can't handle the constant pressure changes inside a drain. Stick with the right part for the job.
How Often Should I Expect to Replace a Drain Gasket?
Under normal circumstances, a quality drain gasket should give you 5 to 7 years of leak-free service. Easy.
But that timeline can get shorter depending on a few things. If you have particularly hard water, or if you frequently use harsh chemical drain cleaners, the gasket material will break down much faster. It's a good habit to take a quick peek under your sink once a year. If you see the gasket looking cracked or feeling brittle, it's time to swap it out before it starts dripping.
A classic mistake is getting plumber's putty and a gasket confused. The putty is what you use to seal the drain flange on the top side of the sink basin. The gasket is what seals the drain body from underneath. For a truly leak-proof sink, you almost always need both.
If you’re dealing with issues that go beyond a simple gasket replacement, our guide to comprehensive plumbing services has more in-depth information.
Tried everything and that drip is still there? Or maybe you'd just rather have a pro handle it from the start. Whatever the case, Heatwave Air Conditioning, Plumbing, & Electric is ready to help. Schedule your service online and let our certified technicians get you a fast, reliable fix.