When you flush your toilet, you expect the bowl to fill back up. But what happens when it doesn't? A toilet bowl that stays empty after a flush is one of the more common—and frustrating—plumbing headaches a homeowner can face. The good news is that it’s often a simple fix you can handle yourself without calling in a pro.
Most of the time, the problem isn't with your main water supply but with a small part inside the toilet tank. Let’s walk through the likely culprits.

Common Reasons Your Toilet Bowl Isn't Filling
For your toilet to work correctly, several parts inside the tank need to operate in perfect harmony. When one of them fails, the whole system breaks down, leaving you with that frustratingly empty bowl.
Here are the most common mechanical failures we see:
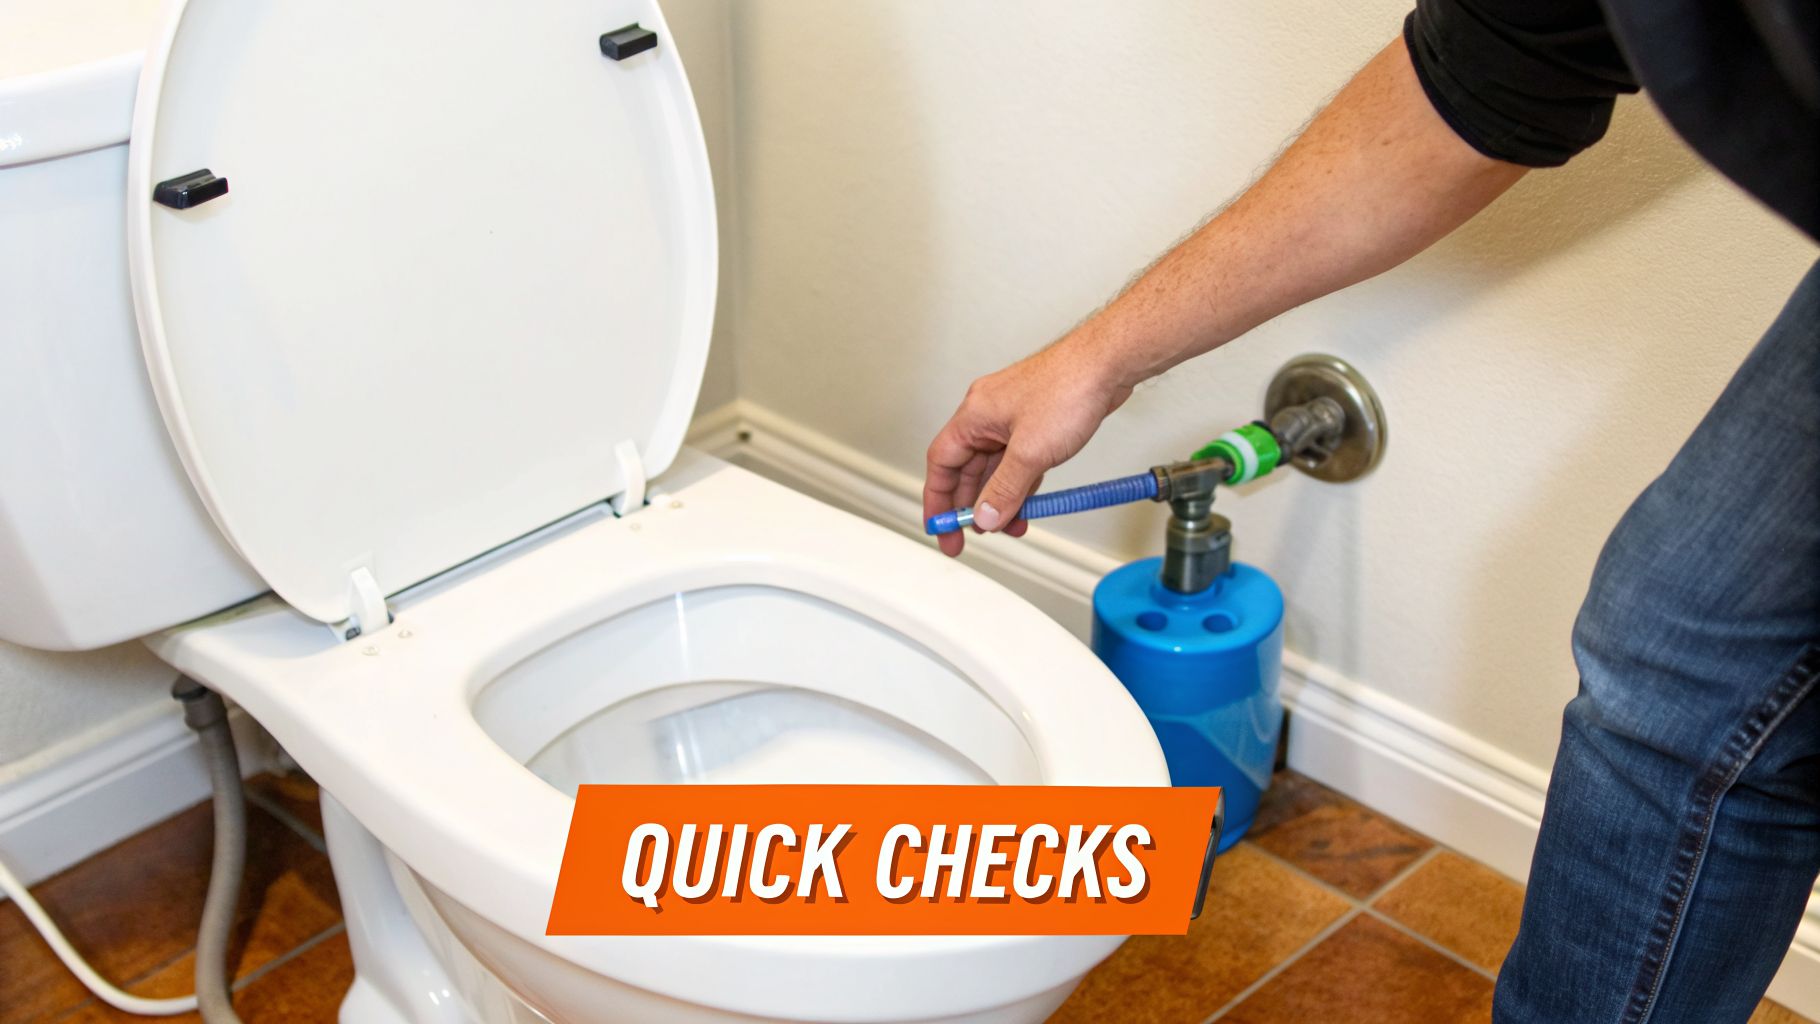
- The Shutoff Valve Isn't Fully Open: This is the oval-shaped knob on the wall behind your toilet. It can get bumped closed during cleaning or by curious pets. If it's not turned all the way counter-clockwise, it's choking off the water supply to the tank.
- The Refill Tube Is Out of Place: Lift the tank lid and look for a small, flexible tube running from the tall fill valve to the larger overflow pipe in the middle. If this tube has popped out or is pointing into the tank instead of down the pipe, water can't get to the bowl to refill it.
- The Fill Valve Is Old and Worn: The fill valve is the tower-like mechanism that controls the water entering the tank. Over time, especially with Florida’s hard water, its seals and floats can degrade. This might cause it to fill the tank very slowly or stop working altogether. You can learn more about related issues in our guide to common plumbing problems and solutions.
To make troubleshooting even easier, here’s a quick checklist you can use to pinpoint the issue based on what you’re observing.
Quick Diagnosis Checklist For A Toilet Not Filling
| Symptom | Most Likely Cause | DIY Difficulty |
|---|---|---|
| No water at all in the tank or bowl. | Shutoff valve is closed. | Easy |
| Tank fills with water, but the bowl stays empty. | Refill tube is disconnected or blocked. | Easy |
| Toilet fills very slowly or makes hissing sounds. | Fill valve is failing or clogged. | Moderate |
| Bowl level is too low, but not empty. | Flapper closing too quickly, or refill tube is not positioned correctly. | Easy |
This table should help you narrow down the possibilities before you even lift the tank lid.
A slow-filling bowl is often the first warning sign that your fill valve is on its last legs. Don't ignore it! Addressing it early can prevent a complete failure that leaves your toilet out of commission.
While most residential toilets operate on the same basic principles, understanding different systems can be interesting for the dedicated DIYer. For example, learning how to replace an RV toilet shows how similar mechanics are adapted for unique situations.
Luckily, for the standard toilet in your home, a quick visual inspection is usually all it takes to spot what’s wrong and get things flowing again.
Simple Checks You Can Do Without Tools
When your toilet bowl isn’t filling up, it’s easy to assume the worst and start pulling out the toolbox. But hold on for just a moment. I've seen countless service calls in the Tampa Bay area for issues that were fixed in seconds, with no tools required.
Before you get your hands dirty, let's start with the most common culprit. Find the small, usually oval-shaped knob coming out of the wall or floor behind your toilet. That's the water shutoff valve, and it's amazing how often it gets bumped closed during cleaning or by a curious pet.
Give that knob a turn counter-clockwise as far as it will go. That’s the fully open position. If it was even partially closed, you might have just solved your problem by restoring full water flow to the tank.
A Quick Look Inside The Tank
If the valve wasn't the issue, your next stop is inside the toilet tank. Carefully lift the heavy ceramic lid and set it down on a towel or rug to keep it from getting chipped.
With the lid off, you'll see all the inner workings. We're going to focus on two parts: the tall tower-like fill valve on the left and a small, thin refill tube connected to it.
That little tube, usually a flexible black or clear plastic hose, has one critical job: it siphons a small amount of water from the fill valve directly into the large overflow pipe in the middle of the tank. This is specifically how the bowl gets refilled after you flush.
A disconnected or misaligned refill tube is one of the most common reasons a toilet tank fills but the bowl does not. It’s a five-second fix that often solves the entire problem.
Take a close look at that tube.
- Is it connected at both ends? One end should be firmly pushed onto a nipple on the fill valve, and the other should be aimed down into the overflow pipe, sometimes held by a small clip.
- Is it pointing the right way? If that tube has slipped out and is just spraying water into the tank, the bowl will stay empty. It must be directing water into the overflow pipe.
- Is it kinked or underwater? A sharp bend or having the end of the tube submerged in the tank's water can create a siphon effect or a blockage, stopping water from flowing into the bowl.
Pushing that little tube back into place often fixes the problem instantly. While you’re in there, if you're thinking a clog might be causing backup issues, our guide on how to unclog a toilet offers some great tips.
If these simple checks don’t do the trick, it's time to dig a little deeper into the mechanical parts.
How to Inspect the Fill Valve and Float
Alright, so you've checked the obvious stuff and your toilet bowl still isn't filling. Now it's time to pop the tank lid and get a good look at the fill valve. This tall assembly is the real workhorse inside your toilet, telling water when to start and stop flowing.
When a fill valve starts to go bad, the most common complaint we hear is a bowl that fills up painfully slow—or not at all.
The fill valve doesn't work alone. It's paired with a float, which is either a big ball on a metal arm or a more modern cup that slides up the valve's main tube. As water fills the tank, that float rises with it. Once it hits the right height, it trips a switch inside the fill valve and shuts the water off.
If either of these parts isn't doing its job, the whole system gets out of whack. A classic example is a float set too low; it'll shut the water off prematurely, leaving you with not enough water in the tank or the bowl for a decent flush.
Spotting a Failing Fill Valve
A worn-out fill valve rarely dies in silence. In fact, listening is one of the best diagnostic tools you have. Do you hear a faint hissing or gurgling noise long after you’ve flushed? That’s a tell-tale sign of a valve that just can't close all the way.
Another dead giveaway is the refill time. If your tank used to fill in a minute but now takes several, that’s a clear signal the internal seals are probably clogged or just plain worn out.
These parts don't last forever. The fill valve is one of the most critical components for proper toilet function, and from what we see in the field, they have an operational lifespan of about 7 years before problems start cropping up. When they fail, you get a tank that takes ages to refill as water just trickles in. This is especially true in areas with hard water, like here in Florida, where mineral buildup can choke off the flow by as much as 40-50%. You can discover more insights about fill valve deterioration on YouTube.
Checking and Adjusting the Float
Before you condemn the whole valve, take a look at the float's position. A float that’s sitting too low is a very common and easy-to-fix reason for a toilet bowl not filling up correctly.
- Ball Floats: On older toilets with a ball and arm, look for a screw right where the metal arm connects to the fill valve. A few turns of this screw will change the arm’s angle, adjusting how high the water needs to be to shut off.
- Cup-Style Floats: Most modern toilets have a float cup that rides up and down the main tube of the fill valve. You’ll usually find a small plastic rod or a clip you can squeeze. This lets you slide the entire float mechanism up or down.
Your goal is to set the water level to about one inch below the top of the overflow pipe. This ensures there's enough water for a strong flush and for the refill tube to adequately fill the bowl.
Often, this simple adjustment is all it takes to get your water levels back to normal. But if you adjust the float and the water still trickles in slowly or you're hearing those strange noises, the fill valve itself is the real problem. At that point, your best bet for a lasting fix is to replace the entire fill valve assembly.
Clearing Debris From Your Toilet's Supply Line
So, you’ve already checked the float and everything seems to be in order, but your toilet tank is still filling at a snail's pace. Before you run out and buy a brand-new fill valve, let's talk about a common issue we see all the time: a simple clog. It’s easy to overlook, but sediment, tiny rust particles, and mineral deposits can build up inside the fill valve and create a blockage that chokes off the water flow.
This is a frequent culprit here in Florida, where our local water can sometimes carry fine particles that eventually settle inside your toilet's mechanics. Taking a few minutes to flush out the supply line and fill valve is a smart DIY step that often solves the problem without costing you a dime in parts.
How to Safely Flush Out the Fill Valve
This is a pretty simple job, but you’ll want to take a moment to prep so you don't end up with water all over the bathroom floor. All you need is a small cup or bucket and an old towel.
First things first, shut off the water. Find the shutoff valve on the wall behind the toilet and turn the handle clockwise all the way. Then, flush the toilet to drain the tank completely. You want it as empty as you can get it for the next part.
Once the tank is empty, take your cup and place it inside the tank, right under the tall fill valve assembly. This is key—it's going to catch the water we’re about to flush through.
Getting the Fill Valve Cap Off
Take a look at the top of the fill valve. Most modern designs have a cap you can pop off. You might need to give it a gentle quarter-turn counter-clockwise to release it, or you may be able to pry it off with your fingers. If you’re not sure, a quick search for your toilet model’s instructions online can help.
With the cap off, you’ll be looking at the inner workings of the valve. Don't be surprised if you can see a little bit of grit or gunk right away.
Pro Tip: Before turning the water on, cup your hand or hold the empty bucket over the top of the uncapped valve. This acts as a shield and will keep water from spraying everywhere.
With your hand or cup in place, carefully turn the water shutoff valve back on for just 10-15 seconds. You’ll see a strong jet of water shoot up, pushing any trapped sediment and debris out of the line and into your bucket. After a few seconds, turn the water off again.
Debris accumulation is a top cause of slow-filling toilets and can cut water flow by 30-60% before the problem becomes really obvious. In our experience, this quick 15-second flush successfully restores full function in about 60-75% of cases, all without needing to replace any parts. You can read more about how debris impacts toilet fill valves on Fluidmaster.com.
Now, just snap the fill valve cap back on, turn the water supply back on at the wall, and let the tank fill. If the water now rushes in like it should, you’ve cleared the blockage and fixed the issue. If this fix doesn't do the trick, you could have a more serious clog deeper in your home's plumbing. For those tougher blockages, you can learn more about our professional drain cleaning services in St. Petersburg, FL.
When a Professional Plumber Is Your Best Bet
There’s a great feeling of satisfaction that comes from fixing a running toilet on your own. But as any seasoned DIYer knows, there are times when you have to know when to call it quits. Knowing your limits is just as important as knowing how to replace a flapper, especially when what looks like a simple fix might be hiding a much bigger problem.
If you’ve already worked through the basic checks—and even cleaned out the fill valve—but your toilet tank still won't fill, it’s a strong sign the issue goes deeper than the toilet itself. Certain clues point to problems that a new part from the hardware store just can’t fix.
Signs of a Cracked Toilet or Tank
A big, obvious crack in the bowl or tank is a clear emergency. What’s trickier are the hairline fractures that can develop over time. After 15-20 years, the ceramic on a toilet can develop tiny cracks that are almost impossible to see. These micro-cracks allow water to seep out of the tank so slowly that it never reaches the fill line.
Here in Tampa Bay and Southwest Florida, the combination of older homes and our constant humidity can sometimes cause this kind of ceramic breakdown even sooner.
A fill valve that never stops running, even after you’ve replaced both the flapper and the fill valve assembly, is a classic symptom of a hidden leak. If the tank can’t get full enough to trip the float, a hairline crack is a very likely culprit.
System-Wide Plumbing Problems
Sometimes, a toilet that won’t fill properly has nothing to do with the toilet at all. It’s a whole-house issue. Since your home’s plumbing is one big interconnected system, a problem in one spot can cause strange symptoms somewhere else entirely.
Keep an ear out for these tell-tale signs:
- Gurgling Sounds: When you flush the toilet, do you hear gurgling noises coming from your shower drain or bathroom sink?
- Multiple Slow Drains: Is it just the one toilet acting up, or are other drains in the house also moving slower than usual?
- Foul Odors: Unexplained sewer gas smells are a major red flag for a venting problem.
These symptoms often point directly to a clogged plumbing vent stack. This is the pipe that runs up through your roof, and its job is to let air into the plumbing system so water can flow freely. When it gets blocked by leaves, nests, or other debris, it creates a vacuum that stops drains and toilets from working right.

If you’re noticing any of these bigger issues, it’s best to get an expert opinion. While some homeowners might be tempted to climb on the roof themselves, it’s a job best left to professionals with the right safety gear and diagnostic tools. For these kinds of complex issues, you may need professional plumbing maintenance services to get to the root of the problem.
Our team has the specialized equipment to diagnose and resolve these complex issues safely. You can learn more about our full range of expert plumbing services and see how we help homeowners all across the Tampa Bay community.
Common Questions About Toilet Filling Problems
Even after you've gone through the usual suspects for a toilet that won't fill, a few specific questions always seem to come up. It's one thing to follow a guide, but it's another to feel confident you know exactly what’s happening inside that tank. Let's cover some of the most common questions we get from homeowners just like you.
How Long Should a Toilet Tank Take to Fill Up?
A healthy, happy toilet should take about 30 to 90 seconds to fill its tank completely after you flush. The exact timing can shift a bit based on your home’s water pressure and the specific model of your toilet’s fill valve.
The real red flag is a sudden change. If your fill time creeps up to several minutes, or you can only hear a faint trickle, something is definitely off. This is your cue that a part—like a partially closed shutoff valve or a clogged fill valve—needs a closer look.
Can I Just Replace the Seal Inside the Fill Valve?
Yes, you absolutely can, and it's a smart, money-saving move. Many modern fill valves, especially common brands like Fluidmaster, are designed so you can buy a replacement seal for just a few dollars. That small rubber disc is often the first part to fail from mineral buildup or simple wear.
Replacing just the seal is a quick fix that frequently solves slow-filling problems. It saves you the cost and effort of swapping out the entire fill valve assembly, making it a great first repair to try if flushing the valve didn't work.
While you have the fill valve taken apart to replace the seal, take an extra minute to wipe down the inside of the valve body. This quick clean ensures no leftover grit or sediment will chew up the new seal you're about to put in.
If you’ve tried a few DIY fixes and the toilet is still giving you grief, our team is always ready to step in. You can check out some of our other plumbing projects and services to see how we tackle problems throughout the area.
Why Is There No Water in My Toilet Tank at All?
If you flush and the tank stays completely bone dry, the problem is usually one of two very simple things. First, go behind the toilet and double-check the water supply valve. It should be turned all the way counter-clockwise (open). You’d be surprised how often this gets accidentally bumped shut.
If the valve is definitely open, then the problem is almost certainly a totally failed fill valve. The float can sometimes get stuck in the "up" position, which tells the valve the tank is full when it's not. Give the float arm a gentle jiggle. If water doesn't start flowing, the valve mechanism itself has likely given up and needs to be replaced.
My Toilet Bowl Fills but the Tank Does Not. What's Wrong?
This is a classic problem, and it almost always points to a single culprit: a bad flapper. The flapper is that big rubber seal at the bottom of the tank that lifts up when you flush.
When a flapper gets old, warped, or caked with mineral deposits, it can’t form a tight seal. Water then leaks constantly from the tank right into the bowl. Your fill valve will keep trying to do its job, but because of the leak, the water level never gets high enough to lift the float and shut the water off. This is what causes that "ghost flushing" sound you might hear.
Thankfully, replacing a flapper is a very simple and cheap five-minute fix that solves this frustrating issue.
When DIY fixes aren't enough, you need a trusted professional on your side. For any toilet repair or plumbing emergency in Tampa Bay, Sarasota, or Fort Myers, you can count on Heatwave Air Conditioning, Plumbing, & Electric. Contact us today for fast, reliable service!