
If you're reading this with a boxed water softener in the garage, a pile of fittings on the floor, and one eye on your main shutoff, you're in the right place. Most homeowners can handle a straightforward installation. The trouble starts when a generic guide ignores what Florida homes are like. Tight utility closets, hot garages, awkward drain access, irrigation branches, and local code details can turn a simple project into a long Saturday.
A good water softener installation guide has to do more than tell you where the inlet goes. It has to help you choose the right location, avoid drain mistakes, and decide early whether your plumbing layout is DIY-friendly. In Tampa Bay, that decision matters because many homes have just enough space to fit the unit, but not much room to work around it later.
Pre-Installation Checks for Your Florida Home
Hard water usually announces itself before you ever test it. You see spotting on fixtures, soap that won't rinse clean, buildup around showerheads, or scale in the water heater. Those signs are common, but don't buy a softener based on guesswork alone. Test first, size second, install third.
Start with hardness and household demand
Hard water is generally defined as above 7.5 grains per gallon, and that number matters because it affects what size system you need. The U.S. Department of Energy example says a home using 225 gallons per day with 10 gpg hardness needs 2,250 grains of softening capacity per day, and a 33,000 gpg capacity unit is a useful benchmark for an average four-person home according to Whirlpool's installation guidance.
That doesn't mean every Tampa Bay house should buy the same machine. A smaller household can overspend on equipment it won't use well. A busy household with multiple bathrooms can undersize a unit and spend years fighting hard water bleed-through between regeneration cycles.
Practical rule: Test your water before you shop. Buying by square footage or bathroom count alone is how homeowners end up with the wrong softener.
If you're also weighing broader treatment options, not just softening, this roundup of best home water filtration systems is useful for sorting out when you need sediment or filtration support in addition to hardness treatment.
Check the installation path before you unbox anything
A whole-home softener belongs as close as possible to where water enters the house, so it can treat indoor water before the plumbing branches off. In practice, that usually means a garage wall, utility room, or a narrow service area near the main line and upstream of the water heater.
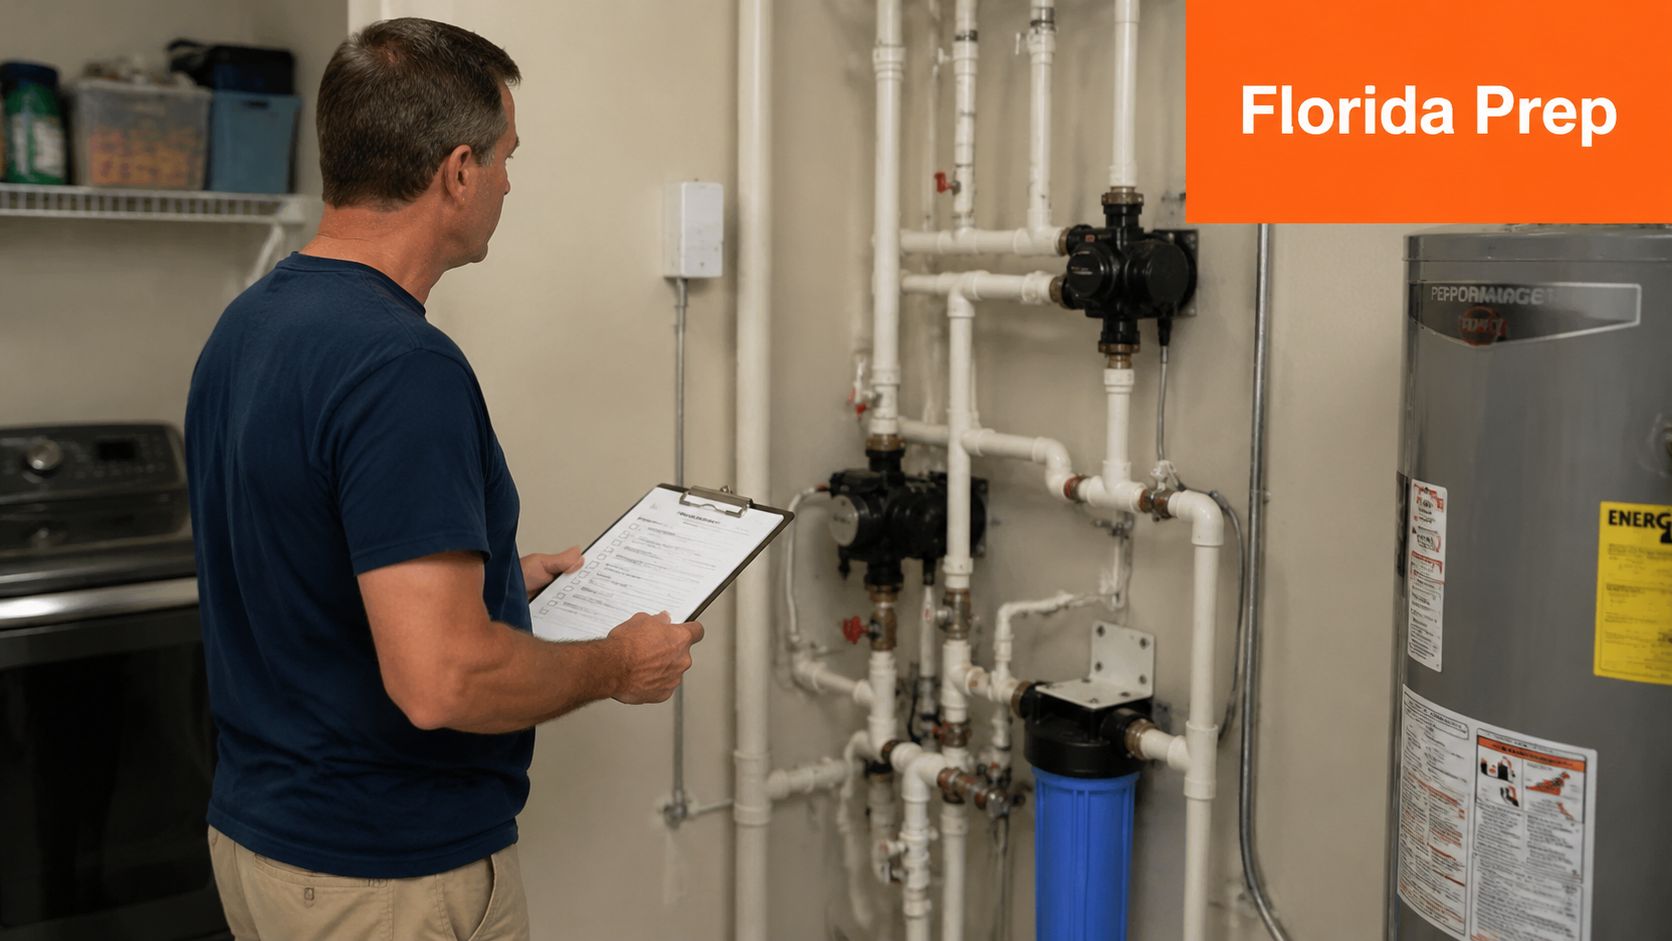
In Florida homes, that location often creates two problems. First, the space may technically fit the tank but leave poor access for salt loading and future service. Second, hot, damp garages can make organization sloppy fast. Before you move the unit in place, confirm you have room for the softener, the brine tank, the bypass valve, and a clear path to the drain.
Use this plumbing-ready visual reference as a reminder that prep work matters as much as pipe work.

Think about code and drain strategy early
Many installation mistakes happen before the first pipe cut. Homeowners pick a location with no practical drain, no nearby outlet, or no clean way to maintain an air gap. Then they try to force the installation anyway.
Before you commit to a spot, verify these basics:
- Main line access: You need a clean tie-in point after the main shutoff and before the house plumbing splits.
- Drain access: You need a realistic route for discharge and overflow, not a plan you hope will work later.
- Service clearance: Leave enough room to open the brine tank, add salt, and bypass the unit.
- Local requirements: Tampa Bay area code enforcement can vary by municipality, so if the drain setup is unusual, check before you build.
If any of those items feel uncertain, stop there. Planning is the part that saves the install.
Gathering Your Tools and Materials
A softener installation goes smoother when every fitting is on the floor before the water is off. That matters even more in Florida garages, where a quick trip to the supply house can turn into a long delay once the house is depressurized and half the plumbing is apart.
Build your checklist around your pipe type
The right tool list depends on whether you're tying into PEX, copper, or PVC. Don't buy parts from a generic shopping list and hope they'll adapt on site. Match fittings to the actual line in front of you.
| Category | Item | Notes |
|---|---|---|
| Shutoff and prep | Bucket and towels | Catch residual water when you cut the line |
| Shutoff and prep | Marker and tape measure | Mark cut points and valve orientation |
| Cutting tools | Pipe cutter or tubing cutter | Match the cutter to copper, PEX, or PVC |
| Plumbing tools | Adjustable wrenches | Useful for threaded connectors and valve bodies |
| Plumbing tools | Channel-lock pliers | Good for holding fittings without over-torquing |
| Connection parts | Bypass valve assembly | Usually supplied with the softener, verify before starting |
| Connection parts | Flexible connector hoses | Helpful in tight garage corners and offset connections |
| Connection parts | Pipe-specific fittings | Buy the exact adapters for your line material |
| Drain setup | Drain tubing | Route to a proper drain with secure support |
| Drain setup | Clamps or straps | Keep drain tubing stable and sloped correctly |
| Startup items | Water softener salt | Needed for commissioning after plumbing is complete |
| Safety and finishing | Work gloves and shop light | Tight service spaces need visibility and grip |
If you need a broader homeowner kit before you tackle plumbing projects, this guide to reliable home repair equipment helps sort the basics from the junk that won't hold up.
What works well in real homes
Flexible connectors are often worth using when the line-up isn't perfect. In a Tampa garage, the main line is frequently tucked against a wall or behind the water heater, and rigid connections can make a simple install harder than it needs to be.
A few practical calls make the job cleaner:
- Use pipe-specific adapters: Transition fittings are where rushed installs start leaking.
- Lay out the bypass first: Seeing the valve orientation on the ground prevents backward connections later.
- Buy extra support hardware: Drain and brine lines need to stay where you put them.
- Keep parts dry and organized: Humid garages make cardboard, labels, and small hardware a mess in a hurry.
A compact garage plumbing setup image is a good reminder of how little room many Florida homes provide you.

Missing one adapter can stop the whole job. Missing the right adapter usually causes the leak.
What not to cheap out on
Cheap tubing, weak clamps, and random leftover fittings from an old project create more service calls than the softener itself. Spend money on the connection points and the drain routing. That's where reliability comes from.
The Core Installation Process Step by Step
This is the part most homeowners worry about, but the sequence is straightforward if the planning was honest. The main goal is simple. Put the softener in the correct place on the main line, install the bypass correctly, and bring the system back under pressure slowly enough to catch problems before they become leaks.
A clear visual helps before you start cutting pipe.

Choose the right location
A technically sound install starts by confirming incoming pressure is within the 20 to 125 psi range, then placing the unit on a level, dry surface near the main line, a drain, and an electrical outlet, based on Rheem's DIY installation checklist.
In the field, “near” matters. If the drain route is awkward, the outlet is across the room, or the floor isn't flat, the location isn't right yet. Don't force the unit into a corner just because it's out of sight. You have to load salt there later, and someone has to service it.
Shut off and drain the house
Turn off the main water supply. Then open faucets inside the house to drain the lines and relieve pressure. Don't skip this because the line “looks empty.” A pressurized cut in a garage wall cavity is a fast way to make a manageable project ugly.
At this stage, work methodically:
- Mark the cut section where the bypass and softener connection will sit.
- Check the flow direction on the control valve and bypass assembly.
- Protect the area below with towels and a bucket.
- Cut cleanly and squarely so the fittings seat correctly.
A sloppy cut can look fine until the system is under pressure. Then it tells on you.
If you're mounting support hardware into masonry near the equipment pad or wall, understanding concrete anchor bolts can help you secure straps or brackets properly instead of improvising with hardware that loosens in block or slab conditions.
Install the bypass and connect the softener
Set the bypass valve first. This gives you a service path later if the unit needs maintenance or you need to isolate it during troubleshooting. Once the bypass is seated and oriented correctly, connect the house supply to the softener inlet side and the house side plumbing to the outlet.
Keep the setup clean and readable. Tight bends, crossed lines, and buried valve handles make future service harder than it needs to be. A neat install isn't just cosmetic. It's easier to inspect and less likely to get bumped loose in a crowded garage.
A small plumbing component reference image is useful when you're double-checking valve and fitting orientation.

Bring pressure back slowly
Once the main connections are complete, repressurize gradually. Don't snap the system open all at once. Open the main slowly, let the unit fill, and inspect each connection as pressure builds.
Watch for these early signs of trouble:
- Beading at threaded joints: Usually means the connection needs adjustment or resealing.
- A sudden hiss or chatter: Often points to trapped air moving through the system.
- A fitting that shifts under pressure: Stop and correct it before you continue.
- Moisture under the bypass body: Check alignment and O-ring seating.
After the plumbing is stable, use this walkthrough for a final visual sequence before startup.
If you've reached this point cleanly, the hard part is done. The remaining work is all about proper drain, overflow, brine, and startup setup.
Making the Final Connections and Starting Up
Many DIY installs go off track here. The main water line is connected, the unit looks finished, and the homeowner rushes the drain and startup details. That's backwards. A water softener can survive a cramped location better than it can survive poor drain routing.
Get the drain line right
For whole-home plumbing integration, the softener should be installed after the main shutoff and before the hot and cold split. Installers also commonly use a 3/8-inch brine line and run the drain line with a downward slope, because bad drain routing and a missing air gap are common startup failure points according to Water eStore's installation guide.
That downward slope matters more than people think. A drain line with sags, loops, or an uphill run can cause discharge problems and messy regeneration behavior. Support it so it stays in place and doesn't get kicked loose later.
Don't skip the air gap and overflow planning
A proper air gap helps prevent contamination from backing into the softener. In plain terms, the discharge line shouldn't be jammed directly into a waste opening. It needs separation at the drain point where local code requires it.
In Florida homes without a convenient floor drain or utility sink, this is often the moment when a DIY install becomes less simple. Laundry standpipes can work in some layouts. Garage drains, if present, may or may not be the right answer depending on the house and local requirements. What doesn't work is making up your own drain method because the standard setup is inconvenient.
If the drain plan feels improvised, it probably is.
Run the overflow line from the brine tank to a safe discharge point as well. Treat it as a backup safety line, not an optional accessory. Keep it separate, secure, and easy to inspect.
Brine connection and first startup
Once the drain and overflow are secured, connect the brine line between the control valve and the brine tank. Make sure the connection is fully seated and protected from kinks. In a narrow utility closet, the brine line often gets pinched when the tank is shoved back into place.
Then finish startup in order:
- Add salt to the brine tank: Use the type recommended by the manufacturer.
- Add water if the manual requires initial fill: Follow your specific unit instructions.
- Plug in the control head: Confirm power before programming.
- Set the basic controls: Program time and hardness according to your tested water conditions.
- Initiate the first regeneration cycle: Let the system flush and charge before regular service.
Listen during that first cycle. You're checking for smooth operation, not silence. Water moving to drain is expected. Water dripping from a loose compression point or pooling around the base is not.
Verifying Success and Planning for Maintenance
A finished install isn't successful just because the unit turns on. You want proof that the house is getting softened water, the drain setup behaves correctly, and the system can stay reliable without constant attention.

Confirm the system is actually working
Start with the basics. Check all visible connections again after the unit has gone through startup. Then test the water at a cold faucet inside the house. A simple before-and-after hardness check tells you much more than “the control head looks normal.”
Also walk the house and pay attention to function:
- Normal pressure at fixtures: A sudden drop suggests a restriction, bypass issue, or debris in the line.
- No active drips at fittings: Tiny leaks tend to show up after pressure has stabilized.
- Clean drain behavior during regeneration: Discharge should go where planned, without spray or backup.
- No standing water around the brine tank: That points to overflow or connection trouble.
A quick post-install plumbing image reference can help when you're comparing your final setup against a clean serviceable layout.

Set a maintenance routine you'll actually follow
Modern residential softeners aren't short-life appliances. They typically last 10 to 15 years with normal maintenance, and the U.S. Department of Energy recommends checking salt levels every 4 to 6 weeks while keeping both the backwash discharge and overflow lines directed to a suitable drain, as outlined in the DOE maintenance guidance.
That's the useful mindset shift. Installation and maintenance aren't separate jobs. A good install sets up easy maintenance. A bad install makes routine care annoying, which means it often gets ignored.
Worth remembering: The easiest softener to maintain is the one you can reach, inspect, and refill without moving half the garage.
A simple owner checklist
Keep your routine practical:
- Check salt regularly: Don't wait until hard water returns to find an empty brine tank.
- Look over drain and overflow lines: Make sure they're still secure and undamaged.
- Inspect for new drips: Seasonal movement and vibration can reveal weak points later.
- Clean the brine tank as needed: If it gets dirty or develops buildup, service it before performance drops.
- Watch for changes in water feel: Spotting, soap performance, and fixture scale usually tell you first.
A softener that's installed cleanly and checked on schedule is usually low drama. That's the goal.
When to Call a Heatwave Professional in Tampa Bay
Some homes should not be your first DIY softener install. If the main line is easy to access, the drain is obvious, and the pipe material is familiar, a capable homeowner can often do the work. If the layout is layered with Florida-specific complications, the smart call is to stop before the first cut.
Many guides don't deal well with the exceptions that show up in local homes. Routing around irrigation branches, recirculation loops, or tankless water heaters can make correct placement at the main inlet and upstream of the water heater much more complex, and that often calls for a professional assessment, as noted in Pentair's whole-house installation manual.

Situations that usually justify professional help
A few examples come up often in Tampa Bay and Southwest Florida:
- Mixed plumbing materials: Older sections of pipe tied into newer PEX or PVC create transition points that need careful planning.
- Tankless water heater setups: These can complicate where the softener belongs and how the system is isolated.
- Tight garage or closet installs: If you can barely stand in front of the equipment, maintenance access may already be compromised.
- Unclear drain compliance: If there's no obvious utility sink, standpipe, or suitable drain path, you need a code-safe answer before installation.
- Unexpected pipe condition: Corroded valves, brittle fittings, and hidden prior repairs can change the project fast.
Calling a pro isn't giving up
Homeowners sometimes wait too long because they feel committed once the softener is delivered. That's how small uncertainties turn into water damage, repeated leaks, or an installation that technically works but is miserable to live with.
If you want a reality check, even a quick look at this customer review snapshot says a lot about what homeowners value most after plumbing work. Clean execution, code awareness, and no callbacks.

The right time to ask for help is before you're improvising around a bad drain route, a confusing branch layout, or a shutoff valve that won't fully close. That's not losing the DIY battle. That's protecting your house.
If your softener install looks more complicated than it did at the store, Heatwave Air Conditioning, Plumbing, & Electric can help you sort it out the right way. From tricky Tampa Bay garage layouts to drain routing and whole-home plumbing tie-ins, their team handles the details that generic installation guides skip.