
Swapping out an old or faulty electrical outlet is one of those classic DIY home repairs that feels incredibly satisfying once you're done. While it's a straightforward job, it's one that demands your full attention and a healthy respect for what you're working with. The basic game plan is always the same: kill the power, double-check that it's off, pull the old outlet, wire up the new one, and button everything back up.
This guide will walk you through the entire process, making sure you feel confident and stay safe.
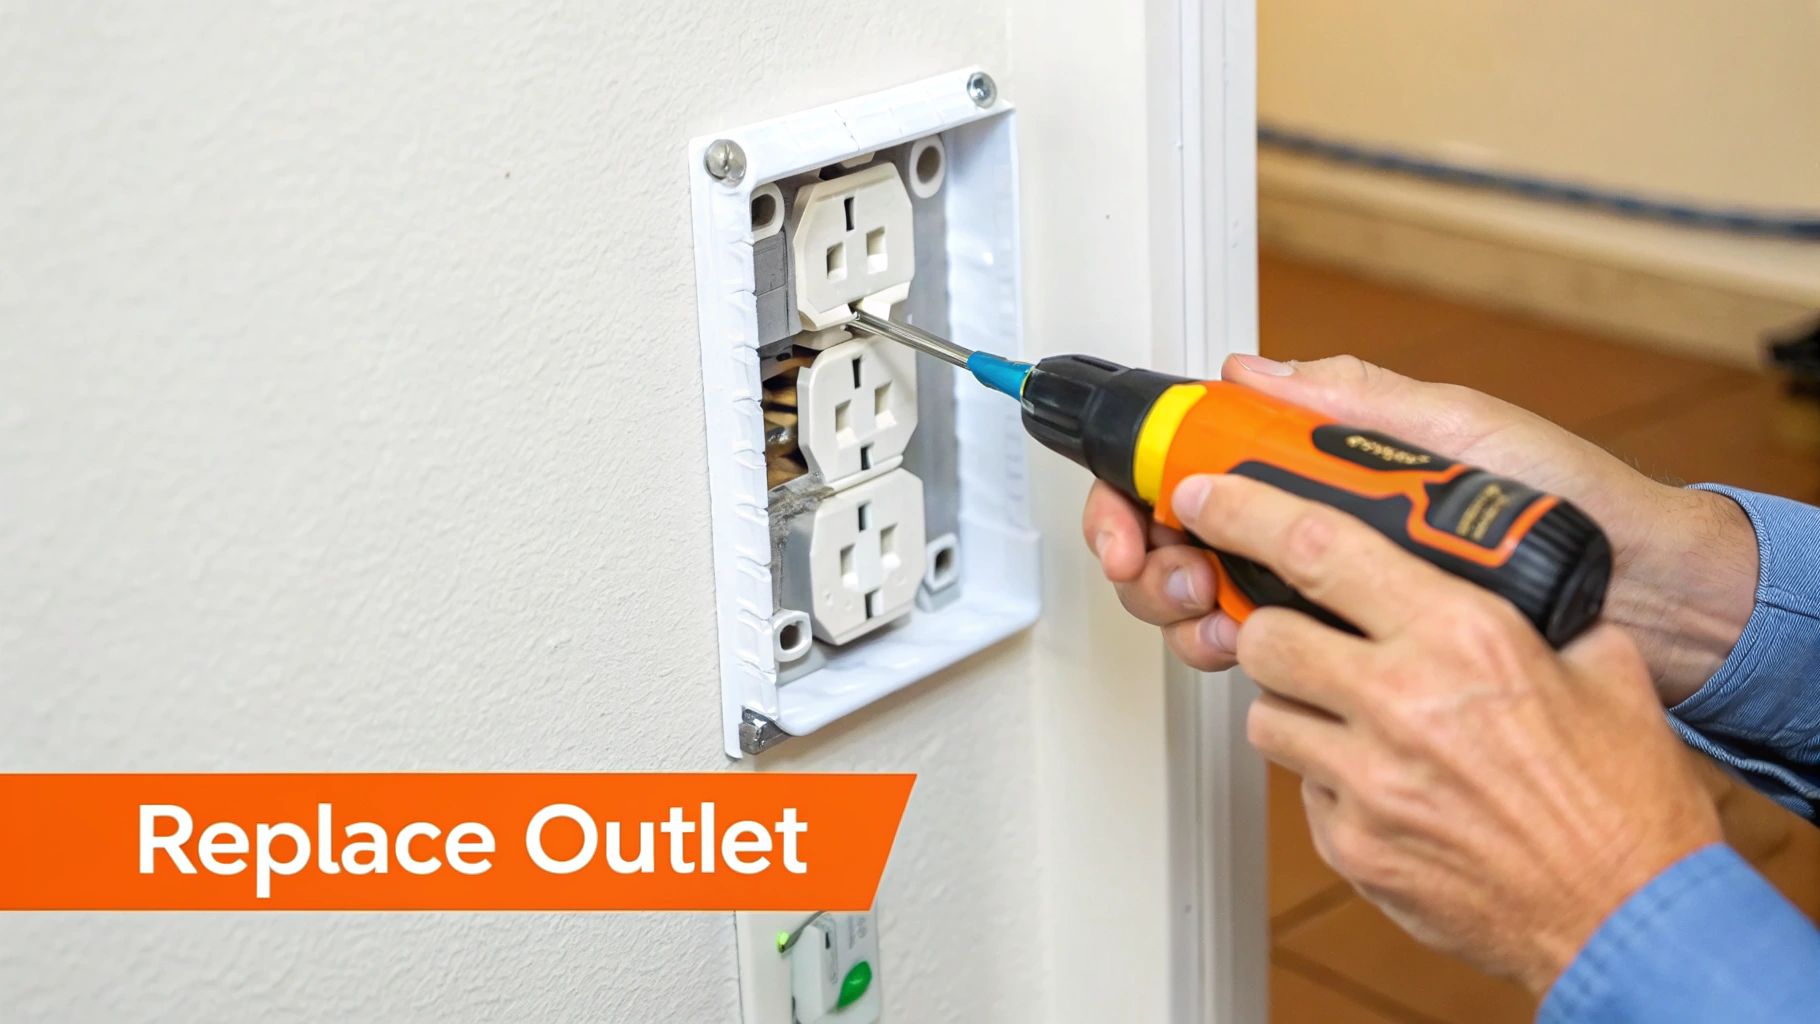
Your Essential Guide To Replacing An Electrical Outlet
Knowing how to properly replace an electrical outlet is a fantastic skill for any homeowner. It’s not just about aesthetics; it's about keeping your home's electrical system safe, dependable, and up to current standards. A worn-out outlet isn't just an annoyance—it's a legitimate fire hazard hiding in plain sight.
Here in Tampa Bay and across Southwest Florida, our environment adds another layer to the mix. The constant high humidity can speed up corrosion on the metal parts inside an outlet, which leads to weak connections that can overheat. This makes routine checks and timely replacements even more critical for avoiding electrical headaches.
Recognizing The Warning Signs
Before we get our hands dirty with the "how," we need to be clear on the "when." An outlet doesn't always go out with a dramatic spark. The signs are often subtle, but they're all screaming for your attention.
Keep a sharp eye out for these red flags:
- Loose Connections: Do your plugs feel wobbly or just fall right out of the receptacle? That means the internal contacts are shot. This creates a sloppy connection that can generate dangerous heat and arcing—a major fire risk.
- Cracked or Damaged Plates: A cracked faceplate is more than a cosmetic issue. It exposes live electrical components and is a dead giveaway that the outlet has probably taken a hard knock.
- Discoloration or Burn Marks: Any scorching, browning, or melting around the outlet slots is a huge warning sign. It means the outlet has been overheating, and you need to replace it immediately.
- Flickering Power: If a lamp or appliance flickers when it's plugged in, the problem often lies with bad wiring or worn-out contacts right inside the outlet itself.
Understanding Your Home's Outlets
Not all outlets are the same, and the type you're dealing with will determine the kind of replacement you need to buy. Older homes might still have some two-pronged outlets hanging around. These lack a ground wire for safety and should absolutely be upgraded.
In moisture-prone areas like kitchens, bathrooms, garages, and outdoor spaces, you’ll find GFCI (Ground-Fault Circuit Interrupter) outlets. These are the ones with the little "Test" and "Reset" buttons, designed to instantly cut power and protect you from a nasty shock if there's a problem. Knowing the difference is the first step to getting the project right.
Remember, a home’s electrical system is a network. Sometimes, one bad outlet is a symptom of a much bigger issue. If you're constantly resetting breakers or noticing multiple outlets failing, your electrical panel might be struggling to keep up. In those situations, a simple replacement won't cut it, and it might be time to consider a home electrical panel upgrade for a true, long-term fix.
To give you a better idea of the time and effort involved, here’s a quick project snapshot.
Outlet Replacement Project Snapshot
This table gives you a quick overview of what to expect when tackling different types of common household outlets.
| Outlet Type | Estimated Time | Difficulty Level | Key Tools Needed |
|---|---|---|---|
| Standard Duplex Outlet | 20-30 Minutes | Beginner | Screwdrivers, Voltage Tester, Pliers |
| GFCI Outlet | 30-45 Minutes | Intermediate | Screwdrivers, Voltage Tester, Pliers |
| Switched Outlet | 45-60 Minutes | Intermediate | Screwdrivers, Voltage Tester, Pliers |
As you can see, a standard outlet is a great starting point for a beginner, while GFCI and switched outlets require a bit more attention to detail with the wiring.
Getting Your Gear Together and Locking Down Safety
Before you even dream of touching a faceplate screw, we need to talk priorities. Tackling any electrical work without the right tools and a healthy dose of respect for what you're doing is just asking for trouble. Good prep work is what separates a clean, successful DIY job from a trip to the emergency room.
Think of your tools as your first line of defense. Each one has a job, and that job is to keep you and your home safe. This is especially true for one particular piece of gear you absolutely can't skip.
The Essential Tool Kit
Having the right equipment ready to go means you won't be tempted to improvise with something that "kinda works"—which is usually how things go sideways. You don't need a massive toolbox, but a few key items are non-negotiable for doing this job safely and correctly.
Here’s your basic lineup:
- Non-Contact Voltage Tester: This is your most important safety tool, period. It’s the only way to be absolutely sure the power is off before your hands go anywhere near the wires.
- Screwdrivers: You’ll need a flathead and a Phillips head. An insulated set is a fantastic and inexpensive upgrade for an extra layer of protection.
- Needle-Nose Pliers: These are perfect for bending the stripped ends of wires into the little J-hooks you need for a rock-solid connection on the terminal screws.
- Wire Strippers: Sure, you could use a knife, but a real pair of wire strippers will give you a clean cut without accidentally nicking the copper wire, which can create a dangerous weak spot.
With your tools in hand, you’re ready for the single most important step in the whole process. It's something every single pro electrician does, every single time, without fail.
Finding and Killing the Power
The number one rule of electrical work is dead simple: always work on a dead circuit. Your mission starts at your home's main electrical panel, which is probably hiding in the garage, a closet, or the basement. You need to find the one circuit breaker that powers the outlet you're working on.
If your panel is neatly labeled, you're in luck. If it’s a chaotic mess of faded handwriting (or nothing at all), it’s time to play detective. Plug a lamp or a radio into the outlet, turn it on, and then start flipping breakers one by one. When the lamp goes dark, you've found your target. Do your future self a favor and label that breaker clearly right now.
Pro Tip: Once you've flipped the breaker, stick a note right on the panel door: "Electrical Work in Progress. Do Not Touch." This little step could save your life by stopping a well-meaning family member from flipping the power back on while you’re mid-project.
The Final "Are You Sure?" Safety Check
Breaker off? Good. Now, walk back to the outlet. This is the moment of truth for your non-contact voltage tester. Touch the tip of the tester to the outside of the outlet, then stick it right into the slots where you plug things in. It should stay completely silent and dark. No beeps, no lights.
This triple-check system—breaker off, note on the panel, and a final test—is your safety net. Don’t get complacent. Faulty outlets are a serious risk, contributing to 13% of all home electrical fires, according to the U.S. Fire Administration. Those incidents spark about 44,000 fires annually and cost homeowners a jaw-dropping $1.9 billion in property damage. Here in Southwest Florida, our humid climate can also speed up corrosion, making outlet failures even more common.
To make sure your habits are in line with professional safety practices, it's worth getting familiar with the NFPA 70E electrical safety standards. Building these safety checks into your routine is absolutely critical. For more on this, check out our guide on essential home electrical safety tips.
Only when you are 100% certain that the power is off should you even think about picking up a screwdriver to remove the old outlet.
Alright, let's get to the fun part—actually wiring up that new outlet. You've done the critical safety checks, the power is off, and your tools are laid out. Now it's time to open up the wall and see what we're working with.
This is where being methodical really pays off. It might look like a confusing jumble of wires at first, but it's a simple, logical process once you know what to look for.
We'll walk through the three most common outlets you'll find in any home: the standard duplex, the life-saving GFCI, and the convenient switched outlet. The basic steps are pretty much the same for all of them, but the devil is in the details. Getting those details right is what makes for a safe, professional-grade job.
Remember, this three-step safety check is non-negotiable. It's the first thing you do, every single time.
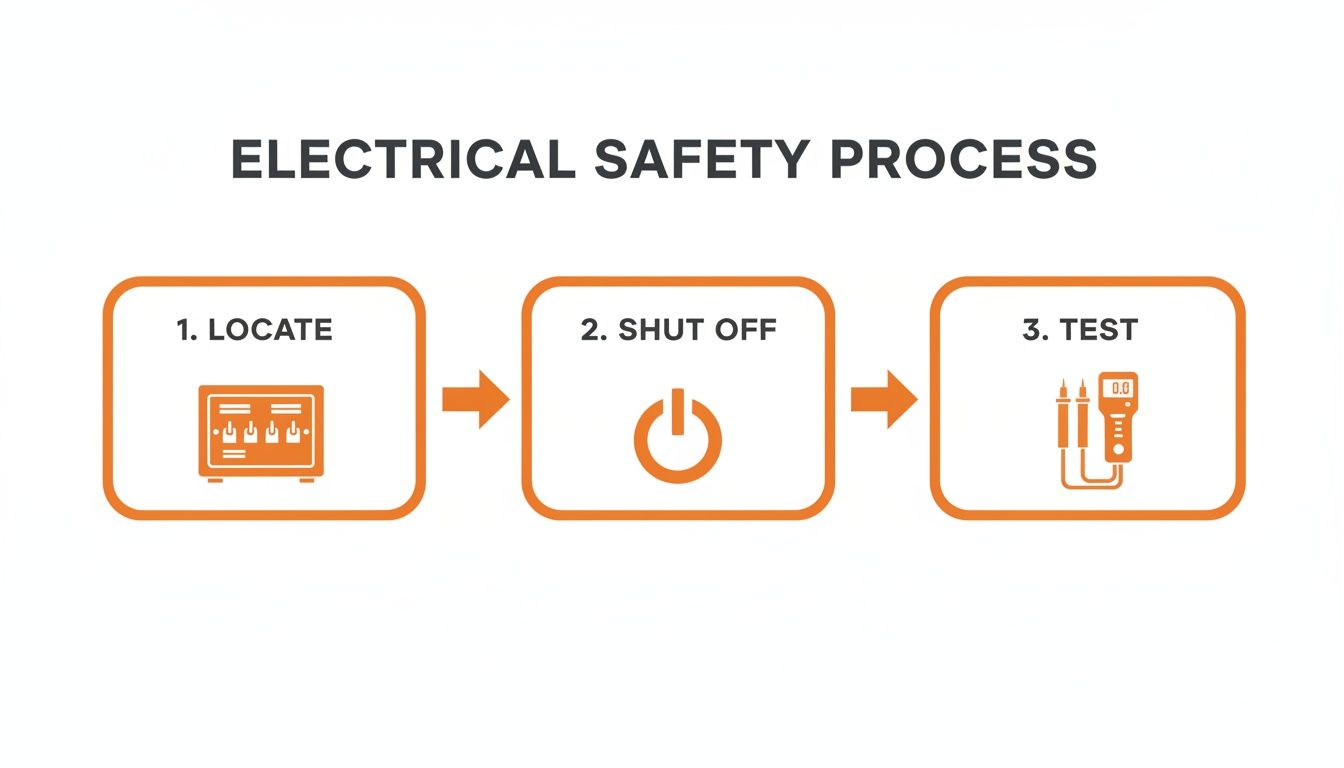
This process is your lifeline. Locate the breaker, switch it off, and then—always—double-check with your voltage tester before a single finger goes inside that box.
Taking Out The Old Outlet
First things first, get that faceplate off. There's usually a single flathead screw in the middle holding it on. With the plate gone, you'll see two more screws, one at the top and one at the bottom, that secure the outlet to the electrical box itself.
Loosen those mounting screws and gently pull the outlet straight out. Don't yank it—the wires inside are only so long. Now you can see exactly how everything is connected.
Before you disconnect a single wire, pull out your phone and snap a quick picture. Trust me, having a "before" photo can be a real lifesaver if you get turned around later.
Decoding The Wires In The Box
It helps to think of the wiring in your walls like basic plumbing. The hot wire (almost always black) is the supply line bringing power in. The neutral wire (usually white) is the drain, sending the power back to complete the circuit. And the ground wire (bare copper or green) is your safety valve, giving electricity a safe path to escape in case of a short.
Here's a quick guide to understanding what you're looking at inside the box.
Outlet Wire Identification Guide
| Wire Color | Common Name | Function | Terminal Screw Color |
|---|---|---|---|
| Black | Hot | Carries electrical current from the breaker panel | Brass/Gold |
| White | Neutral | Returns current to the panel to complete the circuit | Silver |
| Bare Copper/Green | Ground | Provides a safe path for electricity during a fault | Green |
With everything identified, you can now unscrew the terminals to release the wires. If the wires are just poked into little holes in the back of the outlet (a technique called "back-stabbing"), you'll likely need to stick a tiny screwdriver into the release slot next to the wire to get it out.
Pro Tip: Side-Wire, Don't Back-Stab. You'll notice new outlets have those same push-in connections on the back. While they're faster, most electricians (myself included) avoid them. They create a weaker connection that can loosen over time. Taking a moment to loop the wire around the side screws creates a far more secure and reliable contact that won't fail down the road.
Perfecting The J-Hook
For a rock-solid connection, you need to form a small "J" shaped hook on the end of each wire. Use your wire strippers to expose about 3/4 of an inch of clean copper. Next, grab the very tip with your needle-nose pliers and bend it into a loop that goes clockwise.
Why clockwise? It's simple physics. When you tighten down the terminal screw (which also turns clockwise), it pulls the loop in tighter, cinching it down. If you make a counter-clockwise loop, the screw will actually try to push the wire out as you tighten it.
Wiring A Standard Duplex Outlet
This is your bread-and-butter outlet swap.
- Start with the ground. Loop the bare copper wire around the green screw and tighten it down.
- Connect the neutral. Hook the white wire onto one of the silver-colored screws and secure it.
- Finish with the hot. Attach the black wire to one of the brass/gold screws.
If there are two silver or two brass screws, it doesn't matter which one you use. Once everything is tight, carefully fold the wires back into the box like an accordion, push the outlet into place, secure it with its mounting screws, and pop on the new faceplate.
Installing A GFCI Outlet
A GFCI is a bit more involved because it has two sets of terminals: LINE and LOAD. The LINE terminals are for the wires bringing power in from the breaker. The LOAD terminals are used to pass that GFCI protection downstream to other outlets on the same circuit.
If your box only contains one set of wires (one black, one white, one ground), your job is easy. Connect them to the LINE terminals—black to brass, white to silver, and copper to green. The LOAD terminals are usually covered by a piece of yellow tape; just leave it there.
If you have two sets of wires, you need to figure out which pair is the incoming "line." To do this safely, turn the power back on very briefly, making sure the separated wires aren't touching anything. Use your voltage tester to identify which black wire has power. That's your line. Kill the breaker again, label the wires, and complete the installation as described above.
Handling A Switched Outlet
A switched outlet is one where a wall switch controls half (or sometimes all) of the outlet. Inside the box, you'll typically find an extra hot wire, which is often red.
The key to a switched outlet is a tiny brass tab connecting the two hot (brass) terminals. To make one receptacle switched and the other always on, you need to snap that little tab off with your pliers. This electrically separates the top and bottom outlets.
Now, connect the always-on black wire to one brass terminal and the switched red wire to the other. The white neutral and copper ground wires connect as usual.
The skills you're picking up here are the foundation for tons of other home electrical projects. The same principles of finding the right circuit and making secure connections apply when you install recessed lighting in a ceiling.
While these steps cover most situations, older homes here in the Tampa Bay area can throw you a curveball, like brittle old wiring or boxes packed way too tight. If you open things up and it doesn't look like what we've described, that's your cue to stop. When things get complicated, calling in professional wiring and rewiring services ensures the job is done right and, more importantly, safely.
Troubleshooting Common Installation Hiccups
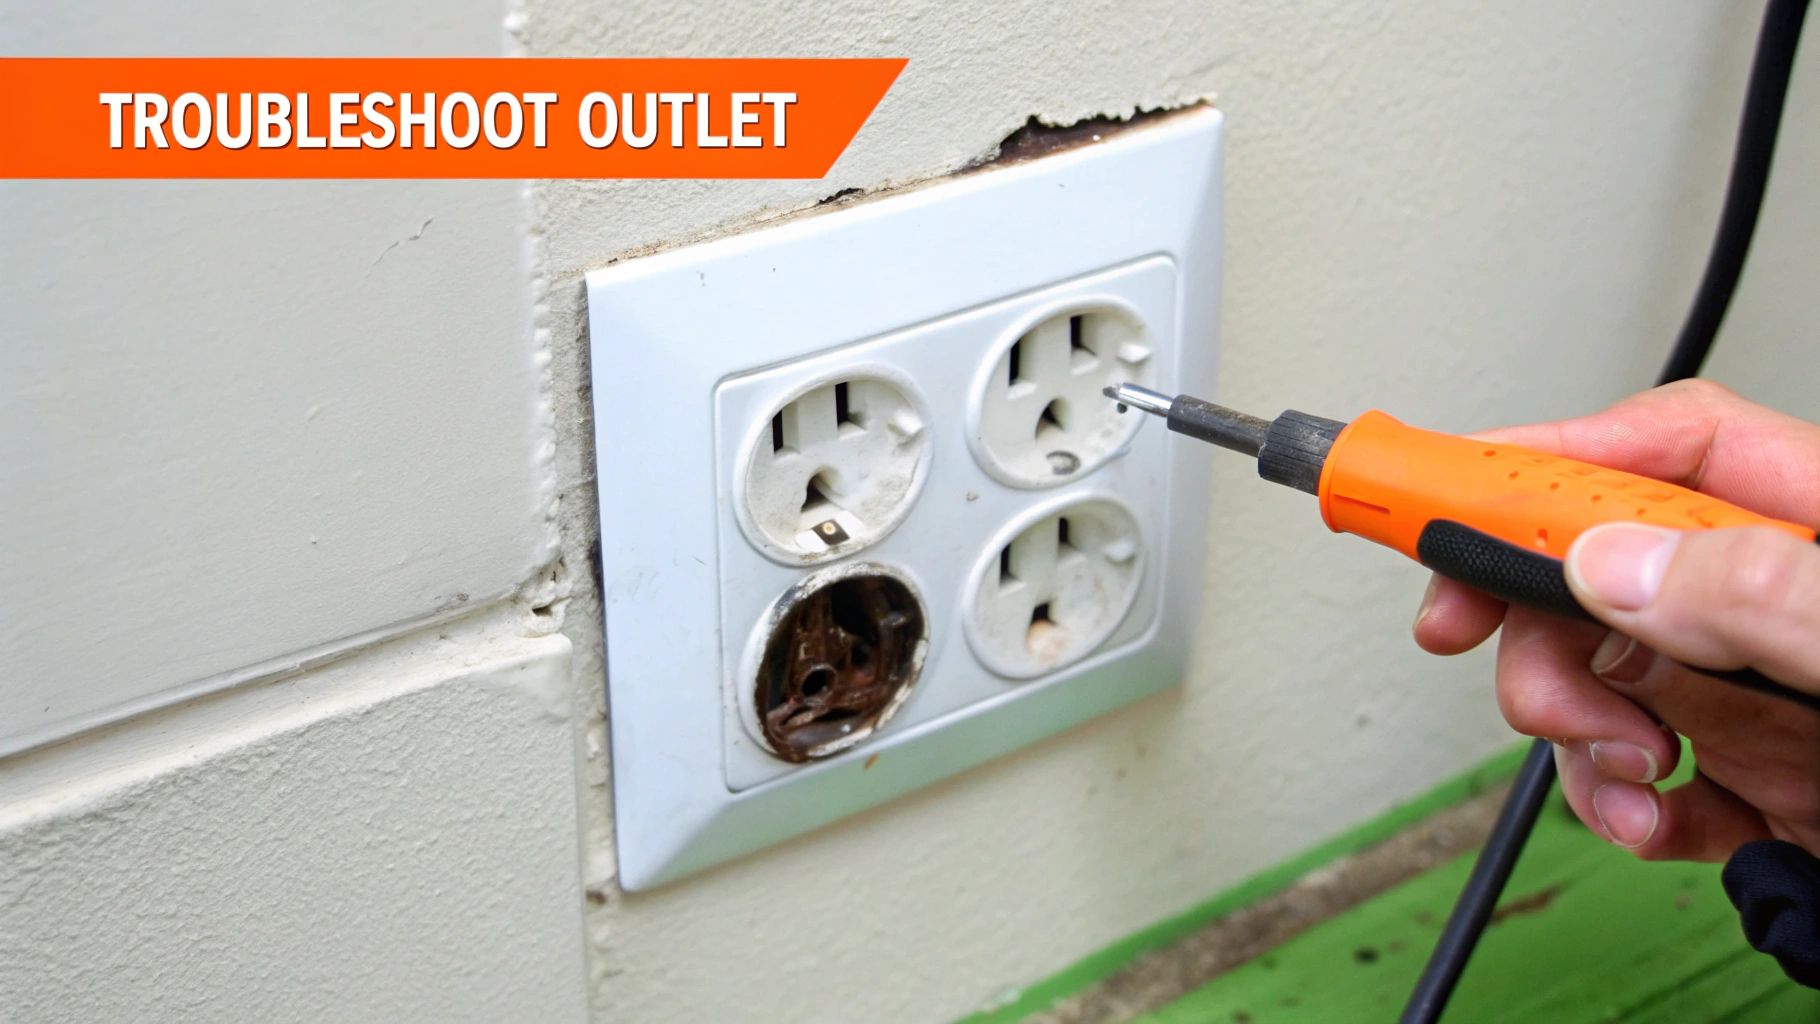
You've followed the steps, your connections feel solid, and you’ve buttoned everything back up. You flip the breaker on, plug in a lamp, and… nothing. Or maybe the breaker trips the second you flip it. Don't panic. Even seasoned pros run into snags now and then.
These moments are just part of the learning process. Knowing how to diagnose the problem is what separates a frustrating afternoon from a successful DIY project. This is your field guide for those "what now?" moments, so you can find the fix safely and get things working.
Outlet Is Completely Dead
This is the most common issue by far. The new outlet is in, but it’s completely unresponsive. Before you start pulling your hair out or questioning your hard work, let's run through the usual suspects, starting with the easiest fixes.
- Check the Breaker Again: It sounds almost too simple, but you’d be surprised how often a breaker doesn't get pushed firmly into the "On" position. Head back to the panel and give it a solid flip all the way off, then all the way on again.
- Inspect Your Wire Connections: If the breaker is good, kill the power again and pull the outlet back out of the box. A wire that felt secure might have slipped off the terminal screw as you pushed everything back in. Make sure each wire is clamped down tight.
- Look for a Tripped GFCI Upstream: This one gets people all the time. In kitchens, bathrooms, and garages, builders often wire multiple outlets through the LOAD side of a single GFCI. If that upstream GFCI trips, it cuts power to every outlet down the line. Go on a quick hunt for any tripped GFCIs and hit the reset button.
If you've gone through these checks and are still stumped, our guide on what to do when your electrical outlet is not working has some deeper diagnostic steps that can help you pinpoint the problem.
The Dreaded Reverse Polarity
You plug in an outlet tester, and it lights up with a "Hot/Neutral Reverse" warning. This is a common but dangerous mistake where the black (hot) and white (neutral) wires get swapped. While a lamp might still turn on, this creates a serious shock hazard.
A reverse polarity condition means the "off" switch on an appliance only breaks the neutral connection. The internal wiring stays live, creating a significant risk of electric shock even when the device appears to be off.
The fix is straightforward but absolutely critical. Turn off the power immediately. Pull the outlet out and move the black wire to the brass-colored screw and the white wire to the silver-colored screw.
Handling Old and Brittle Wires
In older Florida homes, it’s not uncommon to find wiring with insulation that has become brittle with age. You might find that as you bend the wire, the plastic insulation cracks or flakes off, exposing the bare copper underneath.
If you see this, stop what you’re doing. This is a major fire hazard. It's often a sign that the wiring in that entire circuit has degraded and is no longer safe. This isn't a simple fix—it's a clear signal to call a professional electrician. Working with old, brittle wiring requires expertise to avoid making a dangerous situation even worse.
GFCI Trips Immediately
You install a new GFCI, and it trips the second you hit the reset button. This almost always points to one of two things.
First, you may have reversed the LINE and LOAD connections. The incoming power from the breaker panel must connect to the LINE terminals.
The second possibility is a ground fault happening somewhere else on the circuit connected to your LOAD terminals. To check, disconnect the LOAD wires, put a wire nut on them, and try resetting the GFCI. If it holds, your installation is good—the problem is another outlet or device downstream that needs attention.
Knowing When to Call a Professional Electrician
Any good DIYer knows their limits, and when it comes to electrical work, that's the most important tool you have. Swapping out a basic outlet is a great weekend project for many homeowners, but there are definite red flags that should make you put down the pliers and call in a licensed pro.
Trying to push through a serious electrical problem on your own isn't just a bad idea—it can create a ticking time bomb behind your walls. Knowing what to look for is just as critical as knowing how to connect the wires.
Serious Red Flags You Cannot Ignore
If you pull the outlet out and see any of the following, your simple project is officially over. These aren't things a new receptacle from the hardware store can fix.
It's time to call an electrician if you see:
- Evidence of Fire or Melting: Any scorching marks, black soot, or melted plastic on the wires or inside the box is a massive warning sign. This means a serious overheating event has already happened, like a short circuit or major overload. You need a professional to diagnose why it happened.
- Old or Unfamiliar Wiring: If you see wires wrapped in a fabric material (cloth-insulated wiring) or discover dull gray aluminum wiring, stop everything. These old-school systems have unique fire risks and require special connectors and techniques that only a certified electrician is trained to handle.
- An Overcrowded Box: Is the box so jam-packed with wires it looks like a rat's nest? Stuffing too many connections into a single box is a major code violation and a fire hazard. A professional can determine if a larger box is needed or if the circuits need to be reconfigured safely.
Ignoring these issues is a gamble with your home’s safety. A licensed electrician doesn't just swap a part; they solve the underlying problem.
The real value of a professional isn't just in the work they do, but in the problems they spot. Pros catch hidden wiring issues 80% of the time that amateurs might miss, potentially preventing thousands of dollars in fire damage.
The Value of Professional Expertise
Hiring an electrician is about more than just convenience—it's about safety and peace of mind. A pro brings a trained eye that can spot subtle but dangerous issues you might overlook, making sure your home is safe and up to current electrical code.
For homeowners here in the Tampa Bay area, this is especially important. The average cost for a pro to replace an electrical outlet usually lands somewhere between $150 and $350. While that might feel steep for a single outlet, you're paying for the expertise to do the job right and prevent a much more expensive disaster down the road. You can find more details on outlet replacement costs at Angi.com.
The bottom line is simple: if you ever feel uncertain or out of your depth, that's your cue to call for help. A comprehensive inspection can reveal the true health of your entire electrical system. To get a better idea of what a professional looks for, check out our guide on what to expect during an electrical wiring inspection. Trusting a pro is a smart investment in your home's safety.
Common Questions We Hear About Outlet Replacement
Even after a successful project, it’s normal to have a few questions pop up. Getting a handle on the finer points of your home's electrical system helps you make smarter, safer decisions down the road. Let's dig into some of the most common questions we get from homeowners right here in the Tampa Bay area.
These are the real-world questions that hit you when you're standing in the hardware store aisle, staring at a wall of options, or looking at an old, discolored outlet and wondering if it's time for a change.
How Often Should I Replace My Outlets?
This is a fantastic question because outlets are one of those things people rarely think about until they stop working. But just like the tires on your car, they wear out over time and with heavy use.
A standard three-prong outlet in a low-traffic spot might last 30 years, but in a busy area, its lifespan is closer to 15 years. GFCI outlets, which are absolutely critical for safety near sinks or outdoors in our humid Florida weather, have a shorter lifespan of about 15-25 years. Their internal safety components can fail without any outward sign, which is why you must hit those "Test" and "Reset" buttons every single month.
And if you’re looking at any old two-prong outlets in a pre-1960s home? The answer is simple: replace them immediately. They don't have a ground connection, a safety feature that, according to NFPA data, reduces the risk of shock by up to 70%. You can discover more insights about outlet lifespans on Bonney.com to see how different types hold up over time.
Does the Quality of the Outlet Matter?
In a word, absolutely. A $1 "contractor grade" outlet might look just like a $5 "spec grade" one on the shelf, but the real difference is what’s going on inside. You're paying for better, safer materials.
- Better Contacts: A higher-quality outlet uses stronger internal springs and thicker metal. This means it grips the plug prongs tightly, preventing loose connections that can cause dangerous arcing and overheating.
- Durability: The plastic housing and mounting straps are much more robust. They won't crack or break as easily when you're installing them or after years of plugging things in and out.
Think about your kitchen counter, where you're constantly using the toaster, coffee maker, and blender. Spending a few extra dollars on a quality outlet there isn't just an upgrade—it's a smart investment in safety.
Your home's electrical system is only as strong as its weakest link. Choosing a quality receptacle is one of the easiest and most affordable ways to ensure a safe, lasting connection at every plug.
Should I Upgrade to Smart Outlets?
If you're looking for a modern touch, smart outlets are a fantastic way to add both convenience and a little energy efficiency to your home. They let you control lamps, fans, or your coffee maker right from a smartphone app or by using a voice assistant like Alexa or Google Home.
This is more than just a neat party trick. You can set schedules to turn lights on when you're away for extra security, or double-check that you didn't leave a hot appliance running all day. Many smart outlets can even track energy usage, helping you pinpoint which devices are secretly driving up your electric bill. They do cost more upfront, but for tech-savvy homeowners, the convenience and potential savings are often well worth it.
If any electrical project feels like it's getting over your head—from a stubborn GFCI that won't reset to a full home wiring inspection—the certified professionals at Heatwave Air Conditioning, Plumbing, & Electric are here to help. Ensure your Tampa Bay home is safe and up to code by scheduling your service today!